Prev | Next
I think we need a little non-airplane excitement in our lives. Let’s start with a little movie.
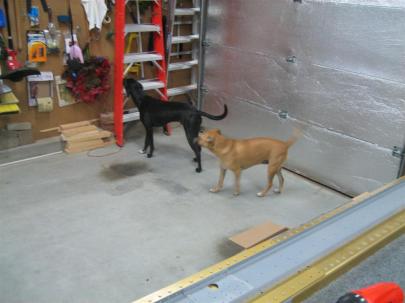
I never get tired of letting them howl at those sirens. Ginger does a pretty good job of matching the pitch. Jack’s just going NUTS.
Okay, back to building.
Well, I finally conned someone from work to come over and help me rivet some top skins. We’ll call this person Joe to protect the innocent.
Joe was eager to learn about the RV-7, so after a very quick tour of the shop, we got to work.
First thing, we pulled out my old practice kit, and we looked at some of my riveting, showing him where some where okay, some were perfect, and some were horrible.
After that, we got the rivet gun out, turned it on low, and I let him hold it against the bucking bar to get a feel for the feathering trigger, what it feels like to hold, etc. After a few minutes, we put some AN426AD3-4 rivets in the trailing edge of the practice kit, and practiced our shooter-bucker teamwork. After 3 or 4 rivets, we had the air pressure dialed in to something comfortable, and it clicked for Joe. 5 perfectly shot flush rivets.

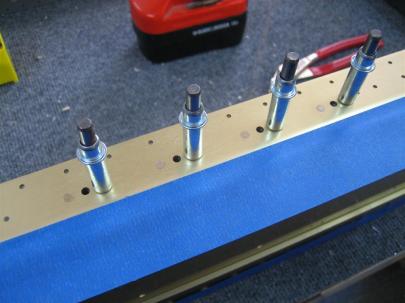
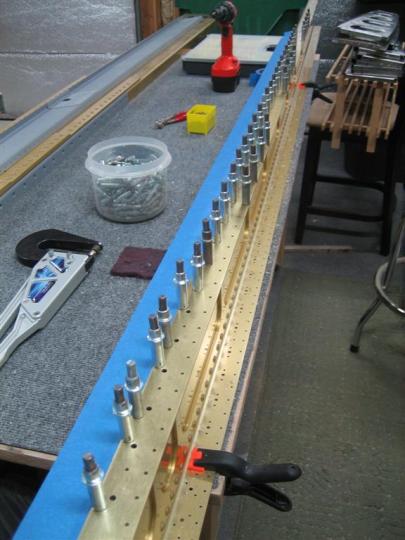
Our practice setup.
Well then, let’s get started.
Note: I am totally ignoring the “start in the center rib of each skin” advise from Van’s. It supposedly works out to the tightest possible skin, but I don’t understand how anything will move around after precisely drilled these holes and dimpled (and 50% clecoed). I don’t know. Maybe I’ll end up with the world’s wrinkliest skin. Who knows.
Anyway, we stuck rivets into every other hole (remember, I’m crazy and 50% clecoed this beast) and got to working. We had a good “ready…go” system down, and we got a few good rivets in.

Joe's first rivet. Perfect.
The very next rivet? Not so good. I let the bucking bar slip off the shop head, and the rivet gun left the tiniest hint of a ding. Lucky for us, we decided to start in the middle of the wing walk rib, so any dings (polish or paint) would be under the wing walk nonstick strip. We are so smart.
Not two minutes after I explained that it’s a rite of passage to knock over the rivet container, and not to worry about it.
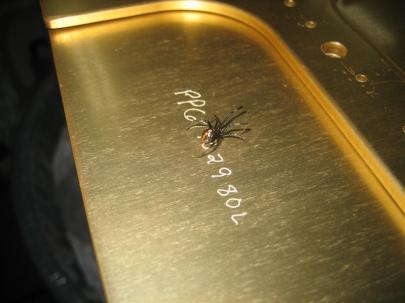
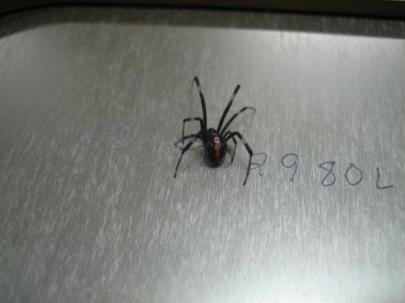
I look under the wing skin and what to I see?

HAHAHAHAHAHAHAHA!
Sorry, Joe. We’re laughing WITH you. I promise.
Okay, we got the 3 remaining wing-walk ribs 50% done…

Halfway done.

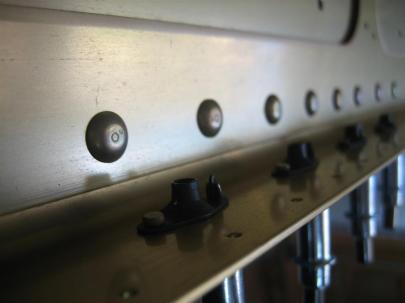
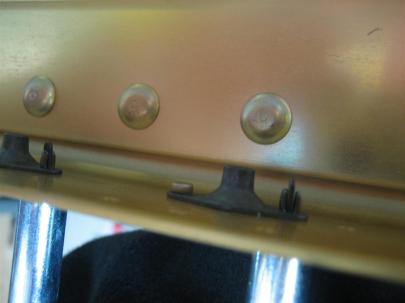
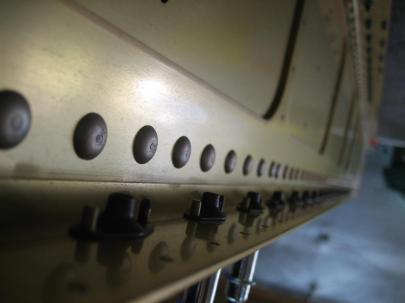
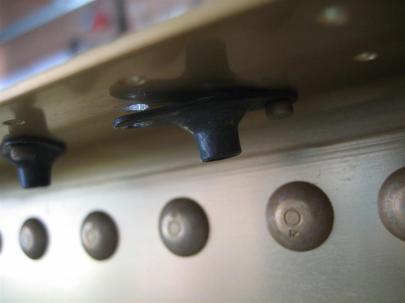
Look at these perfect shop heads!
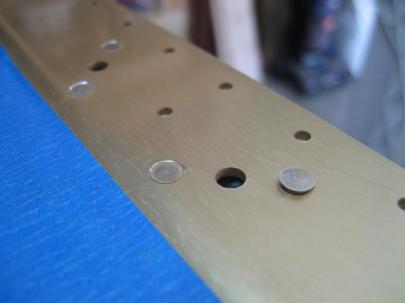
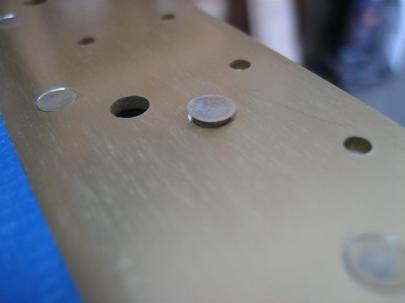
Then pulled out the remaining clecos, put rivets in the empty holes, covered each head with tape, and shot the remaining rivets.
On the inboardmost trailing edge rivets, I totally butchered a shop head trying to use my tungsten bucking bar which slipped off the head. Luckily, the skin wasn’t dinged, but we had to drill out the rivet and reset it. It went great, and I finally got to use the $10 Harbor Freight Body Repair Kit I bought a year ago.

This bar worked perfectly.
Some more riveting… and we finished the wingwalk area.

This looks so sweet in person.
I can’t believe that some day I’m going to be standing on that. (I can’t believe someday some of you loyal readers will be standing on that!)
Only two mistakes tonight, and both of them were my fault. Joe 2, Andrew 0. Boo.
1.5 hours (I’m NOT going to count it as 3.0 man-hours). 72 rivets, only one of the drilled out. Thanks, Joe!
10AUG2011 UPDATE: I am going to count Joe’s hours. I’m changing the log to count it as 3.0.
Prev | Next


 Posted by Andrew


