More Right Lower Inboard Skin Riveting

August 15, 2012

Prev | Next

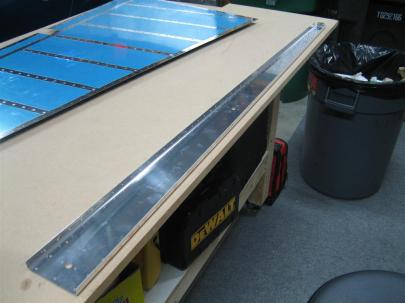
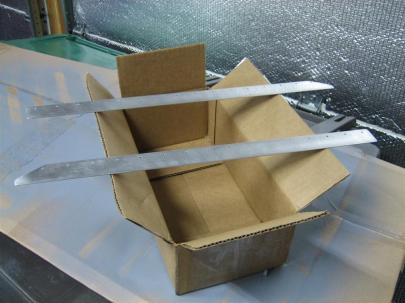
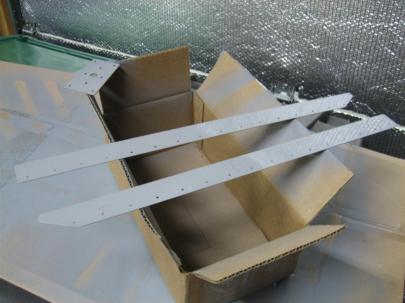
Today, while waiting for the DirecTV guy to show up (insert long story here about how I took the whole afternoon off to cover his time (12-4pm) and then he didn’t show up until 5:30pm), I ended up taking some time out for the airplane.

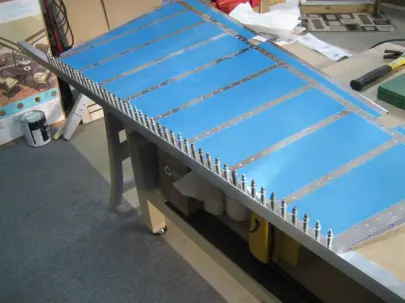
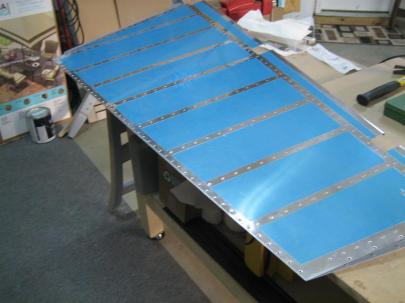
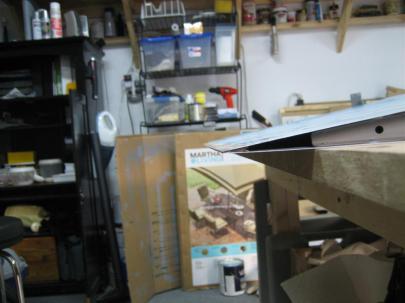
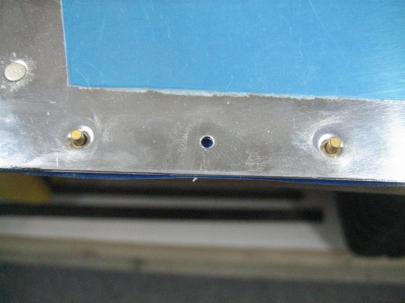
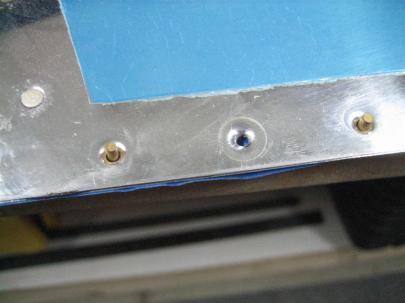
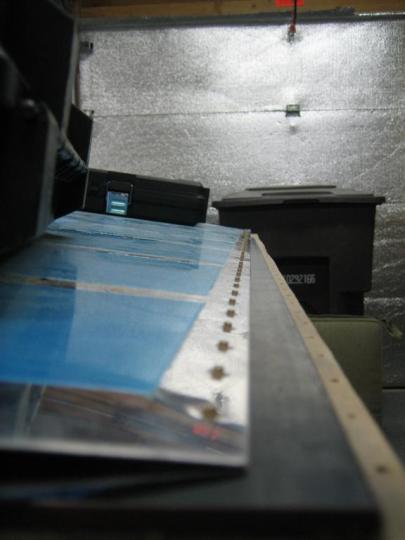
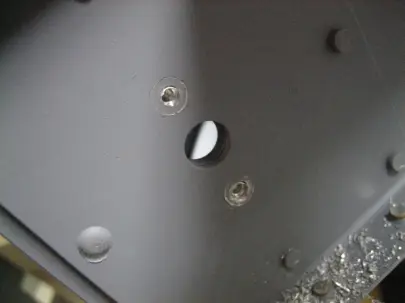
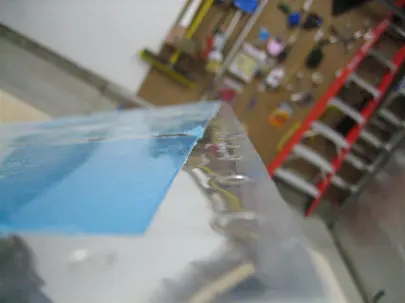
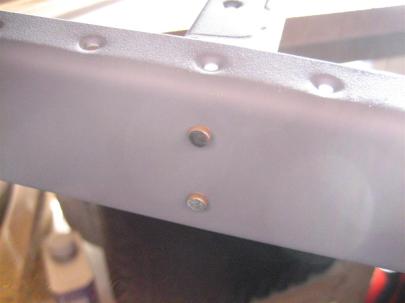
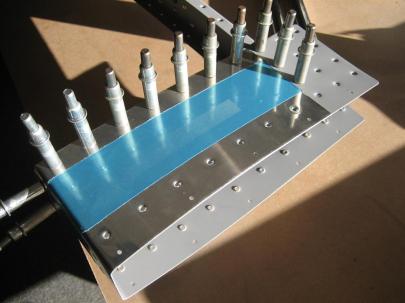
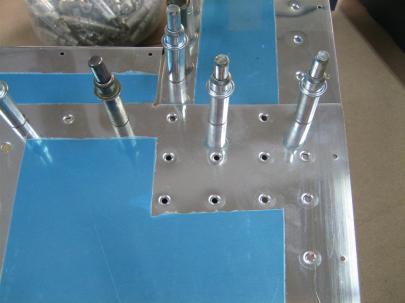
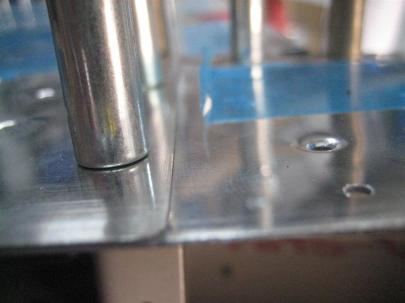
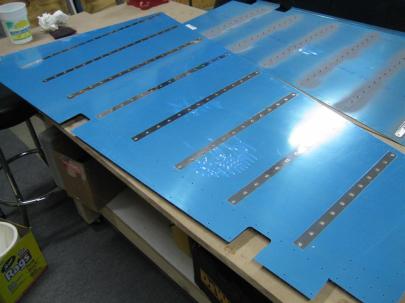
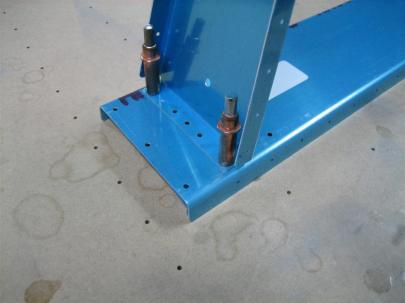
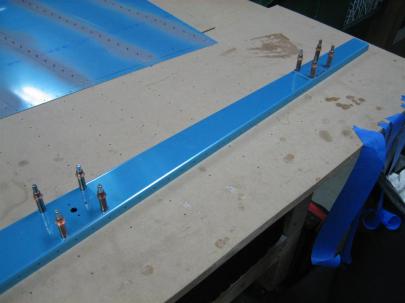
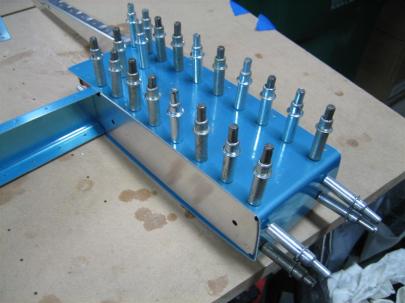
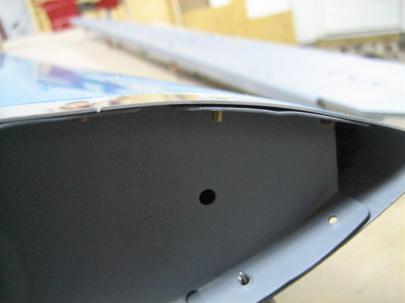
Taylor and I riveted six rivets on the inboard edge the last time he was over. It turns out, I really needed to bend the forward edge of the skin “up” in the picture to reach the aft row of rivets.

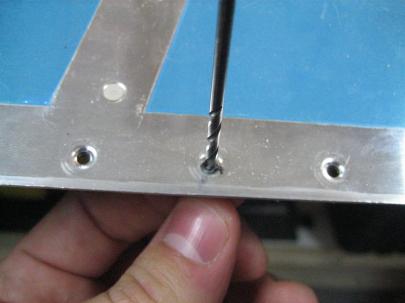
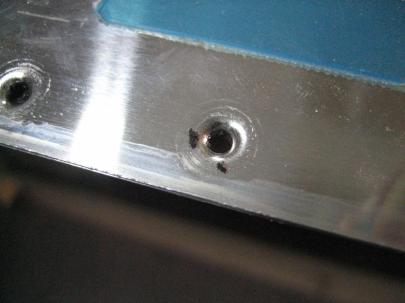
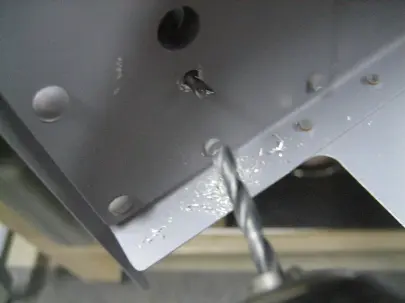
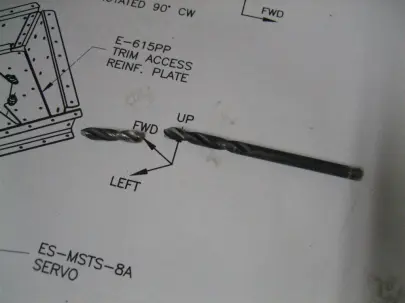
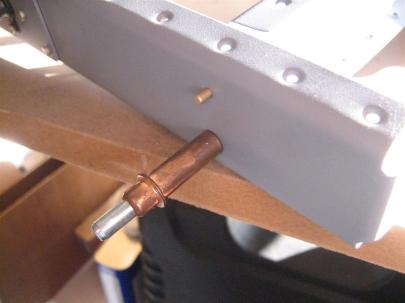
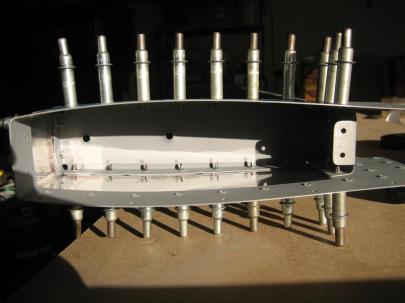
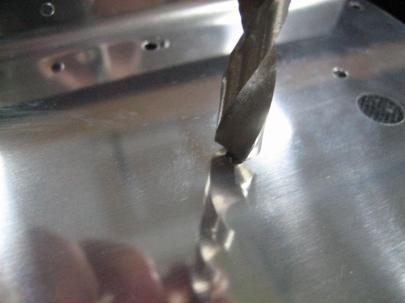
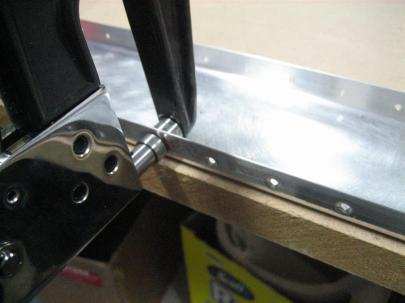
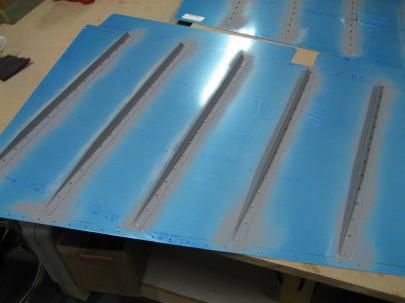
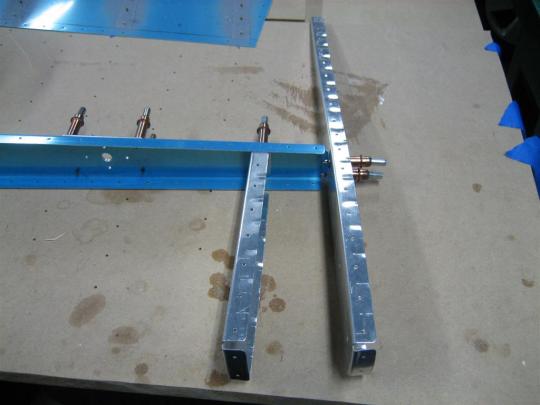
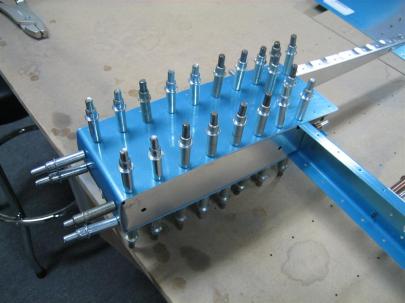
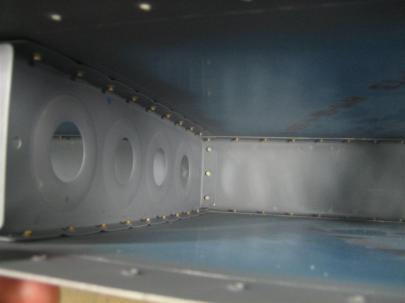
So, I drilled out three of the rivets, and was able to reach in from just below the main spar (bottom of these pictures) to buck the top row of rivets.

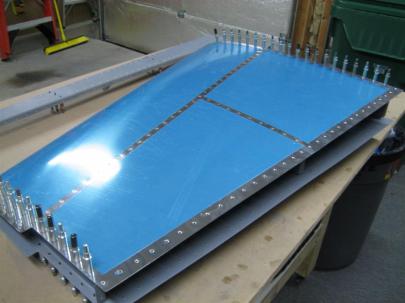
After setting the top (aft? oh man, we’re going to have trouble communicating with our different frames of reference) row of rivets, I worked down one rivet at a time for the two middle wing-walk ribs. (The inboard or left rib can be squeezed at the end, and the outboard wing-walk rib can be bucked by reaching from outboard after the wingwalk ribs are done.

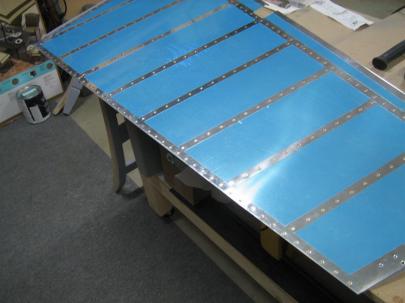
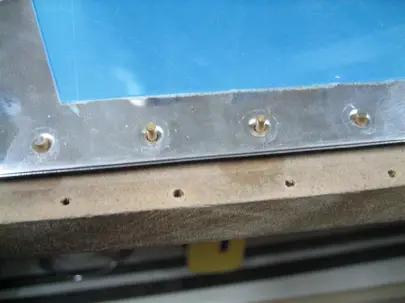
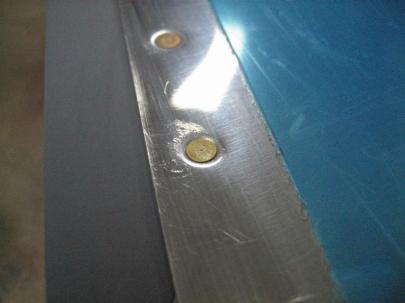
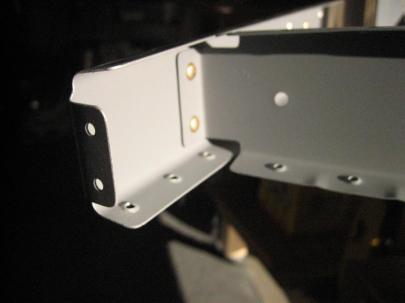
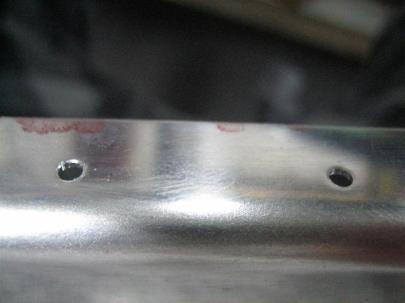
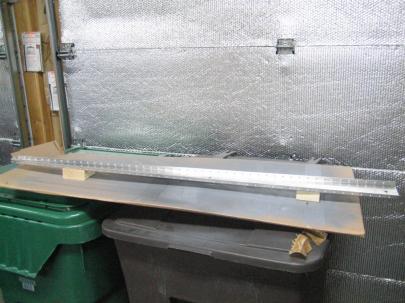
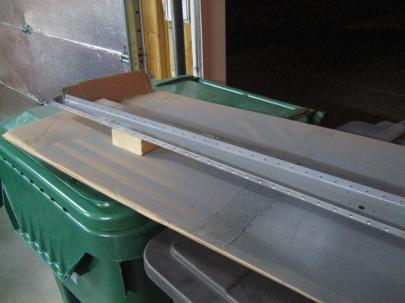
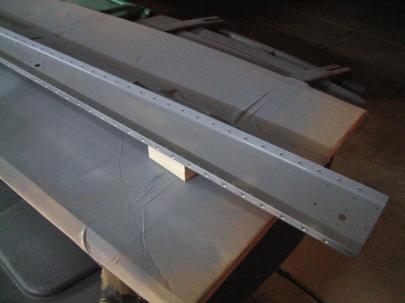
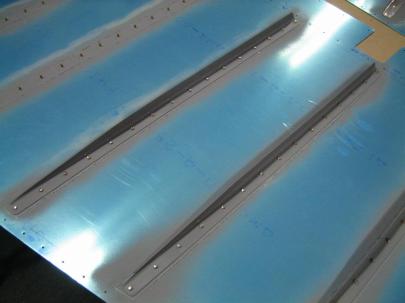
Here’s the top row riveted.

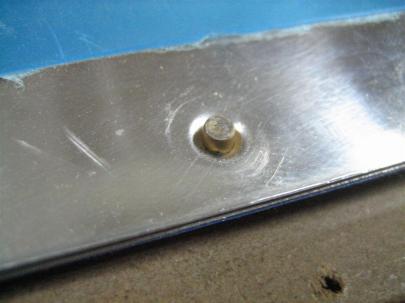
To help me know where I was, I colored each rivet black with a magic marker after setting it.

After an hour, I made it about halfway down the rib.

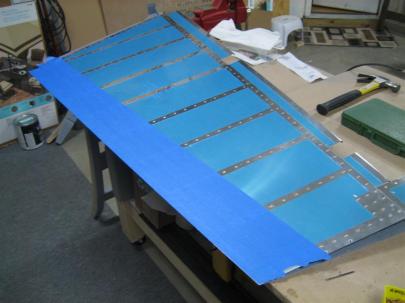
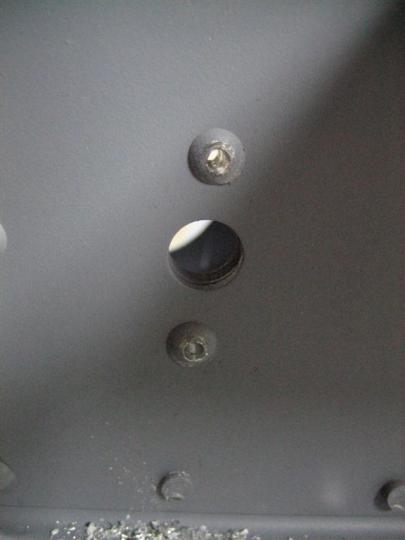
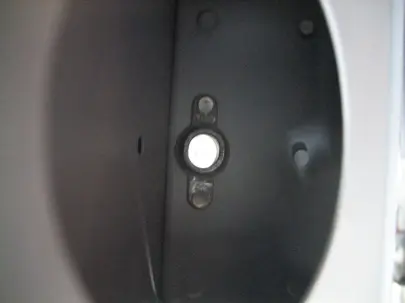
From here on, I won’t be able to peel the skin back from the bottom anymore, but I should be able to reach in through the inboard rib, where the lightening holes are now big enough for my huge biceps.

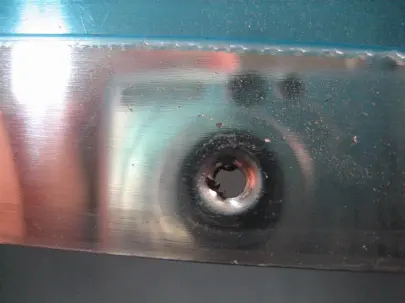
1.0 hour, 33 rivets. 3 (originally perfect) rivets drilled out due to lack of planning. Boo.

Prev | Next


Riveted Half of Main Ribs to Right Main Spar

January 9, 2011

Prev | Next

Well, I needed a break from all of that rib preparation, so I took the seven ribs I had done for the inboard half of the right wing and got started riveting them to the main rib (Most people start with the main rib, because you can bend the ribs a little out of the way of the rivet gun while you shoot and buck.)

Here are the first two rivets in place, ready for shooting.

Per the general builder consensus, you should start with the 3rd rib. (3rd, 2nd, and 1st rib flanges all point inboard, so having the 2nd and 1st in the way would not be fun. If you start with the third, you can easily reach the forward flange.)

The right spar here is upside down.

After the first five rivets…

(That mark above the 2nd from the top is a tape mark.)

Whoa, that bottom rivet head doesn't look to good.

Let’s get a little closer…

Crap. This was the first one, too. Bummer.

After drilling out and re-setting, the rivet is now great. (I scratched the primer off the flange a little. I'll clean that up with a scotchbrite and re-shoot it with primer.)

Of course, it wasn’t until the second rib that I remembered my tape trick to keep from marring the manufactured heads too much.

This works great to keep everything looking nice.

See, this head looks a lot cleaner after shooting.

Here's two done.

Shop heads...

Three ribs down.

More shop heads.

Then, I did the 4th, 6th, then 5th, and finally, the 7th.

The first 7 ribs attached to the right main spar.

1.0 very fun and rewarding hour. It’s nice to see something big take  shape for the last time in the garage.

5 rivets times 7 ribs equals 35 rivets, two of which were drilled out and replaced. (The first rivet, and the last rivet. Boo.)

Prev | Next

Now, back to rib prep.


Riveted Rudder Trailing Edge

March 31, 2010

Prev | Next

Well, it’s been 3 days since I prosealed the trailing edge, so I mentally prepared myself for the dreaded riveting of the trailing edge.

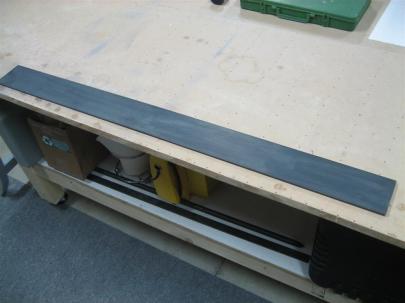
Here's the trailing edge. Hopefully, the pro-seal is dry.

Next, I pulled out all of the clecos and admired how straight it looks.

Looks straight. Let's take a closer look.

Straight as an arrow. (Before riveting.)

The clecos were easy to pull out, not a lot of pro-seal on them, and there was very little remaining in the holes. The usual step here, however, is to clean them up. Here’s a before picture.

There's a little goop in there, but not much.

Here I am using a #40 in my fingers to scrape some of the pro-seal out.

This was tedious, but I want the rivets to sit nice and flush.

Here about how much came out of most of the holes.

Next up, put the rivets in the holes to prepare for backriveting.

Rivet in, ready to go.

Then tape to protect the skins.

And here’s my new backriveting plate. I wanted a nice long piece. It’s not quite as long as the trailing edge, but I didn’t have to move it around very much.

New 36" backriveting plate.

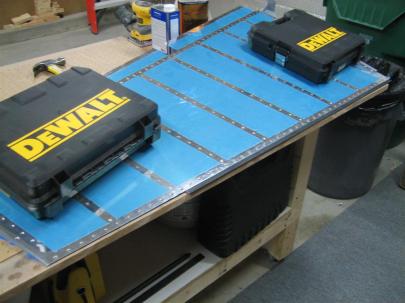
And my setup. The power tools are holding the skin flat against the table and backriveting plate.

Ready to go.

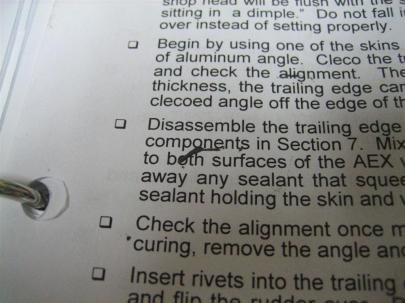
Let’s re-read the directions. HOly crap, the pro-seal gets everywhere.

I thought it was funny how I got sealant on the sealant step.

Alright, let’s start riveting. First thing, set every tenth rivet about halfway.

Okay... every tenth rivet.

Everything was going smoothly until I got to this rivet. Can you see what I missed here?

How come there is no dimple for the rivet on the right. Uh oh.

I pulled the rivet out, put my male dimple die in the hole, and gave it a good whack with the hammer.

Rivet is out, where is my #40 male dimple die?

There it is. Not bad for forgetting to dimple.

With the rivet back in. This is the shop head side, so you won't even notice. In fact, I dare you to try to find this hole when the plane is done.

Back to riveting. I followed the directions and kept riveting every tenth, then fifth, then third, etc., until they were all halfway set.

A nice halfway set shop head.

Down the line...

Verifying that things are still straight.

Yup. Straight. Although I know why the picture is blurry. Apparently I left the cap off of the MEK. Oops.

So then I flipped the rudder over, and finished up, per the directions. Except a few things started going wrong (which is why I don’t have any pictures.)

First, I must not have had the rudder down perfectly against the backriveting plate. A few of the manufactured heads were protruding from the skins. Luckily, they rivets were only half set, so most of them were able to be pushed back into their dimples and set further after flipping the rudder back to the original side and backriveting a little more.

Next, my rivet gun pressure was set too low (I thought this meant I was being careful). The gun wasn’t getting the job done before it jumped around a little and cause a couple very minute dings. A lot of my other dings have been pretty small, and these are even smaller. I doubt you would notice if I didn’t mention it, but I’m trying to capture my experiences here, so I offer it up as a lesson learned.

Finally, when they tell you to flip the rudder over to finish the half-set backriveted shop heads, I’m not sure how this is supposed to work. With the long backriveting plate, the rudder is being supported by all of the proud shop heads, so if you rivet the manufactured head side, you’ll be adding a local bow to the trailing edge. I didn’t buy this, so I stuck with the first side and got the shop heads pretty well flush. Once that was done, I finally flipped it over to make sure they were backriveted flush.

I have some pictures of the trailing edge at the end, but after I finished, I drilled out and reset the four rivets I had previously marked.

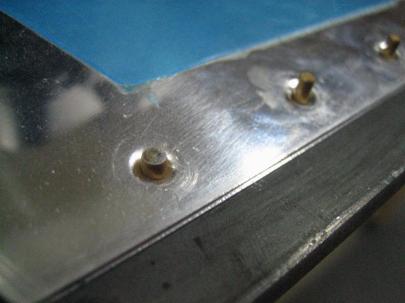
A nicely reset flush rivet. The skin got a little scuffed here. I hope this polishes out. (Although I am now thinking paint for the rudder.)

Here’s me drilling out  the lower nutplate mounting rivets. Notice the missing nutplate.

First, a #40 through the middle.

Then pop the heads off with the back of the drill bit.

Then, use a #30 to finish drilling out.

AH! I broke a drill bit. At least I was wearing safety glasses.

I must have been adding a little force of my own.

Okay, now I can install the nutplate.

Here it is clecoed from the outside.

I had read people say “the -7 rivets were too short here, I had to move up to a -8.” The warning bells were going off when I originally set these; I was thinking, “these -7s fit just fine, I don’t know what all the fuss was about.”

Of course, I tried the -7 with the nutplates installed, and yes, they were too short. I had to move to a -8, too.

These are long rivets.

A very bad picture of the nutplate installed.

Nutplate installed.

Okay, back to the trailing edge. I really didn’t get a great picture of how straight it was, but it is straight. There are a couple local areas where there is some slight  back and forth, but it is within a 1/32″ and it’s over the course of 4 or 5 inches. You won’t see it unless you scope down the edge, which I’m probably not going to let you do if you come near my plane. Just kidding.

Trailing edge picture.

All in all, an hour and a half today. 56 rivets on the trailing edge. 4 rivets drilled out elsewhere (but already counted in the final rivet count, so I won’t recount those). I’ll try to get a better picture of the trailing edge later and post it here. (The trailing edge picture at the beginning of this post is a good angle and focal length, I’ll try that one again.)

Prev | Next


Riveted R-912 Counterbalance Rib

March 23, 2010

Prev | Next

After priming the R-912 counterbalance rib and R-913 counterbalance skin last night, I thought I would get those installed on the skeleton. First thing to do is check the plans for a rivet callout.

What!? No rivet callout? That means I have to think!

No rivet callout for the R-912 to R-902 spar attachment.

I grabbed the shortest AN470AD rivet I could find…AD4-4. That seemed to be good.

This one will work.

And an after picture. Wuhoo!

Successfully set rivets.

I squeezed these. I’m still not totally happy with my squeezers ability to squeeze AD4 rivets.

Not too shabby.

Then, I grabbed the counterbalance skin and clecoed it on. My squeezer is only a 3″ yoke, so I can’t reach any of these holes.

My squeezer isn't long enough to reach these holes, and the girlfriend is outside helping me with some deck chair refinishing, so no rivet gun tonight.

Another picture of those two clecoed on the skeleton.

It's nice outside, so I had the garage door open. Lot's of sunlight in the afternoons.

Finally, I got the left skin clecoed on to check for fit and complete any remaining edge-finishing required before riveting.

Left rudder skin to counterbalance skin holes.

To be determined: whether I should edge-roll the forward edge of the rudder skin where it overlaps the counterbalance skin.

It looks good now, but might pull up when I rivet. I think I'll edge roll this. "Avery? Please send me your edge roller tool. Thank you."

Two rivets set today. Half hour total.

Prev | Next


Rudder Skin Prep, Skeleton Riveting

March 20, 2010

Prev | Next

In between some yardwork, watching the sprinklers, and cleaning up the house, I made some good progress on the airplane.

First thing, I found a stiffener rivet that was sitting a little proud. (Drilled rivet #1 today.)

Off with your head!

Silly me, though, I didn’t get any pictures of it after it was reset. I was being lazy with the camera today. Sorry.

Next up, skin deburring and dimpling.

The holes on the right are the tip rib #40 holes. The ones on the left have been drilled to #30.

After deburring, scuffing and dimpling, we are ready for priming.

The top of the right rudder skin after deburring, scuffing and dimpling.

Then, more deburring, scuffing and dimpling.

I didn't forget the hole on the bottom of the picture. This hole is match-drilled with the rudder tip and then dimpled to #30.

After cleaning, I shot a little primer on the skin.

Primed right rudder skin.

I had a very specific order here. First, deburr, scuff, dimple and prime the top, forward edge, and bottom edge. Then, while the primer is drying, devinyl the aft edge (vinyl used as masking for the primer), deburr, scuff and dimple the aft edge. This edge doesn’t get primed, as we’ll use the fuel tank sealing instructions with Pro-seal to glue the trailing edges together.

After scuffing the aft edge, I started pulling off the blue vinyl from the interior of the skins.

This just looks so nice.

Another shot of me devinyling.

Then, I spent a couple minutes making the slot at the bottom of the skin a little bigger. One of the flanges from the control horn fits in here, and during initial assembly, there was some interference.

Notch enlarged.

And the left skin, primed.

Got the left skin primed and ready for devinyling.

Ame thing on this skin, while the primer was drying, I devinyled the trailing edge, scuffed, and dimpled.

Scuffed and dimpled the trailing edge.

Here’s the left skin after devinyling. I’ll store this skin until final riveting. Now, back to the skeleton.

Shot 1 of 2 of the prepped left rudder skin.

Shot 2 of 2 of the prepped left rudder skin.

In the middle of the day, I ran out of primer and scotchbrite pads, so I ran out for both.

Napa 7220 Self Etching Primer.

Maroon scotchbrite pads.

They didn’t have any maroon on the shelf, but they had some grey. I asked the guy out front, and he went to the back and grabbed 3 unpackaged pieces. Usually, there are $5 or $6 for the three. He gave them to me for a couple dollars, which was nice.

I like them cut in about 2" x 2" squares. Good to go until the end of the tail kit, I'm guessing.

I had some trouble with dimpling the last three holes in the rudder bottom rib. I drilled and countersunk a hole in a spare piece of steel I had, then realized it was too far from the edge to work. Awesome. Here’s a shot of my second attempt.

The new hole is on the bottom right. After countersinking, I used a rivet and my flush set to dimple the rib. Not perfect, but it'll work.

Then, I moved on to some riveting.

This is the spar and one of the spar reinforcements.

While I was moving everything around getting it ready for riveting, I broke my first tool. Now, it was about $0.50 from Harbor Freight, but I was still upset.

RIP cheap plastic clamp. (I'm lying. I actually gut the orange part off the other side and threw the clamp into a box somewhere. I'm sure it will come in handy at some point, even if it doesn't have the orange pads.)

Rivets were looking good, until the one to the right of the nutplate. Doh!

Which one of these is not like the other?

After a successful drill out (#2 of the day), I finished setting the rest of the spar reinforcements and snapped these two pictures.

Middle spar reinforcement.

Upper spar reinforcement.

That’s 16 set so far.

Then I mocked up the R-405PD Rudder Horn, R-710 Horn Brace, R-917 Shim, R-902 Spar, and R-904 Bottom Rib. Some people need to use blind rivets in some of these holes, but I figured I could do it with all solid rivets.

This is what I need to end up with after riveting.

I figured out that if I take off the R-904 bottom rib, I can reach in from above (bottom right of the picture) and get the horn brace to rudder horn rivets here, then slide the forward flange of the bottom rib under the rudder horn and get those from the lightening hole. Here I am setting the horn brace to rudder horn rivets.

I think this is going to work out well.

Another shot from further away.

Here’s all four of those set (set nicely, if I may add).

Horn brace to rudder horn rivets.

20 rivets set so far. Then I moved on to the R-606PP Reinforcement plate to R-902 Spar to R-917 Shim to R-405PD Rudder horn rivets. These need to be AN470AD4-7 rivets, which are LONG. I did have to drill one of them out. That’s #3 for the day. Boo.

This is an AN470AD4-7 rivet after drilling out. This is a long rivet.

But, I managed to reset it okay and get the others in with no trouble.

R-606PP to R-902 to R-917 to R-405PD rivets.

23 set. I scratched the R-405PD horn a little, so I scotchbrited it out, and shot some primer in there.

Some primer to cover the scratch.

Next, I slid the flange of the bottom rib under the rudder horn and lined up the holes. Now I need to drop some rivets in here.

Ready for riveting.

First, I set the horn brace to bottom rib rivets.

26 rivets set so far. These are looking good.

26 set. Finally, I set three more which are reinforcement plate to spar rivets.

These are above the bottom rib, so they are only reinforcement plate to spar rivets. Easy.

I started to rivet the complicated stuff together and LOOK WHAT I DID!

I think this is hilarious. Think I should drill it out?

This happened because I was bucking from above and shooting from below. The gun jumped around cause I was supporting it’s weight instead of letting gravity help me. That’s a no-no.

It was pretty easy to drill out (#4 for the day), here’s an inside shot; back to square one.

Ready to try again.

After setting the first two, a picture.

These look good.

And after much consternation (including using my double offset set as a bucking bar), I got the two outside rivets bucked.

Finally done with riveting for the day.

30 rivets set, 4 drilled out. Lastly, I matchrdrilled the E-614-020 to R-912 rib. This was a piece of pie.

Rudder counterbalance matchrilled to the counterbalance rib. Also, there's the hardware that will be used to fasten these two together.

4.5 hours today. Not bad for a Saturday afternoon.

Prev | Next


Primed R-902 Rudder Spar

March 18, 2010

Prev | Next

I was getting the itch to work on the airplane a little, so I tackled the R-902 Rudder Spar today. First thing, deburring. I know I have plenty of pictures of deburring , but I took a closeup of a few holes.
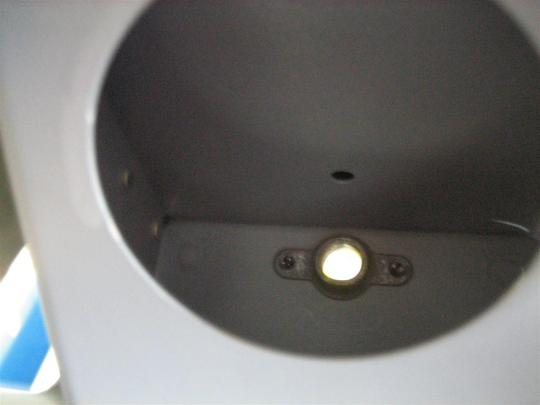
Hole on the left is deburred, hole on the right is not. This is the topside, though, so the raw hole on the right doesn't even have really bad burrs. The weird crap on the left is just a piece of metal left over from deburring, it's not really messed up.
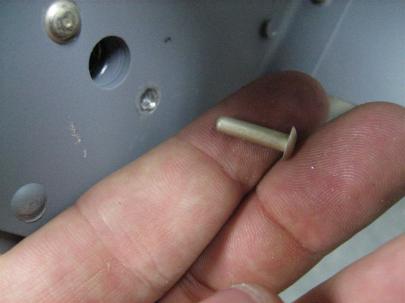
Here’s an action shot of me using the oversized bit to deburr.

Action shot!

Here’s the spar, deburred, and ready for scuffing, cleaning, and priming. Sorry for all the pictures tonight.

R-902 Rudder Spar

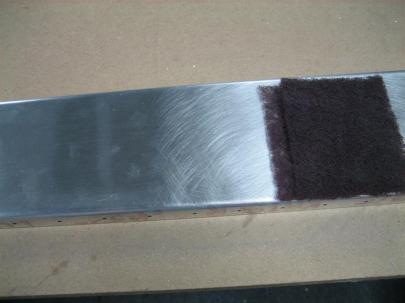
Here’s a picture of me scuffing with my maroon scotchbrite pad. For some reason, I like this step in the airplane building process.

Left half is the raw spar, right half has been scuffed.

Then, Ginger noticed I was in the garage working, and since the garage temperature was the same as the house tonight, I left the door open.

"Jack, come out here and let's see what dad is doing."

Jack came to see what was going on.

Jack and ginger, curious as always. (They are collarless due to the baths they just got.)

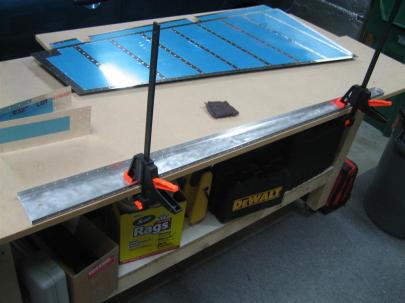
To scuff the inside, I decided to clamp the spar down to the table. It makes scuffing slightly easier, and I can use two hands on the edges.

Some of my nice (but cheap) clamps from Harbor Freight earning their keep.

Next up, dimpling. The construction manual warns to maybe grind down the dies to make sure not to gouge the spar web. I didn’t seem to have any issues with clearance.

Dimpling with #40 tank dies.

Then, I took the spar inside and cleaned it with dawn dishwashing detergent. Then back outside to dry for priming. Here’s the spar in my fancy paint booth setup.

Spar, ready to be shot with primer.

I did the forward side of the spar first. (Notice the open garage door, I’m trying not to kill too many brain cells with the priming.)

Forward side of the spar primed.

A shot of the lower portion of the spar.

Then, after going inside to refill the wine glass (to let primer dry), play with the pups (let primer dry), and hang out with the girlfriend (let primer dry), I went back outside to prime the aft side of the spar.

The bright orange thing on the spar near the right 2x4 support is the reflection of a warning sticker above the garage door. The primer is still wet. I didn't see this until I uploaded the pictures.

After another half hour or so, I put the spar back on the table and clecoed the R-606PP (Lower Spar Reinforcement) and R-607PP (Middle Spar Reinforcement) to the spar, along with the appropriate K1000-6 nutplates.

I'm getting close to riveting again!

A closeup of the nutplate

I always get so excited when I get to this point.

That was pretty much it, except for more experimentation with the “macro” setting on my camera.

Eh. No reason for this picture. Just experimenting.

1.5 hours today. It felt nice to get a big piece like the spar done.

Prev | Next


Primed R-918s and R-608PP

March 14, 2010

Prev | Next

After a whole 10 days on vacation, a few flight delays, cancelled flights, rebooking to a city 6 hours away from home, lost bags, malfunctioning 737s, and a broken down rental car, I finally made it into the shop.
I know I wasn’t going to be able to put in hours and hours of work, but in the words of Bob, “baby steps.”
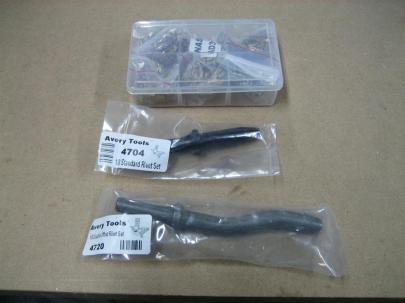
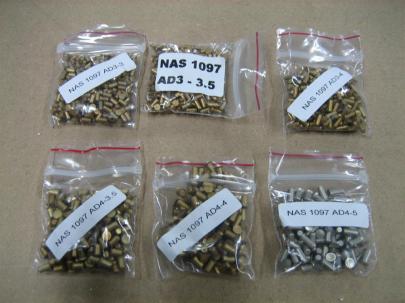
First of all, while I was gone, I got an order in from Avery. It contained the NAS 1097 “Oops” rivet kit, and two sets, both 1/8″, one straight, and one double offset. These were relatively cheap ($8 and $20, respectively) and I believe they will come in very handy. Here’s the merchandise.

I love buying tools. It's like crack, but more legal.

After unpacking the new tools, I finished deburring and edge finishing the R-918s.

A deburred and edge-finished R-918. I'm not sure which side this due to the glare in the picture. But you don't really care, though, do you? They are identical parts (although, make sure to keep them separate, because they've been matchdrilled to the rudder skins).

I shot a little primer on one side of those two pieces and started deburring and edge finishing R-608PP, which is the uppermost spar reinforcement plate. I shot a coat on one side of that, and the other side of the R-918s.

Ready to prime R-918s.

R-918s and R-608PP primed. They are still wet, which is why you can see the reflection of the garage insulation on the R-918s.

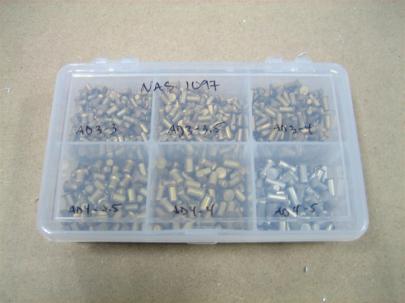
While waiting for those coats to dry, I unpacked my Oops rivet kit.

Which one of these labels isn't like the other?

All done and labeled.

I didn't have any more room in my rivet "briefcase" so I'll leave them in the included case.

Then, in a similar manner to Brad Oliver’s explanation page (another shot here), here’s my shot of some NAS 1097 rivets next to their AN426 counterparts.

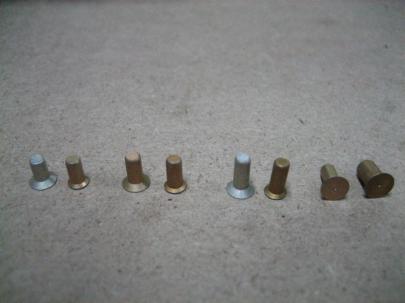
AD3-3, 3.5, and 4 (AN426 and NAS 1097 of each to compare smaller heads for the same size rivet) and on the far right, an AN426AD3-3.5 and a NAS1097 AD4-3.5. Same size head.

From my understanding the AD3 (smaller) sizes are used when a smaller rivet head allows you to countersink thinner material (instead of having to dimple) in non-structural areas (dimples aid in the strength of the riveted pieces). Mostly, they are used where flush rivets are required to attach nutplates (so you don’t have to dimple the nutplates, which is apparently difficult).

The larger size (AD4) rivets are used primarily when you have messed up an exterior hole during riveting or drilling out a badly set rivet that you have to enlarge the hole. The smaller heads on the larger rivets match the regular sized rivet heads.

Once I got primer on those three parts, I put them back on the “table o’ small rudder parts”, to give you a good understanding of how much more tedious prep work I have to do before I can start riveting parts together. I can’t really complain. I love this stuff.

3 of 11 parts primed (and these are just the small parts).

A short half an hour today. Felt good.

NEXT DAY UPDATE:

CRAP!

Because the R-918 (rudder bottom fairing attach strips) go under the rudder skin and bottom rib, they need to be dimpled, and I forgot to do that last night.

Let’s see, rudder skin = regular #40 dimple dies, bottom rib = #40 tank dies, which means I’ll have to use the #40 tank dies on the R-918s, too. I wonder what the dies will do to a part that is already primed. I’ll give it a shot, take some pictures of the results, and re-prime if necessary. Boo.

Prev | Next


More Stiffeners, Some Skeleton

February 26, 2010

Prev | Next

Yes, Friday night! That means instead of being social, I get to stay home and work on the airplane. Wuhoo!

Anyway, after a good workout, I spent a couple hours in the airplane factory. First thing, I grabbed the two primed stiffeners from last night, and got them backriveted in.

#5 and #6 of 8 on the right rudder skin.

Then, I edge finished, scuffed, cleaned, and primed the last two stiffeners on the right skin. Once they were dry, I got those installed permanently, too.

#7 and #8 (two on the far left) of 8 on the right rudder skin.

I couldn’t help myself. I flipped the skin over, and removed the tape to reveal a very smooth skin. I like backriveting. The backriveting plate left some very very very small marks within about a dime sized area around the rivet heads, but I know those will polish out.

A finished right rudder skin. Those wrinkles in the vinyl in the middle where there when the skin was delivered. It didn't look like there was any damage underneath.

After spending some time admiring the right skin, I decided to finish the edges for the left skin’s stiffeners. After that, they got scuffed, cleaned, and set up on my fancy priming bench. Here they are ready for primer.

8 left skin stiffeners, ready for primer.

While those dried on one side, I decided to dive on in to the rudder skeleton. First, they have you cleco the R-904 root rib to the R-902 Spar. Tough step, but I managed.

Started on the rudder skeleton.

Then, because it was late, I had to skip the steps with the drilling and the fabricating the “shim” etc. I moved on to clecoing the spar reinforcement plates in. Here are the top two.

Fancy pants, huh?

Then, they have you grab the R-909? (tip rib) and R-912 counterbalance rib and cleco those to the spar after fluting, if necessary. It was necessary.

R-912 Counterbalance rib on the left, R-909 tip rib on the right. You can see I fluted the tip rib too much toward the aft end (top of the picture). I'll straighten it out tomorrow.

After that, they have you cleco the dreaded counterbalance skin to those two ribs. I’ve heard bad things about this step (mostly difficulty due to bad fit). Well, it was slightly difficult, but mainly due to perfect fit. If you start from the front (bottom right of the picture), everything will work out, but the fit is pretty precise. There is no slop in these prepunched kits.

The right side of the counterbalance skin clecoed on.

Then, I flipped the assembly over and clecoed on the left side of the counterbalance skin.

Left side clecoed on. (Hey, you can see my fancy fluting pliers back there.)

By then, the remaining stiffeners were dry on one side, so I shot the other side with primer and headed in for bed. (For blogging, and then bed.)

asdf

66 rivets today, all backriveted. Also, I passed 1000 rivets set today. A little bit of a milestone, although I think there are something like 20,000 rivets in the whole kit. So, I guess I’m 5% there.

Good night.

Prev | Next


Vertical Stabilizer 99 Percent Complete

February 15, 2010

Prev | Next

Jack and Ginger were a little neglected this weekend while the girlfriend and I painted the master bedroom. I’m sorry, guys.

Anyway, tonight was all about them, so in the middle of playing, napping by the fire, and running in circles around the house, I managed to calm them down enough to help with the airplane a little.

With the few minutes I had, I managed to set the 22 rivets that were hard to reach with the squeezer last Friday night. A few of them, especially near the elevator hinge brackets, were still hard, but I managed to get them all set, even if it was after drilling a few out. I also set the three AN470AD4-6 rivets that hold the rear spar to the root rib and also install the three LP4-3 rivets that hold the rear spar to the middle rib.  Here are the dogs, once I got the vertical up into the ski equipment room, umm, I mean airplane parts storage room, umm, I mean burnt orange room.

The dogs flew again. This time with directional stability!

They aren’t really happy about being in the orange room in general (it is off limits, so they are very good about not crossing the threshold), but especially not when they have to pose in the airplane. I know for a fact, though, that they will love flying in it when it’s done.

Jack's not very happy about posing. He's ready to go.Jack's slightly less uncomfortable the further he is away from the "shiny blue thing that makes loud noises." Seriously, I heard him describe it that way.

Ginger’s okay, though. Especially when there is a bone on which she could be chewing.


Jack's slightly less uncomfortable the further he is away from the "shiny blue thing that makes loud noises." Seriously, I heard him describe it that way.

Finally, one without the dogs.

Tada!!!

All in all, a good night. 1 hour, 28 rivets set, 5 drilled out.

There are still a few more things I would like to do to the vertical, like drill out a couple of rivets and reset them, and clean up some of the skin edges, but for the most part, it can sit inside while I press on. I can’t believe it took me 16.5 hours for the vertical versus 44.5 for the horizontal. I think I would recommend to other newbies to start on the vertical. It seemed to be a lot easier, but I don’t know if that was because I had done everything once already on the horizontal, or because it really was easier. Whatever you do, don’t take my advice, though. You’ll die if you do.

Prev | Next


VS Skin Riveting, Part Deux

February 12, 2010

Prev | Next

I’m writing this on Monday for Friday night’s work, so we’ll see how much I can remember.

After a couple minutes of clecoing on the right side of the VS skin, I got started riveting. First, I set every other rivet along the VS-702 front spar and the VS-707 middle rib.

Left skin on the bottom, right skin on the top. That crazy long cleco keeps sneaking into the pictures.

After rivting the front spar and ribs to the skin, here’s an interior picture.

Lower interior of the vertical stabilizer.

Here’s a picture of my “every-other-rivet” style. It works well.

Ready for the remaining rivets.

There are 39 rivets (not counting the tip and root ribs) for the front spar and middle ribs. After setting these 39, I’m ready to pull off the blue vinyl from the interior.

Starting to look pretty. So is your face.

Another rivet picture. (I’m not sure I got these in the correct order…Hmm.)

VS shop heads.

More rivets.

More shop heads.

<sigh>

<yawn>

Had enough yet?

Even more shop heads.

Alright, now I get to start removing the blue vinyl. This is where the gravy is. After all that prep work and riveting, you get to remove the vinyl to reveal a beautiful shine on the inside. I can’t wait to do this on the exterior skin (just before polishing). Flash on for visibility.

Starting to remove the blue vinyl.

I left the flash on for this one so you could see inside.

Inside the lower bay of the VS.

And the upper bay.

Upper bay of the VS.

After removing all of the vinyl, I moved on to riveting the tip (VS-706) and root ribs (VS-704 and VS-705) to the skin. All was going well, until I got the front of the root rib.

Anyway, for some reason the skin wasn’t sitting well on the rib. I later determined it wasn’t interference, just the natural curve of the rib.

The lower right side of the VS skin wasn't sitting very well on the root rib.

My solution? Use a tape-covered clamp to squeeze them together.

Alright, let's set this rivet.

That did the trick. Who’s next?

Looks perfect now.

Here I am riveting some of the rest of the root rib. I was very careful to not rivet the 6 holes on each side the instructions tell you to leave open for the empennage fairing. I probably won’t use all 6, but I can always squeeze these later, so why close any metaphorical doors?

In the middle of squeezing the root rib.

Here’s the VS (except the rear spar) all riveted together. Notice the 6 clecos in the holes to leave open.

Where's that rear spar?

I inserted the rear spar and started setting rivets. All was going perfectly, until I realized that most of the rivets couldn’t be set because of conflicting shop heads on the rear spar. I had tried two rivets that were close to having enough clearance, and I messed both of the shop heads up. Here’s one.

Bad rivet shop head there in the middle. Obviously.

And here’s the other.

Another bad shop head there on the left. See the cleco in the middle of the picture. The rivet that will go in that hole doesn't have a lot of room to be bucked.

I gave up on any other rivets that would be close with the squeezer. I’ve been doing so well recently with the gun and bucking bar, that I’ll just wait till I can make loud noises and set them with the gun.

Where I left off for today. I'll figure out how to set the remaining rear spar to skin rivets sometime next week.

One and a half hours today. 135 rivets set; some shot, some squeezed. Only a few will have to be drilled out later. Good night tonight. Hopefully next week, the dogs will get some directional stability.

Prev | Next