Riveted the Right Rear Spar to the Main Ribs

January 23, 2011

Prev | Next

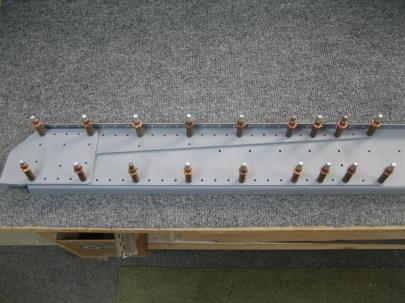
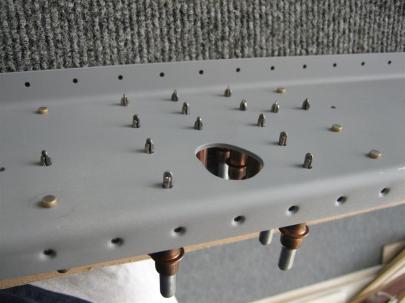
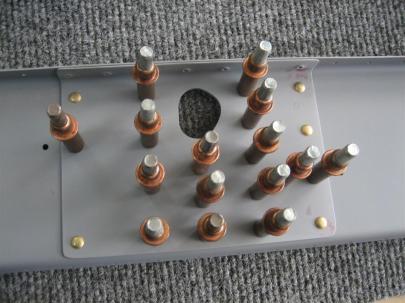
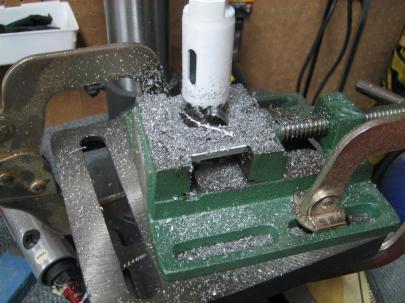
Well, today was a crappy day. I had mucho problems with riveting the right rear spar to the main ribs.

I’ll walk you through what happened.

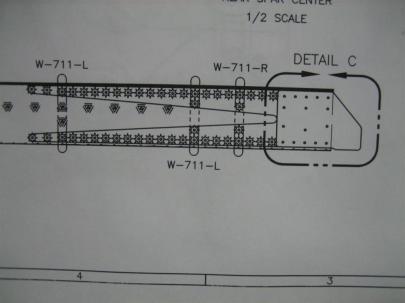
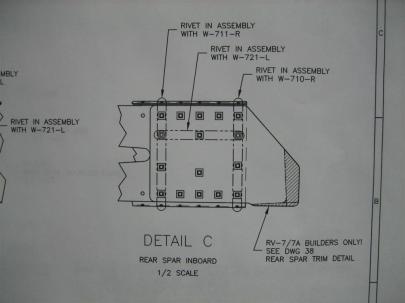
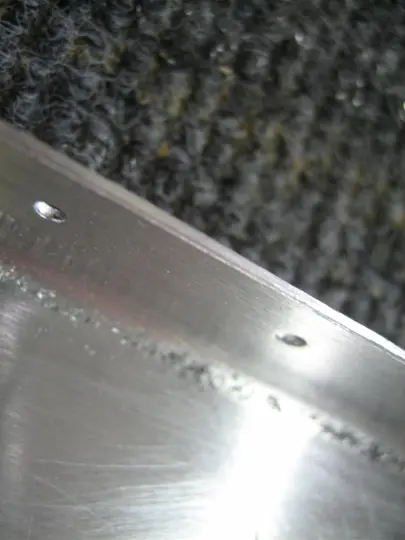
I started with the inboard side of the spar. The plans call for an AN470AD4-8 rivet. As you can see below, this is a little for a good shop head.

...AD4-8.

Here's an ...AD4-9 rivet. This looks better.

After some gymnastics with my good squeezer, which only has a 4″ no-hole yoke on it, I realized that I needed the holed yoke, and therefore needed to use my economy squeezer. Bummer.

(Back in the empennage, I stopped squeezing AD4 rivets altogether because I kept messing them up; the economy squeezer just didn’t have enough oompf.)

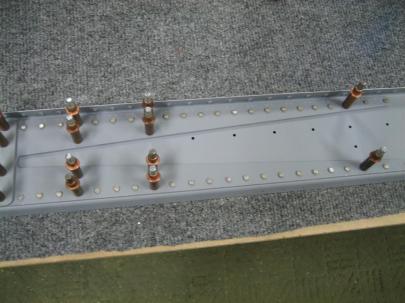
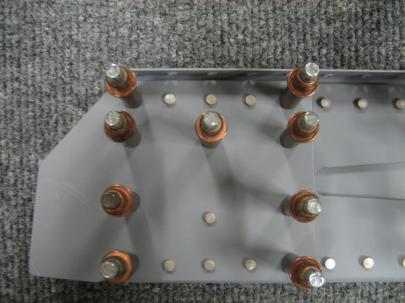
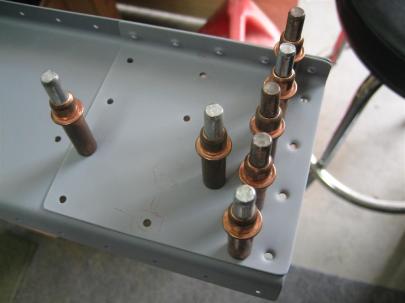
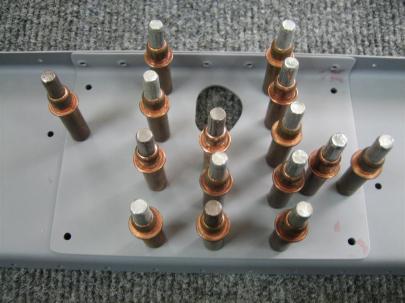
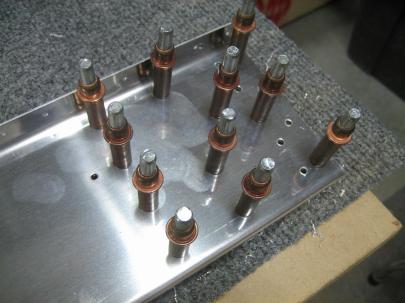
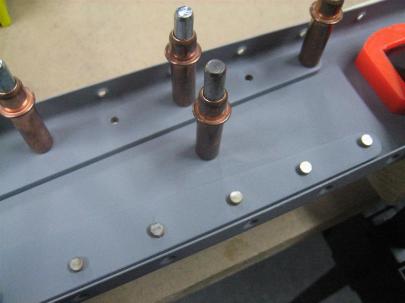
Anyway, I managed the wingwalk rivets with the smaller squeezer. Here’s 9 rivets squeezed.

I couldn't reach the top-most rivet in 3 of the 4 wingwalk ribs. (The other open hole in each of the rib attach points needs to wait for the flap brace.)

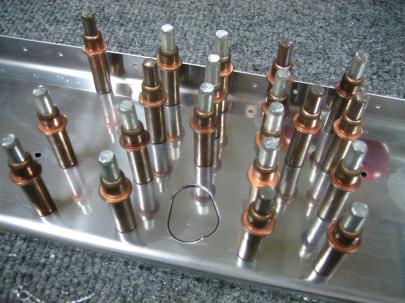
I moved my way outboard from there, two rivets in each rib.

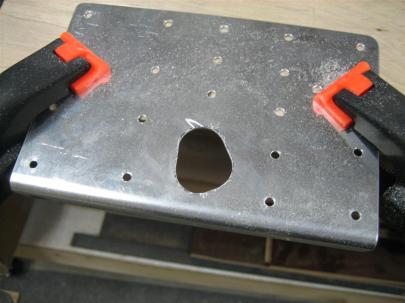
Halfway there, I bent over both of the rivets in the aileron pushtube doubler area, and drilled both of those rivets out. Then, the aileron gap seal switches “open” rivets (compared to the flap brace) so of course I set a two rivets there that had to be drilled out.

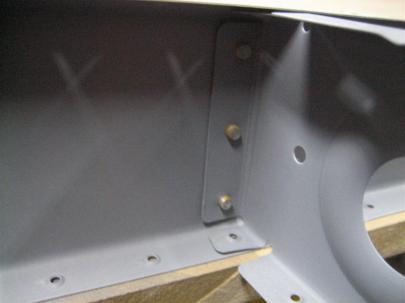
When I got to the end, I noticed things weren’t lining up very well.

Duh. Forgot to dimple the aft side of the outboard rib.

That's better.

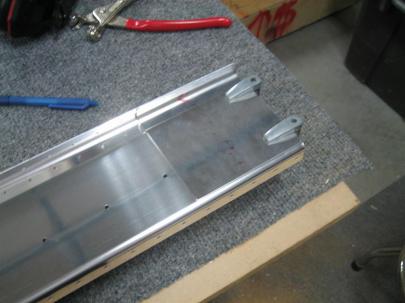
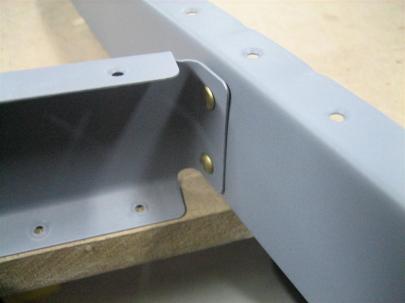
I still couldn’t reach the one rivet (shown on the left here), but I got the other 3 set properly.

The apparent gap between the two flanges isn't really a gap, its just the shadow.

Let me bring you back to the very first rivet I set. The camera is upside down here (so the part is right side up).

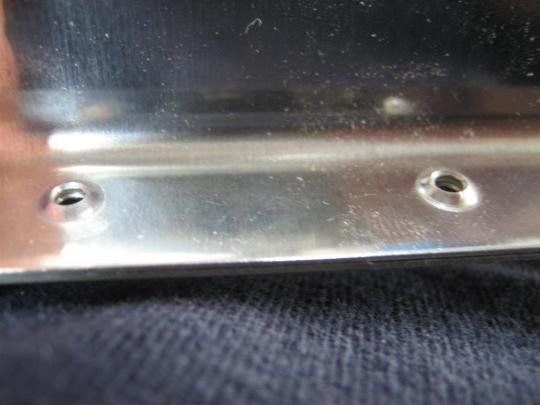
The upper, leftmost rivet bent over (it was the first one I set with the economy squeezer). After drilling out, the hole was englarged.

With only slightly enlarged holes, sometimes you can just squeeze another rivet (a little longer this time) and it will expand to fill the hole nicely.

This is after setting another rivet.

This one did not properly expand, and by the time the shop head was formed, it kind of formed in the hole.

Hmm. I know this is a critical piece, so I’m going to have to call Van’s and ask them what the best course of action here is.

I’m hoping I can step up to a AN470AD5-9 rivets, but I’ll need to drill the rivet and hole out to 5/32″ and I’m worried about edge-distance in the up direction.

We’ll see what the guys at Van’s have to say.

January 31st update: Ken S at Van’s wrote back.

A 5 rivet should work ok. If you can fill the hole with the original rivet, that’s ok too –even with
a slightly undersize head. Just be sure that the rivet engages the entire circumference of the
hole.

Alright. I’ll have to add AN470AD5- rivets to my next order from Van’s or Aircraft Spruce. In the meantime, I’m going to keep working on other stuff.

U-G-L-Y, you don't have no alibi, you ugly! {clap, clap} You ugly!

1.5 hours and 28 stupid rivets set (my arms are tired from the economy squeezer); 8 of those drilled out.

I’m going to have to buy a new yoke ($$$) and probably do some surgery on the offending rivet in the last picture.

I’m stopping this post and starting another one (click next below) because I moved on to the skins. I really needed to end on a good note today, and the skins actually did the trick.

Prev | Next


Finished Riveting Right Wing Main Ribs to the Main Spar

January 21, 2011

Prev | Next

Well, after a quick workout, I manage to get a few rivets set in the main spar.
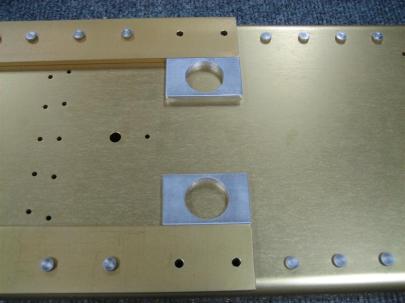
I quickly got 6 of the 7 remaining right main ribs riveted to the main spar (the outboard rib doesn’t get riveted to the main spar because it shares rivets with the leading edge outboard rib…the rest of them are slightly offset from their leading edge rib neighbors.)

Anyway, after 30 rivets set, I decided that 6 of them needed to be drilled out. Here’s a good example.

Those are called "smileys."

I know exactly why it happens. It’s because I am watching the bucking bar and shop head form. When the shop head is set appropriately, I’m subconsciously lifting the bucking bar away from the shop head before letting go of the rivet gun trigger. The rivet set bounces on the head and creates the smiley.
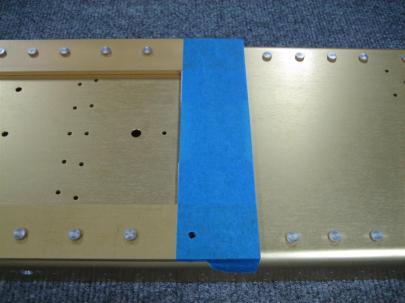
Of course, when I concentrate on letting go of the trigger first, all goes well.

Anyway, I’ve been trying a new technique with drilling out these AD4- rivets. I’m actually drilling them out from the shop head side. Assuming the shop head is centered over the hole, it is easier to center-locate the drill bit on the flat shop head than the rounded manufactured head. Here are a few pictures of my good results.

I didn't get any oversized holes at all.

Here either.

Here’s what the drilled out rivet looks like.

I started from the shop head side (left here) and finished just prior to hitting the manufactured head. This worked great for me.

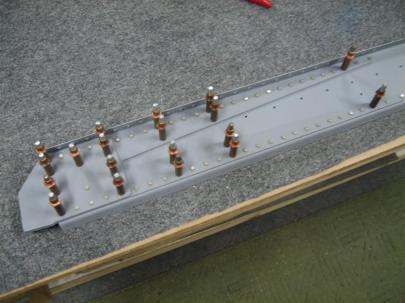
After re-setting those 6 rivets, I snagged a picture of all (except for the outboard) ribs riveted to the right main spar.

Wuhoo! Big pieces permanently together!

I flipped the spar over on the stand and clecoed on the rear spar.

One cleco in the rear spar for each rib.

I may get to riveting the rear spar tomorrow…we’ll see.

1.0 hours. 30 rivets set, 6 of them drilled out and re-set.

Prev | Next


Prepped Right Wing Main Ribs, Clecoed Skeleton

September 18, 2010

Prev | Next

I’ve been at a little bit of dilemmna the last few days trying to figure out what direction to take with the project.

I still have the left rear spar to work on (until the left main spar shows up from Van’s…shipped yesterday…should be here Wednesday), or, I could move ahead with some rib prep on the right wing.

For the sake of  seeing something cool at the end of the day, I think I’ll move ahead with the right wing, and hopefully I’ll be able to get it onto a wing stand (yet to be designed) by the time I can get the left spar caught up to this point.

With rib prep, I’ve decided not to follow the suggestion to do all the ribs at once. I’m going to do them a few at a time to save my sanity.

First thing, let’s find some ribs.

I've pointed out to you before that I am at a little bit of a disadvantage building the right wing first, from the plans that only show the left wing.

Notice here that of the three different kinds of main wing ribs, there are both left and right versions in each of the wings. From what I can tell, the flanges face left or right based on what will be easiest/accessible to rivet.

So here are some main ribs (I count 11 in the picture, there are really 14 main ribs in each wing).

My goal today was to get the ribs clecoed to the spars, so I’m only going to finish what I have to (out of efficiency, not laziness). This means I’m going to edge finish most of each rib, then move on to fluting and flange straightening.

The edge finishing (except the little crevices) only took about 30 minutes on the sanity-saving scotchbrite wheel.

The fluting and flange straightening took 2 more hours, though. Ugh.

I took all 14 right main ribs inside and watched the UNC-GT and the Vandy-Ole Miss games.

Here's a rib, halfway fluted.

After fluting (holes are straight), but before finishing up the flange-straightening (to 90° from the web).

After a little while, my hands were hurting from all the fluting, so I took a picture of what I have done so far.

Looks like 5 done, 9 to go.

My "to go" pile. {sigh}

And after another couple of hours, I had the main ribs edge-finished, fluted, and flange-straightened enough to cleco them to the spars.

I really didn’t think I’d get this far tonight. (I have to keep in mind there is still a lot more prep on the ribs before I can actually prime them and get them riveted to the spars.

Pretty. (Pretty big!)

And of course, here is the obligatory “down the lightening” holes shot.

Every other builder on the plant has taken this picture.

But that’s not all! I have variations on a theme.

It's Ginger!!!

And Jack!!! (I promise he is there, just hard to see.)

After sending the dogs back inside for their Saturday afternoon nap, I just stared at this thing for awhile.

It just looks so cool!

3.0 hours today.

Prev | Next


Finished Right Rear Spar

September 14, 2010

Prev | Next

So on the scale from “no help at all” to “girlfriend built the plane all by herself,” we made a few steps last night.

After dinner (thanks Mi Pueblo!), I convinced the lady friend to come outside and help me finish up the last few rivets on the right rear spar.

I talked her through going to the plans, looking at the rivet callout legend, and then putting the rivet in the appropriate holes, making sure to avoid the “rivet later” holes.

We were planning on having her actually squeeze the rivets, but the AN470AD4-6s (and -8s) were too much. She ended up holding the spar steady for me and helping with rivet layout. (See, I told you it was a small step toward “girlfriend built the plane all by herself.”)

I’m working towards being able to call from a business trip across the country and tell her to do something offhand like, “Hey honey. Can you hang the engine for me tonight while I’m away? Great. Thanks. Bye!”

Here's the plans shot for the reinforcement fork.

Of course, we were too busy being in love (with each other and the airplane) to take very many pictures, so you just get the end result. The main squeeze did a great job reaching all of these rivets (mostly due to the 4″ no-hole yoke).

Final rivets in the fork-only area. 38 rivets here.

Closeup of the fork and doubler plate together.

Final rivets in the doubler plate. 7 more rivets here.

Finished product.

0.5 hours (thanks, girlfriend), and 45 perfect rivets.

For those of you paying attention to the totals, that brings me to 175 hours (after 261 days) and 2409 rivets (of an estimated 20,000). Still a long way to go.

Prev | Next


Primed and Started Riveting Right Rear Spar

September 12, 2010

Prev | Next

Well, after a $15 stop at Napa ($10 for primer, $5 for sensor-safe RTV), I got back to work on the rear spar.

I spent a lot of time just kind of staring at everything today. The instructions are careful to point out that at the inboard part of the spar (where the reinforcement fork is), you can’t reach the spar flange holes with dimple dies for later dimpling, so you should do it now.

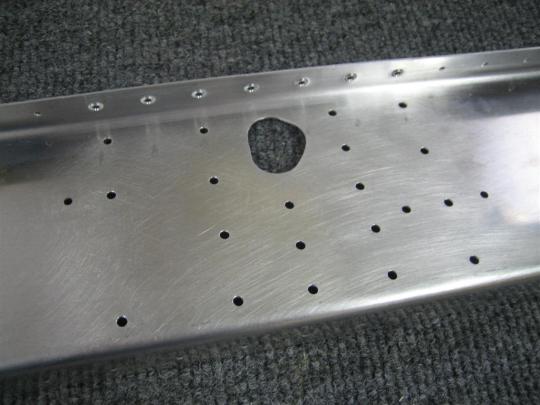
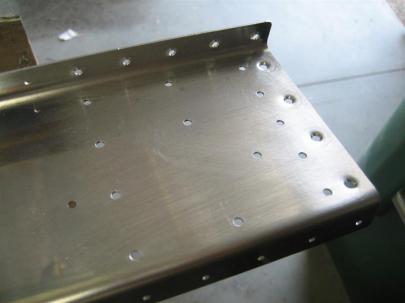
With that in mind, I wanted to make sure I got everywhere that may need dimpling later, so I also dimpled above the two (middle and outboard) doublers. You can see in this picture (the middle doubler) where I decided it would be a good idea to dimple (drill, deburr, then dimple, of course) the flange holes. I did this for both the spar and the doubler plates, which also have flanges on them.

The middle spar area, shown after drilling, deburring, and dimpling the flange area.

Same thing here. Also, I dimpled the 4 outboard holes (instead of countersinking), per previously approved builders who have talked to Van's.

I got back to thinking about the tank dimple dies, and whether they were really helping with skin-to-structure attachments. The idea is the the tank dies (which are deeper to account for pro-seal while riveting the tanks), when used on the skeleton, allow the regular dimple in the skin to sit better once riveted.

I got out some scrap, dimpled the “skin” with regular dies, and dimpled the “skeleton” with one tank and one regular die.

You can see on the left, those are the regular dies. The ones on the right is a regular die sitting in a deeper tank dimple. The tank dimples didn’t help anything sit better, because they were both fine.

A little blurry, but the "skin" sat equally well for both set of dimples.

The tank (deeper) dimple is on the right. You can see I'm not having any "seating" issues on the left.

Anyway, I think I am going to go back to using the regular dies on everything. Enough about that, though, let’s prime!

The rear spar components, getting primed after some more edge finishing, washing, drying, and positioning in my wood floors boxes.

Also, I went back and masked off the spar where I had countersunk.

Some of the nutplate attach rivets are not as flush as I would like them to be. I may get a rivet shaver and shave some of these down and reprime. We'll see how the tank skin sits on them.

Back on the rear spar, I posted a couple pictures of my edge finishing procedure. First, use the Permagrit block to smooth out the tooling marks. This picture is the resulting burrs that need to be deburred.

The permagrit is great, but it does leave some pretty decent sharp edges.

Then I used my “v” deburring tool to knock off the 45°.

After this, I usually use a scotchbrite pad to smooth everything out.

After blowing the aluminum dust off with shop air and a good wipe-down with MEK, I took the spar outside so I could paint the grass with my overspray.

I think this is the second side. Only one bug landed on my spar. I left him there for now. (He may be my first passenger.)

After a few hours, I returned out to the garage (workshop/mancave) to do some riveting.

First step: Ignore Van’s suggestions to tape off all of the holes that don’t get riveted now. (I know the warning bells must be going off right now, but it all worked out fine. Just have to read the plans carefully.

I left clecos in all of the “do not rivet now” holes. 6 regular AN470AD4-4 rivets on the left, and some AN426AD4-4 (I think) rivets in the dimples on the right.

SEP 14 UPDATE: WHOA! Those 4 on the right can’t be set now, because the W-712 outboard rib will get riveted to these holes, too. Glad I didn’t get to happy with the rivet squeezer.

These 10 can be riveted now. (Sep 14, 2010 Update: Nope. Just the 6 on the left can be set now.)

Same exercise here. Only 5 rivets can be set now.

I didn't really mark anything here, because I didn't really start on riveting the fork on yet. Next post, I'll be very careful about what to rivet.

Then, I actually started riveting. I love my new Cleveland Main Squeeze. Squeezing these An470AD4- rivets is so easy now.

Here are the 5 shop heads from the middle of the rear spar.

The same 5 from the manufactured side.

Oh, and I did 6 more at the W-707F doubler plate, but forgot to take pictures. 11 total. Also, I was mixing this and house projects over the course of a few hours, so I’m going to estimate it was about 2.0 hours today.

Prev | Next


More Right Tiedown Work, Started Right Rear Spar

September 5, 2010

Prev | Next

Whoa, it’s been awhile since I actually got any work done on the airplane. I’m going to blame my exploding lawnmower (long story), business trips, and the wood floors project.

Anyway, I managed to find a good bi-metal hole saw from the aviation department at Lowe’s, so I chucked that thing up in the drill press and started in on the spacer lightening holes.

Under all that mess is a spacer with a freshly cut hole in it.

I am not really a fan of cutting those things this way, but I don’t have a fly cutter (apparently the one from Harbor Freight sucks), so this was the best I could do.

They actually turned out really nicely.

Two spacers, that go against the spar web.

Like many other builders, I taped them down before putting the tiedown bracket in place, flipping the spar over, and matchdrilling the remaining 7 holes.

After everything has been matchdrilled, I pulled it apart. Looking good so far.

Then, I skipped a couple pictures, but basically You bolt the tiedown bracket, spacers, and nutplates in place and use the nutplates to backdrill the attach holes (small ones on either side of the bigger holes). They all turned out great, except for the upper left set, which for some reason are a little crooked. It doesn’t matter what the nutplate ear orientation is, I was just annoyed they didn’t turn out perfectly aligned.

Somehow that upper left one's alignment got away from me.

Then, you have to countersink the nutplate attach holes (this side of the spacers must sit flush against the spar web).

These rivets aren't set (I still have to prime all these pieces), but I just put them in there to see how my countersinks were. (The lower left one is a little deep, but this is thick spacer, so it shouldn't be a big deal.)

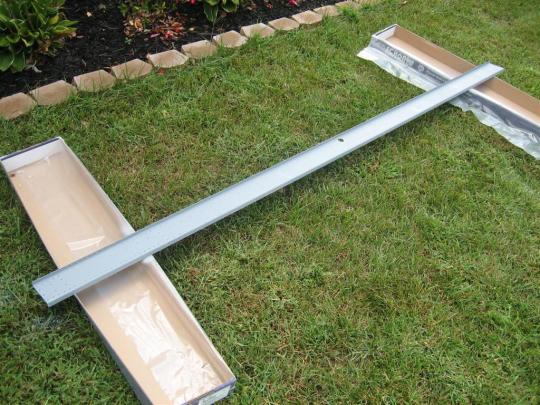
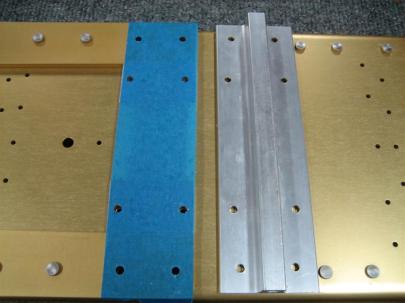
I don’t have any primer, so I decided to move forward (“aft”?…ha…airplane coordinate system joke) to the rear spar. After getting out the W-707A rear spar channel (make sure to grab the correct one, there’s a left and a right) and the W-707E and W-707F doubler plates, I took the blue plastic off of everything and started getting things clamped in place.

The W-707F is laterally aligned with the outboard edge of the rear spar channel.

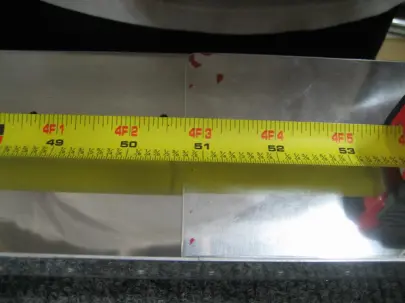
The W-707E gets laterally aligned by measuring; the outboard edge of the doubler plate should be 50 3/4" from the outboard edge of the rear spar channel. Easy enough.

Then, I fired up the air drill for some matchdrilling.

{air drill noises} Whose finger prints are those?

{more air drill noises} Also, I traced out the aileron pushrod hole onto the doubler plate.

After some though about how to do this, I decided to forego the step drill (Unibit) trick (I don’t have a Unibit…how’s that for a trick!) and just drill some holes and then get the dremel out.

It turns out that all the little fancy metal saw and milling tools aren’t really as easy to use as the 1/2″ sanding drum . Save yourself some time and just get the sanding drum out. Very easy to control.

Looks pretty good to me. (This crazy little torture device that looks like a saw got away from me and cause that scratch. I'll have to buff that out.)

After clecoing back to the spar turns out the thickness of my line made my initial pass a little small. (Better small than big.)

More sanding, anyone?

Much better (still needs some edge finishing).

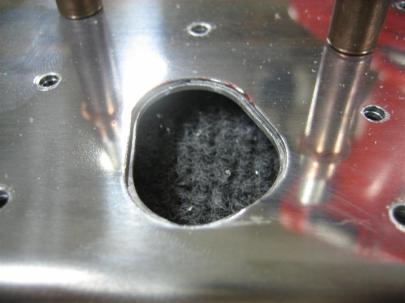
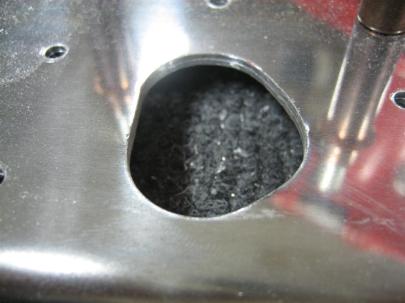
I totally forgot. Even though I don’t have primer to finish up the tiedown bracket, I can still tap the tiedown hole.

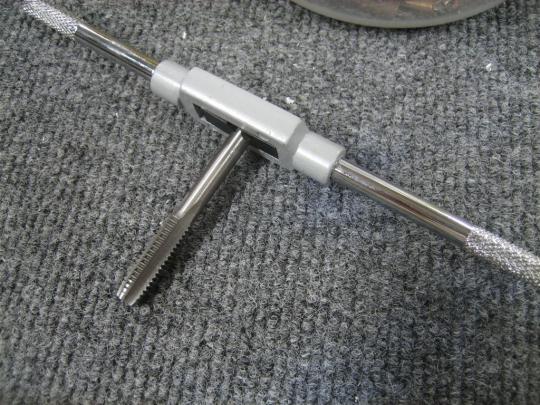
Here's the 3/16" x 16 tap.

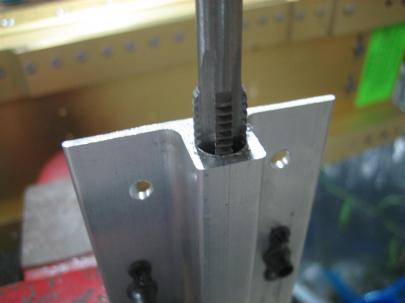
After having a hell of a time getting started, they turned out really nicely.

1 full turn in, 1/2 turn out. Wash. Rinse. Repeat.

I managed to get both brackets done, even though I really haven’t started on the left wing yet.

I'll need to deburr the edge, but this should work just fine.

I ended up going to 1 1/4″, even though the directions tell you to only go 1″. Some other builders had to go deeper once they actually got their eye bolts, I figured it would be easier to do now than to wait until the brackets are in the wings.

2 productive hours today.

Prev | Next


Vertical Stabilizer 99 Percent Complete

February 15, 2010

Prev | Next

Jack and Ginger were a little neglected this weekend while the girlfriend and I painted the master bedroom. I’m sorry, guys.

Anyway, tonight was all about them, so in the middle of playing, napping by the fire, and running in circles around the house, I managed to calm them down enough to help with the airplane a little.

With the few minutes I had, I managed to set the 22 rivets that were hard to reach with the squeezer last Friday night. A few of them, especially near the elevator hinge brackets, were still hard, but I managed to get them all set, even if it was after drilling a few out. I also set the three AN470AD4-6 rivets that hold the rear spar to the root rib and also install the three LP4-3 rivets that hold the rear spar to the middle rib.  Here are the dogs, once I got the vertical up into the ski equipment room, umm, I mean airplane parts storage room, umm, I mean burnt orange room.

The dogs flew again. This time with directional stability!

They aren’t really happy about being in the orange room in general (it is off limits, so they are very good about not crossing the threshold), but especially not when they have to pose in the airplane. I know for a fact, though, that they will love flying in it when it’s done.

Jack's not very happy about posing. He's ready to go.Jack's slightly less uncomfortable the further he is away from the "shiny blue thing that makes loud noises." Seriously, I heard him describe it that way.

Ginger’s okay, though. Especially when there is a bone on which she could be chewing.


Jack's slightly less uncomfortable the further he is away from the "shiny blue thing that makes loud noises." Seriously, I heard him describe it that way.

Finally, one without the dogs.

Tada!!!

All in all, a good night. 1 hour, 28 rivets set, 5 drilled out.

There are still a few more things I would like to do to the vertical, like drill out a couple of rivets and reset them, and clean up some of the skin edges, but for the most part, it can sit inside while I press on. I can’t believe it took me 16.5 hours for the vertical versus 44.5 for the horizontal. I think I would recommend to other newbies to start on the vertical. It seemed to be a lot easier, but I don’t know if that was because I had done everything once already on the horizontal, or because it really was easier. Whatever you do, don’t take my advice, though. You’ll die if you do.

Prev | Next


VS Skin Riveting, Part Deux

February 12, 2010

Prev | Next

I’m writing this on Monday for Friday night’s work, so we’ll see how much I can remember.

After a couple minutes of clecoing on the right side of the VS skin, I got started riveting. First, I set every other rivet along the VS-702 front spar and the VS-707 middle rib.

Left skin on the bottom, right skin on the top. That crazy long cleco keeps sneaking into the pictures.

After rivting the front spar and ribs to the skin, here’s an interior picture.

Lower interior of the vertical stabilizer.

Here’s a picture of my “every-other-rivet” style. It works well.

Ready for the remaining rivets.

There are 39 rivets (not counting the tip and root ribs) for the front spar and middle ribs. After setting these 39, I’m ready to pull off the blue vinyl from the interior.

Starting to look pretty. So is your face.

Another rivet picture. (I’m not sure I got these in the correct order…Hmm.)

VS shop heads.

More rivets.

More shop heads.

<sigh>

<yawn>

Had enough yet?

Even more shop heads.

Alright, now I get to start removing the blue vinyl. This is where the gravy is. After all that prep work and riveting, you get to remove the vinyl to reveal a beautiful shine on the inside. I can’t wait to do this on the exterior skin (just before polishing). Flash on for visibility.

Starting to remove the blue vinyl.

I left the flash on for this one so you could see inside.

Inside the lower bay of the VS.

And the upper bay.

Upper bay of the VS.

After removing all of the vinyl, I moved on to riveting the tip (VS-706) and root ribs (VS-704 and VS-705) to the skin. All was going well, until I got the front of the root rib.

Anyway, for some reason the skin wasn’t sitting well on the rib. I later determined it wasn’t interference, just the natural curve of the rib.

The lower right side of the VS skin wasn't sitting very well on the root rib.

My solution? Use a tape-covered clamp to squeeze them together.

Alright, let's set this rivet.

That did the trick. Who’s next?

Looks perfect now.

Here I am riveting some of the rest of the root rib. I was very careful to not rivet the 6 holes on each side the instructions tell you to leave open for the empennage fairing. I probably won’t use all 6, but I can always squeeze these later, so why close any metaphorical doors?

In the middle of squeezing the root rib.

Here’s the VS (except the rear spar) all riveted together. Notice the 6 clecos in the holes to leave open.

Where's that rear spar?

I inserted the rear spar and started setting rivets. All was going perfectly, until I realized that most of the rivets couldn’t be set because of conflicting shop heads on the rear spar. I had tried two rivets that were close to having enough clearance, and I messed both of the shop heads up. Here’s one.

Bad rivet shop head there in the middle. Obviously.

And here’s the other.

Another bad shop head there on the left. See the cleco in the middle of the picture. The rivet that will go in that hole doesn't have a lot of room to be bucked.

I gave up on any other rivets that would be close with the squeezer. I’ve been doing so well recently with the gun and bucking bar, that I’ll just wait till I can make loud noises and set them with the gun.

Where I left off for today. I'll figure out how to set the remaining rear spar to skin rivets sometime next week.

One and a half hours today. 135 rivets set; some shot, some squeezed. Only a few will have to be drilled out later. Good night tonight. Hopefully next week, the dogs will get some directional stability.

Prev | Next


VS Rear Spar Work

February 1, 2010

Prev | Next

After the big snow storm this weekend, work was delayed this morning until 10:30am. That gave me a few extra hours to recover from my ski trip yesterday. Maybe I’ll post a couple pictures later.

Also, I snuck in an hour on the vertical tail this morning after a quick workout.

First thing, I drilled out the 5 poorly set rivets from Saturday, and ended up shooting 67 rivets in today.

Here I am setting some universal rivets.

Me using the tape trick even on universal rivets.

Here are all of the lower vertical rear spar flush rivets.

Sorry for the weird angle. Here are the flush rivets on the forward side of the lower vertical rear spar.

About 4 of these didn’t sit completely flush after backriveting, so I’ll have to drill them out. I think it it because I am using some steel bar stock as a backriveting plate instead of a true backriveting plate. Also, my 12″ double offset backriveting set sucked. I think it is too long to really transfer the force. I swtiched to a shorter and it worked great.

One hour today. Set 67 rivets, drilled out 5 from the other day.

Prev | Next


Skin Dimpling, Edge Finishing, Priming, Riveting

January 30, 2010

Prev | Next

I worked in sections today.

There was a big storm here last night, (and all of today), but I’ve learned that cleaning off the driveway is a lot easier if you do it when it is 3″ two times instead of once after 6″ has accumulated. Here’s what I woke up to this morning.

Snow!

Here’s after about an hour of shoveling. Good workout.

Coming down fast, but at least I cleared off the first 6".

Then, I got the c-frame out and finished the VS skin dimpling. I replaced the blue tape on the male die, and got almost no circles.

Simple but effective dimpling setup.

Then I countersunk all of the lower forward spar reinforcement holes from the plans. I haven’t used the countersink since I had to countersink HS-710 and HS-714 to accept a #30 dimple, so the countersink cage was already set up. All I had to do was verify in a piece of scrap. Yup. It’s perfect.

Beautiful countersinking.

Then, I cleaned and primed one interior side of the vertical skin, then the other. Here’s the first side drying.

Hurry up and wait to dry.

After finishing the second side and letting it dry, I pulled the forward section of vinyl off of the interior side of the skin. During assembly, no bucking bars will be needed in there, so there is no risk of scratching. Then I finished edge finishing the ribs, spars, and rear spar reinforcement, and primed each one. I didn’t prime them sitting perfectly horizontal, so I got some runs and some nastiness; some of them ended up getting touched up, and some got a second coat.  After they were all dry, I cleco those bad boys together in preparation for riveting.

Skeleton and rear spar taking shape.

I started with the skeleton, middle rib. Here’s my first VS rivet.

First VS rivet.

Then, I moved to the tip. See the upper rivet? The skins are sitting flush, this will have to be drilled out.

Ahhh! I suck at riveting.

And the lower rivet there started to bend over. I’ll have to drill out both rivets.

Two rivets to be drilled out.

Back to the middle rib, two more perfect rivets.

There are pretty good. I need to make sure that bottom one is driven enough.

See the fourth rivet from the right? Started to bend over, so I’m going to drill it out. Also, I’m going to put the shop heads on the thicker material here, also, they’ll be easier to inspect.

Uh oh. See the third rivet from the right? I was supposed to wait and rivet this with the skeleton. Slow down and follow the directions!

Two more rivets to be drilled out.

But I was feeling good about squeezing, so I kept going. Until these 4 rivets. Terrible…they all started to bend over. I think my rivet squeezer sucks. I have to squeeze really hard and it it tough to keep everything aligned. I think after I drill these out I am going to shoot and buck these.

4 bad rivets to be drilled out.

At this point, I had to walk away, I was tired, frustrated, and not making any progress. Ugh.

So far, 3.5 hours. I set some rivets today, but I’m not going to count any of them until I drill them out. I’ll update the rivet count later.

Prev | Next