Fixed Right Vent Clip Omission

June 11, 2011

Prev | Next

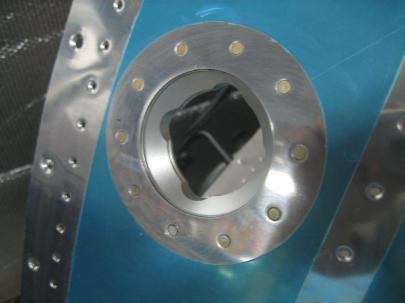
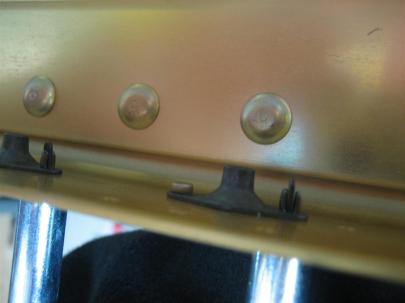
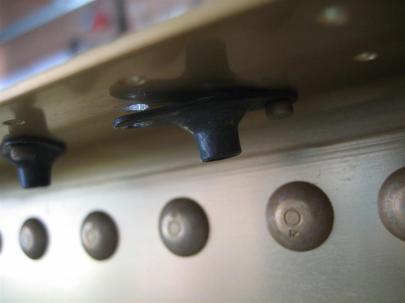
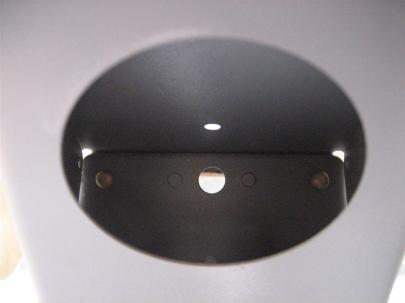
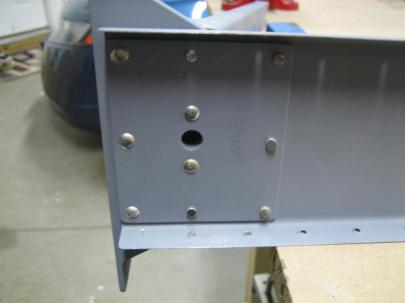
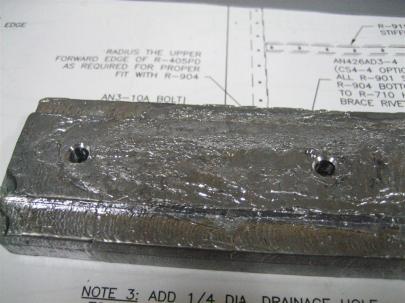
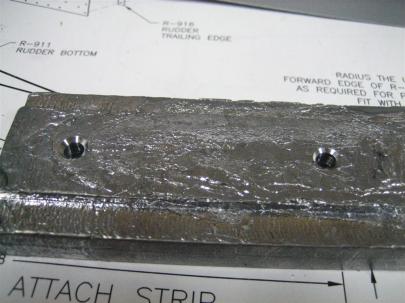
By the title, you can tell that I totally forgot the vent clip on the right tank’s fuel cap flange.

I spent a week preparing myself, reading everyone’s posts on VAF and their build logs, all of which said, “don’t forget the vent clip.”

Of course, I forgot the vent clip.

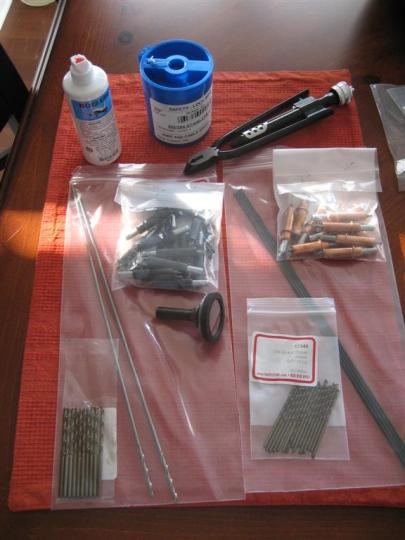
Before we get into the proseal again, I got a tool order in from the Yard.

Boelube, safety wire (0.032″), safety wire pliers, a few clecos, a new flush set, and a whole bunch of drill bits.

New toys!

Here’s my old flush set and the new one. I”m a little nervous to try it out, so I’ll probably do some practice rivets first.

It's much bigger, and has a nice rubber ring to it.

Okay, let’s get to fixing that forgotten vent clip.

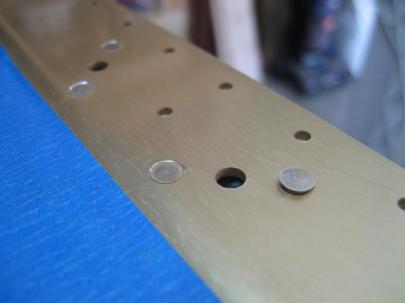
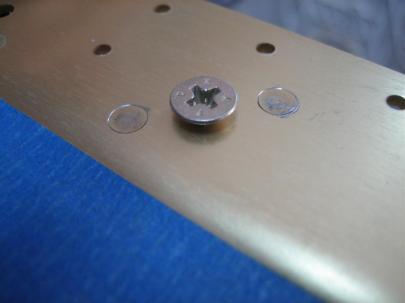
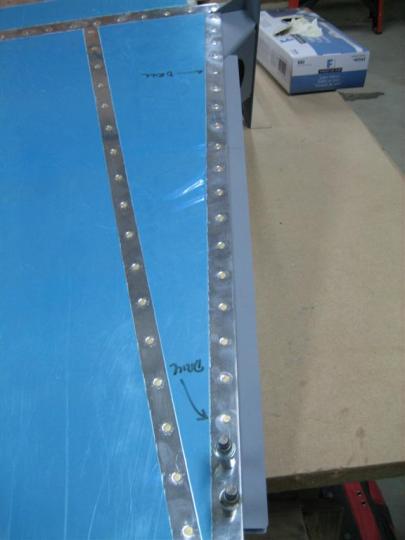
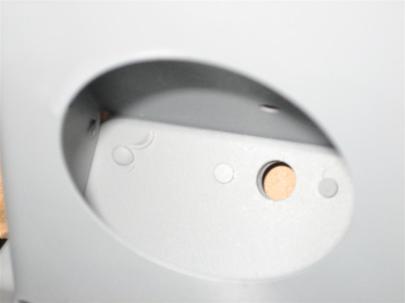
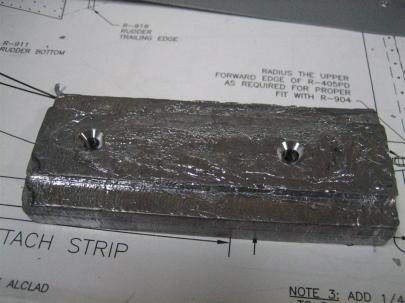
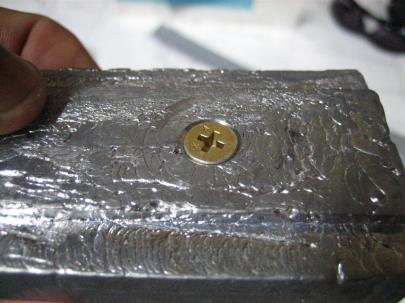
Surprisingly, after a day or so, it was pretty easy to just pull off the proseal dab I had on the rivet.

The uncovered rivet is on the upper right.

Oh, someone mentioned on VAF that I shouldn’t use the blue stuff as electrical tape. I pulled off a few sections to see how it went, and I actually like the way it works. I’ll stick with the blue stuff.

Worked okay for me.

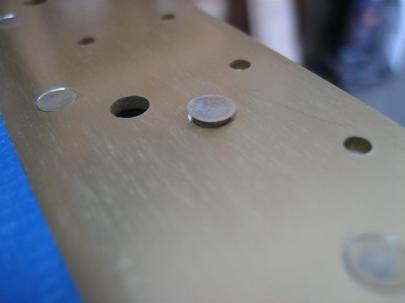
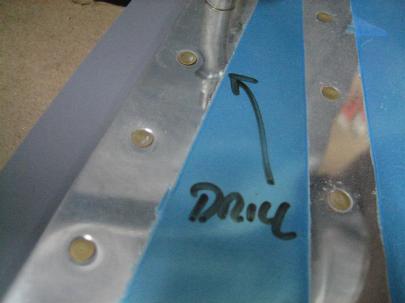
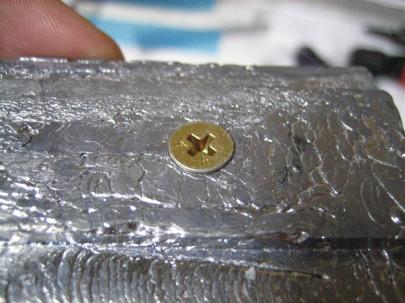
Okay, this paragraph represents the 3 times I had to drill out and reinstall the rivet.

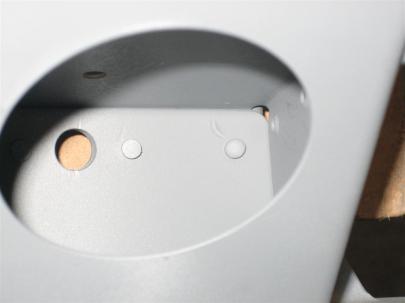
Here’s the first try. When it set, it was a little proud, and I just couldn’t stand for that.

The rivet in question is the lower left one.

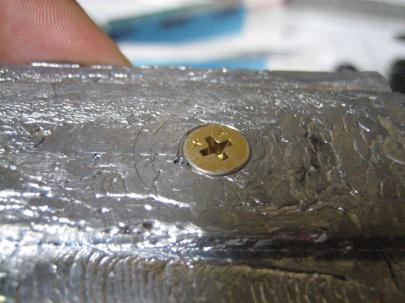
After trying two more times, I ended up with this one.

It’s pretty great, except for the fact that it’s differently colored. (I think that particular rivet came with the practice kit.

I can live with that (barely).

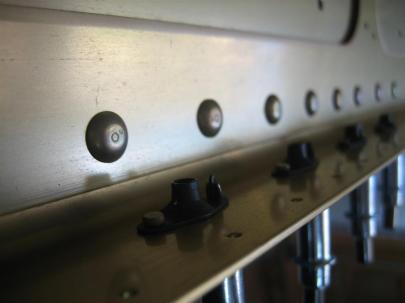
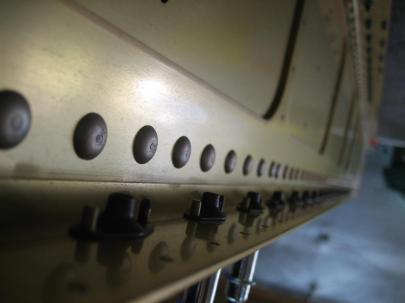
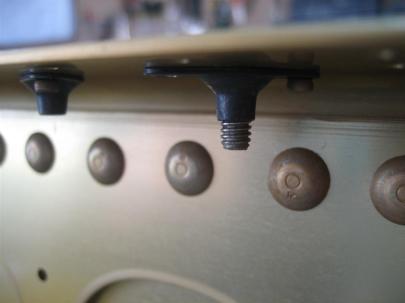
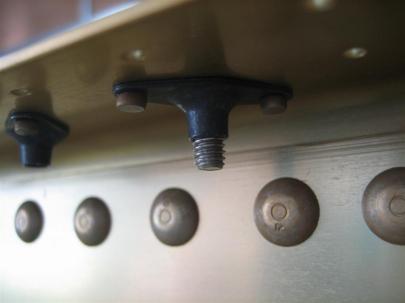
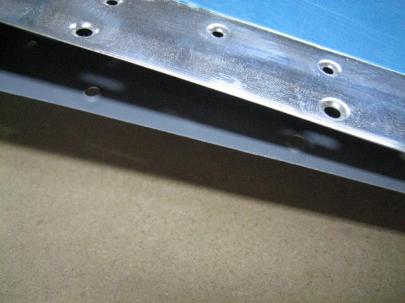
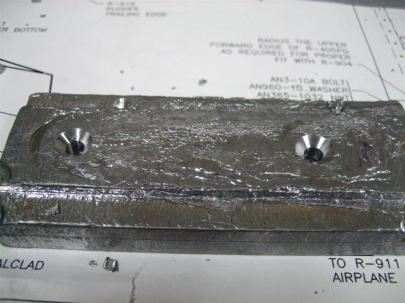
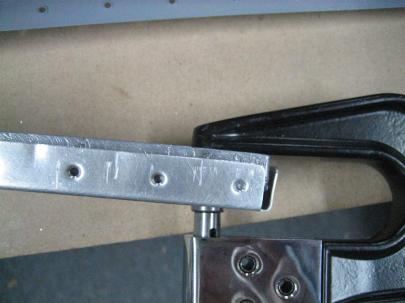
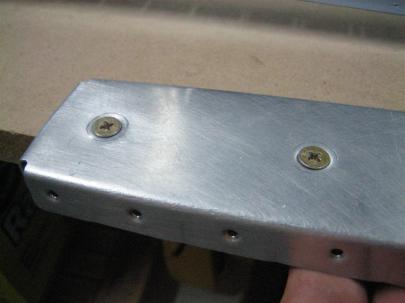
Here’s the vent clip side. After reading more, some people who forget this just leave it off, as the next inboard rib is so close.

I figured that Van put it there for a reason.
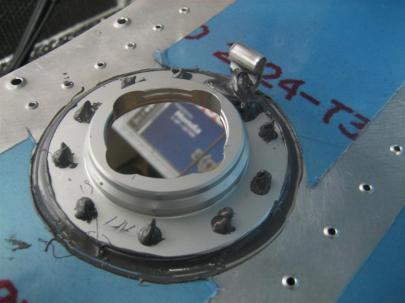
My clip is a little tall (which means it will be lower), but everyone just bends the very tip up anyway.
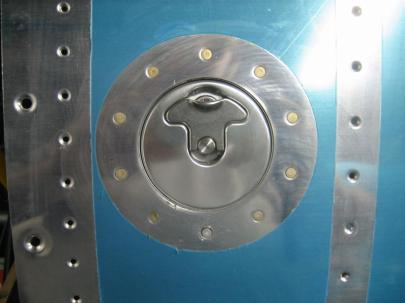
The rivet in question is the bottom one. If I still decide to polish the airplane, the rivets will all turn to the same polished color. I just need to remember to get rid of that tiny sliver of proseal sticking out from beneath the head.

Overall, today was a REALLY frustrating day. Didn’t set any new rivets, but drilled 3 times.

I guess I have to have days like this so that the other days can be good ones. Onwards and upwards.
Prev | Next


Riveted the Right Rear Spar to the Main Ribs

January 23, 2011

Prev | Next

Well, today was a crappy day. I had mucho problems with riveting the right rear spar to the main ribs.

I’ll walk you through what happened.

I started with the inboard side of the spar. The plans call for an AN470AD4-8 rivet. As you can see below, this is a little for a good shop head.

...AD4-8.

Here's an ...AD4-9 rivet. This looks better.

After some gymnastics with my good squeezer, which only has a 4″ no-hole yoke on it, I realized that I needed the holed yoke, and therefore needed to use my economy squeezer. Bummer.

(Back in the empennage, I stopped squeezing AD4 rivets altogether because I kept messing them up; the economy squeezer just didn’t have enough oompf.)

Anyway, I managed the wingwalk rivets with the smaller squeezer. Here’s 9 rivets squeezed.

I couldn't reach the top-most rivet in 3 of the 4 wingwalk ribs. (The other open hole in each of the rib attach points needs to wait for the flap brace.)

I moved my way outboard from there, two rivets in each rib.

Halfway there, I bent over both of the rivets in the aileron pushtube doubler area, and drilled both of those rivets out. Then, the aileron gap seal switches “open” rivets (compared to the flap brace) so of course I set a two rivets there that had to be drilled out.

When I got to the end, I noticed things weren’t lining up very well.

Duh. Forgot to dimple the aft side of the outboard rib.

That's better.

I still couldn’t reach the one rivet (shown on the left here), but I got the other 3 set properly.

The apparent gap between the two flanges isn't really a gap, its just the shadow.

Let me bring you back to the very first rivet I set. The camera is upside down here (so the part is right side up).

The upper, leftmost rivet bent over (it was the first one I set with the economy squeezer). After drilling out, the hole was englarged.

With only slightly enlarged holes, sometimes you can just squeeze another rivet (a little longer this time) and it will expand to fill the hole nicely.

This is after setting another rivet.

This one did not properly expand, and by the time the shop head was formed, it kind of formed in the hole.

Hmm. I know this is a critical piece, so I’m going to have to call Van’s and ask them what the best course of action here is.

I’m hoping I can step up to a AN470AD5-9 rivets, but I’ll need to drill the rivet and hole out to 5/32″ and I’m worried about edge-distance in the up direction.

We’ll see what the guys at Van’s have to say.

January 31st update: Ken S at Van’s wrote back.

A 5 rivet should work ok. If you can fill the hole with the original rivet, that’s ok too –even with
a slightly undersize head. Just be sure that the rivet engages the entire circumference of the
hole.

Alright. I’ll have to add AN470AD5- rivets to my next order from Van’s or Aircraft Spruce. In the meantime, I’m going to keep working on other stuff.

U-G-L-Y, you don't have no alibi, you ugly! {clap, clap} You ugly!

1.5 hours and 28 stupid rivets set (my arms are tired from the economy squeezer); 8 of those drilled out.

I’m going to have to buy a new yoke ($$$) and probably do some surgery on the offending rivet in the last picture.

I’m stopping this post and starting another one (click next below) because I moved on to the skins. I really needed to end on a good note today, and the skins actually did the trick.

Prev | Next


Finished Riveting Right Wing Main Ribs to the Main Spar

January 21, 2011

Prev | Next

Well, after a quick workout, I manage to get a few rivets set in the main spar.

I quickly got 6 of the 7 remaining right main ribs riveted to the main spar (the outboard rib doesn’t get riveted to the main spar because it shares rivets with the leading edge outboard rib…the rest of them are slightly offset from their leading edge rib neighbors.)

Anyway, after 30 rivets set, I decided that 6 of them needed to be drilled out. Here’s a good example.

Those are called "smileys."

I know exactly why it happens. It’s because I am watching the bucking bar and shop head form. When the shop head is set appropriately, I’m subconsciously lifting the bucking bar away from the shop head before letting go of the rivet gun trigger. The rivet set bounces on the head and creates the smiley.

Of course, when I concentrate on letting go of the trigger first, all goes well.

Anyway, I’ve been trying a new technique with drilling out these AD4- rivets. I’m actually drilling them out from the shop head side. Assuming the shop head is centered over the hole, it is easier to center-locate the drill bit on the flat shop head than the rounded manufactured head. Here are a few pictures of my good results.

I didn't get any oversized holes at all.

Here either.

Here’s what the drilled out rivet looks like.

I started from the shop head side (left here) and finished just prior to hitting the manufactured head. This worked great for me.

After re-setting those 6 rivets, I snagged a picture of all (except for the outboard) ribs riveted to the right main spar.

Wuhoo! Big pieces permanently together!

I flipped the spar over on the stand and clecoed on the rear spar.

One cleco in the rear spar for each rib.

I may get to riveting the rear spar tomorrow…we’ll see.

1.0 hours. 30 rivets set, 6 of them drilled out and re-set.

Prev | Next


Tank Attach Nutplates, Left Upper Spar Flange

October 23, 2010

Prev | Next

After getting a ton of housework done, I managed a quick half hour in the garage to finish up the nutplates on the left spar.

I took some pictures, but they are just like the ones from the previous post, so I’ll be short with the descriptions.


Countersinking.


I found it a little quicker (and less tiring on the drilling arm) to do 4 at a time. I’d countersink four sets of holes for the nutplate attach rivets, then cleco one side of a K1100-08 nutplate in, squeeze the rivet, and then take out the cleco and rivet the other side in. Then move on to the next four.

I’m sure it didn’t actually save me any time, but for some reason it seemed quicker.


Just squeezed the first four rivets on this flange.


Nice looking shop heads, if I do say so myself.


Another angle, I guess?


Remove the cleco.


Put in the other rivet (man, I was really camera happy today...)


Everything was going great until the VERY LAST RIVET.

[sigh]


For some reason I lifted up the squeezer as I set the rivet.


Another angle (except it's the same angle). Sorry.


After successfully drilling the rivet out. I was left with a crooked nutplate. Hmm.


Problem solving time!


I didn’t have a clamp small enough to hold the nutplate in place while I reset the rivet, so I grabbed one of the #8 screws (forgot the part number, sorry), and screwed it in gently.


Wuhoo! I think this is going to work!


asdf


(Screwed in gently) because I hadn't countersunk yet. This worked great.


See, I told you it worked great.


Last, but not least, I squeezed the AN426AD3-6 rivets for the K1000-4 nutplates near the spar root.


Flush side...


Nutplate side.


64 Rivets, ONE drilled out  in 0.5 hours.

Oh, and then I went for a run with the pups. (And by run, I mean rollerblade.)

Prev | Next


Riveted E-705 to Left Elevator Spar

July 6, 2010

Prev | Next

Well, I thought I would head out to the garage tonight to rivet 4 little rivets. I had the parts primed from the other night, and I just wanted to get something done on the plane tonight. I grabbed the elevator spar and admired how nice the countersinks looked.

Looks like I didn't get total coverage there on the spar, but that's okay, a light coat is all you really need.

Here are the AN426AD3-3.5 rivets that will go in those four holes.

Here's the first one set. Pretty nice, if you ask me.

I got the other outboard rivet set, then moved to the two middle rivets. Then, tragedy struck, and my flush squeeze set slid off part of the rivet as I squeezed. Boo.

"Well, this will be easy to drill out and replace." -famous last words.

My drilling wasn't perfect, but I didn't booger up the hole too badly...yet.

After resetting, I thought all was well, until I turned the part over.

That's not really flush, is it.

After 6…yes…SIX times of setting and drilling out a mis-set rivet, I finally gave up, drilled the hole to #30, cleaned up the countersink, dabbed some primer in the hole, and used an oops rivet.

OOPS! (Looks okay, though. And you will never see this.)

I can’t believe I had to drill out six rivets when trying to rivet four little AD3-3.5 rivets. Bummer. That’s not going to help my batting average…[calculator sounds]…yup…went from 5.7% drilled out to 6.0% drilled.

A frustrating half an hour tonight.

Prev | Next


Got some more skin…riveted

March 25, 2010

Prev | Next

Before dinner, I managed to finish off the last few things on the right rudder skin and get it clecoed and riveted to the rudder skeleton. I still have to install the counterbalance, finish and prime the tip rib, and get those installed before moving on to the trailing edge, and then leading edge rolling.

I’m holding off on the counterbalance because of the fasteners. The plans call out a AN509 screw and a AN365-1032 self-locking nut to hold the counterbalance in.
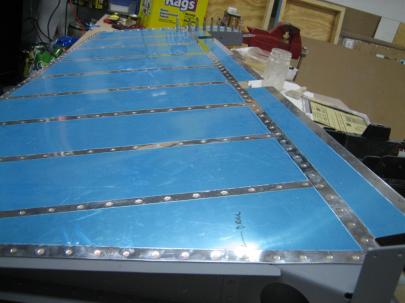
I know the FAA (AC 43-13) has deemed that an acceptable method for securing something permanently, but given the fact that I won’t even be able to inspect these fasteners (well, I could tell if they were loose if the screws turn from the bottom side, but would have to open up the tip rib to tighten them if needed), I wanted something a little more permanent (maybe not actually any better, but I’ll be able to sleep better at night).

I’m going to use MS17825-3 Locking castle nuts. They are also self-locking, but these will allow me to drill a hole in the screw and insert a cotter pin. I would bet that I also stick some red loctite on them. It would be a good bet.
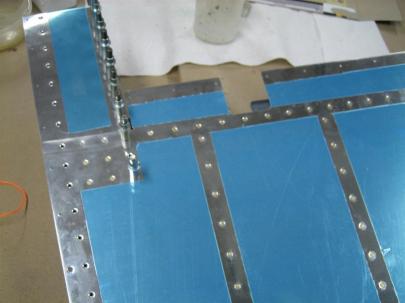
Then I started looking around at the other fasteners used on the tail. All of the flight controls are installed using self-locking nuts, no cotter pins or safety wires anywhere.

I thought it would be easy ($20?) to put in drilled bolts with self-locking and cotter pinned nuts, so I made the following order from ACS. This should cover all of the counterweight and flight control connection installations for the tail.

17.00 of MS17825-3 LOCKING CASTLE NUT
1.00 of MS17825-4 CASTLE NUT
1.00 of AN3-10 BOLT DRILLED
4.00 of AN3-5 BOLT DRILLED
6.00 of AN3-7 BOLT DRILLED
100.00 of MS24665-132 COTTER PIN
1.00 of AN4-14 BOLT DRILLED

Then I got started on riveting. I didn’t take these pictures until after I had gotten everything done, so no intermediate shots. Sorry.

Bottom edge of the right rudder skin. This time, I didn't forget the fairing attach strip. (I need to figure out what to do about the last two holes. I'd like to avoid blind rivets, but may need them after all.)

Looking up the rudder from the bottom of the right side.

I got all the rivets my squeezer could reach. I'll have to buck these tomorrow.

There were only two rivets that needed to be drilled out (you can see both marked on the first picture today).

Here's one; the forward-most fairing attach strip rivet on the right side... the squeezer slipped.

Here’s the other one. It’s just sitting a little proud. Probably okay, but I am anal about this stuff.

Guess what I am planning on doing to this rivet.

Also, I noticed something about the alignment of the rudder top fairing attachment holes. Look at the holes on the left side of the picture (lined up from one side to the other) and then look at the holes on the right side. It appears as if Vans put the aft-most holes in slightly different spots so the fasteners wouldn’t hit each other when installed due to the low clearance in that area.
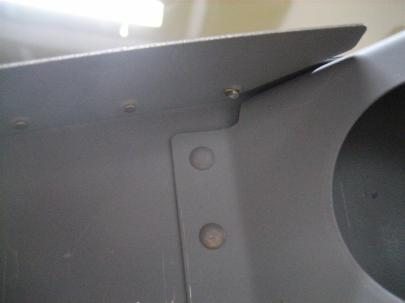
At first I thought there was something wrong, but then realized they were just thinking ahead. Bravo.

One hour today.  18 rivets on the bottom edge, 48 on the leading edge, and 6 where I could reach on the counterbalance skin to right rudder skin lap joint. That makes 72 total for tonight. 1333 total set, 85 drilled out for a batting (drilling) average of 6.38%.

Prev | Next


Dimpled R-912 Counterbalance Rib

March 21, 2010

Prev | Next

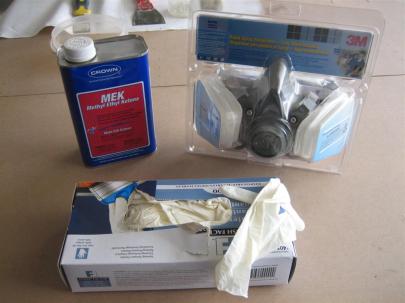
Not a huge day today, but I did go shopping. Recently, the self-etching primer has been getting to me unless I am completely outside the garage while priming. Sometimes, I can always be completely outside, so this might make it bearable in the garage.

MEK, a respirator, and some latex gloves.

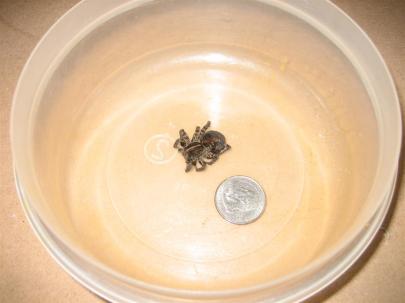
When I started looking around the shop, I found this monstrosity just laying there, dead, out in the open. He must have crawled through the spider spray I laid down around the perimeter. He’s huge.

That's a quarter.

Anyway, I am not too happy with the outside rivet I installed yesterday. I ended up using a double offset set as the bucking bar, and I just don’t like the shop heads.

Bad shop head there on the left.

Same there on the right.

I got them drilled out, and figured that the materials on both sides were thick enough to ignore the “shop head on the side with the thinnest material” rule. I put the machined heads in here, and bucked from the front.

These look much better, even though they aren't all facing the same direction.

Here they are from the other side.

I am much happier with these.

Then, on to the counterbalance. Because I don’t have a #10 dimple die, I decided to countersink these, and use them as the female die.

First try. Obviously to shallow, but I wanted to approach it slowly.

Another iteration.

Another iteration.

Check it with the screw. Nope, not yet.

Closer.

Another try.

There we go.

Then, after trying a few things to see how to dimple the rib, I ended up putting the screw in the hole and using my squeezer (with no “upper” set so the screw goes through the hole in the yoke) as the dimple die.

This worked surprisingly well.

Here are the final dimples. If I had it to do over again, I would spring for the #10 dies. I’m sure I”ll have to use them throughout the project. I’m going to put them on the list.

Final dimples. Not perfect, but good enough.

2 rivets drilled out. Half an hour. Not bad for a busy Sunday.

Prev | Next


Horizontal Stabilizer Complete

January 22, 2010

Prev | Next

Well, except for the fiberglass tips. And the elevator horn cutouts. But you get the idea.

I spent a half an hour in the garage early tonight finishing the last few things up. One of which was setting the last 4 rivets on the horizontal.

I had forgotten about the 4 rivets (4 on the left and right edges of the picture).

Also, I drilled out 12 skin rivets that were sitting a little proud, and reset them. Here’s the HS with the fiberglass tips just taped into place (to see what it looks like).

Finished HS with the tips taped into place. Looks good.

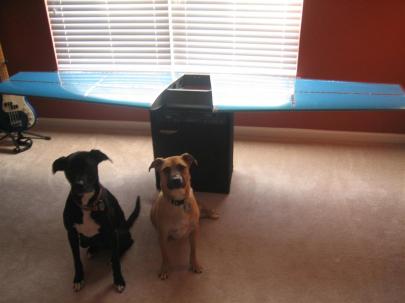
Short night, but the dogs flew in the newly designated “airplane parts storage” room.

Believe it or not, this is the best picture I could get out of about 10 tries. Jack and Ginger doing what they do best...looking cute.

Up next, the vertical stabilizer.

Prev | Next