Wig Wag FAIL

October 17, 2010


Prev
| Next

Okay, so maybe FAIL is a little strong.

Let me back up a few days and explain how I got to FAIL.

Last week sometime (can’t remember when, it was a rough week at work), I ordered some things from B&C to make the wig-wag circuit I’ve been dreaming up.

Anyway, a small box with all my goodies appeared on Thursday, so of course I stayed up late trying to put my circuit together.

All I have as far as electrical tools is one of those $5 combination crimper/stripper tools that really sucks. After an hour of wiring, my hands were killing me, frustration levels were really high, and I made the decision that I needed both an automatic stripper (I hope that doesn’t set off the google search alarms) and a professional crimper. More on those later.

Anyway, that night, I ended up with this:


Look ma! I'm wiring!


+14V will come in to the left, and the lights will be connected to the center terminals of the 2-3 switch in the picture. the fast-on connector at the top of the picture will eventually be connected to a timer circuit that will close the relay (top left) after 30 seconds.

It was too late to start hooking stuff up. Now. Back to the tools. I ran off to Lowe’s (after considering buying these things on eBay…no, they need to be sharp, and Lowe’s has the name brand one I want), and bought the STRIPMASTER.


Seriously. That's the name you come up with?


A closeup of the important bits.


And since I had never seen one work before, I grabbed this short video.

Pretty slick, huh? This is instead of about 60 seconds worth of stupid tool-knife-stupid tool-hurt hand-knife again-stupid tool just to strip one end of one wire.

Okay, let’s find some lights and start pushing electrons around!


These will do. 12V, 50W. (Enough for a spare for this little experiment.)


I fabricated 4 little tube crimps to connect 16AWG tefzel wire to the lights.


Oh, and the wood is so you don’t start melting the nice carpet you’ve purchased for the workbench top. Ask me how I knew to do this.


Wuhoo! It's alive!


Okay, let’s hook up my circuit.

This is LDG ON and WIGWAG OFF.


Sweet. Electrons are still flowing.


But. This is where bad stuff starting happening.

I threw the WIGWAG switch to ON and then used the simulated timer circuit to close the relay. Nothing happened (lights stayed on).

After a little more investigation, I figured out that both the normally open (NO) and normally closed (NC) contacts were getting +14V all the time. Tha’ts not good. (I knew I needed some diodes or something. I’ll investigate further seperately.)

During the investigation, I wanted to make sure that everything works as advertised.

I wired up the flasher from B&C. I don’t think it’s working correctly. What do you think?

It’s making a weird buzzing noise, and the first light comes on, then the second one starts to come on, but it doesn’t really finish a singe cycle. I’ll have to email the aeroelectric list about it and see what they say.

Since I didn’t get that huge satisfaction of a completely working circuit, I grabbed an automotive flasher I had on the shelf.

It’s the wrong flash pattern, and it won’t work with alternating lights, but it’s still cool.

Finally, I bypassed the B&C flasher and checked the relay operation.

First, I turn on the lights. Then, I turn on the wigwag, and the lights stay constant. Third, I’ll close the relay so current flows through the flasher (although since it’s not hooked up, the lights should turn on.) Let’s see what happens.

Wuhoo, my one electrical engineering class in college has paid off!

This was about an hour’s worth of work, and since it’s ultimately for the build, I’m going to count it as R&D time.

1.0 hours.

Oh, and the next day, I hooked just the wig wag portion up to my car battery, and it worked (I wonder what’s going on with my power supply…).

It’s a little fast for me. I wonder if there is a way to slow it down.


Prev
| Next


More Trailing Edge Work

March 28, 2010

Prev | Next

After last night’s bad fitting trailing edge, I decided to mark where the dimples weren’t sitting properly, and enlarge the countersink ever so slightly.

The problem is that if you make the countersink large enough to accept the dimple perfectly, you create a knife-edge on the wedge. I guess that is why they have you use the aluminum as a drill guide for the countersink bit. After deburring the few knife edges that I got, it ended up working pretty well, but some of the holes are enlarged a little. With the pro-seal and the double-flush rivets, I am not too worried, but it still bugged me a little. It appears other builders have run into this issue as well.

Another shot of the not so good trailing edge before enlarging the countersinks.

Before I thought I would be able to tackle the rest of the trailing edge today, I got some of the “not-reachable-with-the-squeezer” rivets. here’s a shot of some shop heads for the counterbalance skin to skin rivets.

Decent shop heads.

I also finished up the rivets for the counterbalance rib.

More shop heads.

Then, I installed and removed the counterbalance enough to be able to file away some weight so the lead cleared the shop heads of the interfering rivets.

Nice tight fit today.

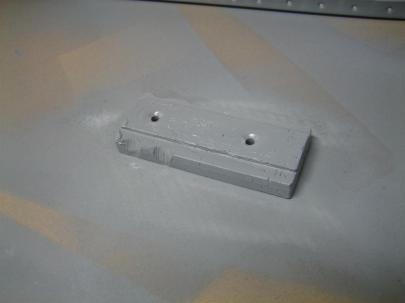
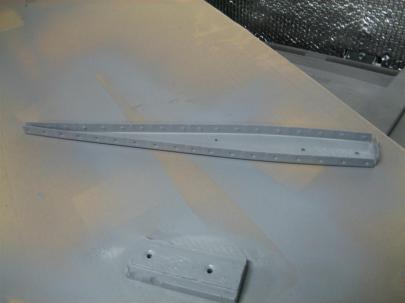
Here's the counterbalance. The best file for this left big cutouts, so don't judge me for these.

I also finished dimpling the tip rib and got it edge-finished, cleaned, and primed.

Waiting for primer to dry is like watching a pot of water boil. I can't complain though. It's dry to the touch in about 15 minutes.

Even though that was plenty of work for the day, I decided to tackle the trailing edge. I had everything I needed (Lowe’s didn’t have any RTV, but then I remembered I had some at home from my motorcycle habit, so I was in luck).

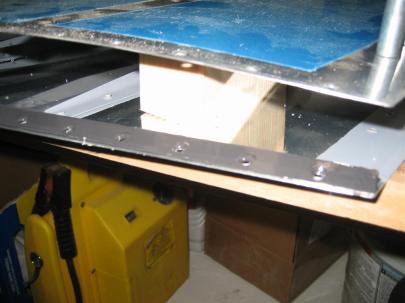
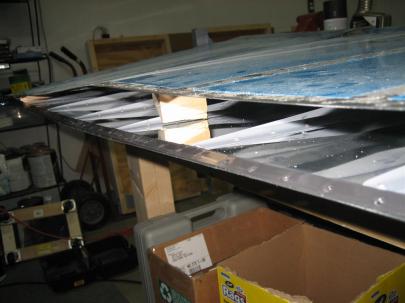
Here's me attempting to design a way to keep the trailing edges apart. This sucked, and I ended up using scrap 2x4 in between the stiffeners.

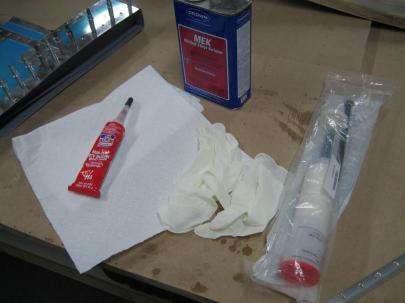
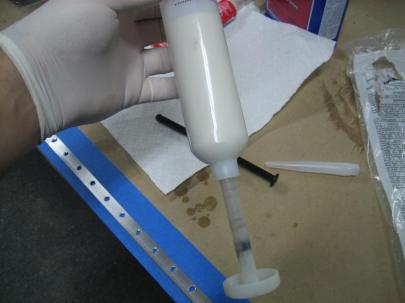
Here’s my tools. RTV, MEK, gloves (I used about 8 pairs) and the tank sealant.

Tools.

Don the gloves, and get ready to mix. I had to read the directions about 15 times before I understood. The hardener (I think) is in the tube part of the plunger. You stick the black piece (behind the big tube) into the hole in the plunger, and as you push the plunger from the bottom to the top, you push the black part so the hardener in the plunger is expelled into the larger tube. Confused yet?

Ready to mix. (I've already cleaned all of the parts.

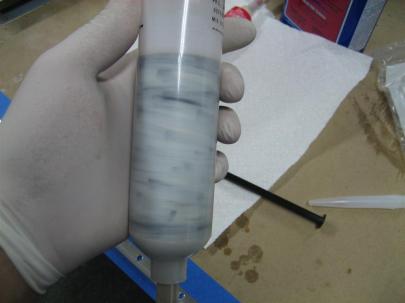
After pushing the black piece (back on the table now) up to start the mixing process, you twist the plunger head while moving up and down, which starts to mix.

This is after about 75 strokes, which is what the directions say you have to do. I had to keep going. (I may have been doing something wrong, I don't know.) I kept going after this to get a more uniform "black death" color.

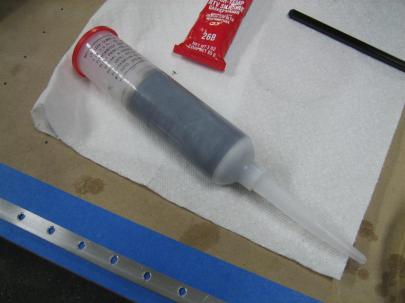
Then you unscrew the plunger shaft and screw in the nozzle. Okay, where is my caulking gun? I don’t have a caulking gun. OH MY GOD I FORGOT A CAULKING GUN.

Here it is fully mixed.

That’s okay, I just stuck the handle of a large screwdriver down the tube and it worked great.

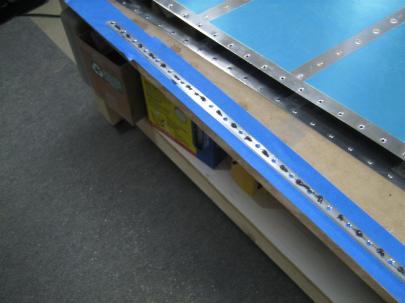
Here's one side, ready to be spread out. I put a dab between each hole, and then used a scrap piece of aluminum to spread it out nice and evenly.

Another shot. This seemed to be an appropriate amount of sealer.

After that step, things started getting messy, and I had to change gloves a lot (it gets everywhere), so I stopped taking pictures. After I got both sides covered, I laid it into the scuffed and cleaned trailing edge area of the skin.

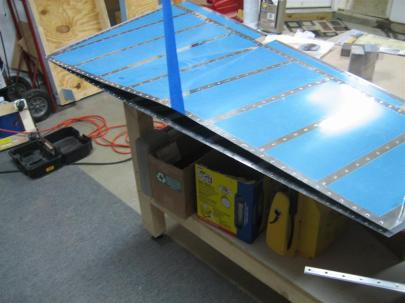
Look how good that looks. (Also, you can see my 2x4 spacers.)

Another shot.

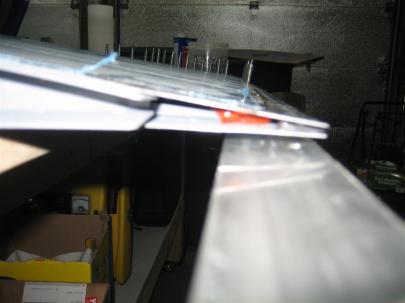
Of course, I did a marvelous job putting a perfectly penny sized glob of RTV on the last (aft rivet) of the stiffeners before I removed the wood spacers and closed up. (The wood spacer near the bottom of the rudder was a pain in my ass. I lifted up the trailing edge a little with the top skin, so it stopped squeezing the block, and of course the block slid down toward the front of the rudder. Of course now I can’t let go, but I’m too far away from the other workbench to reach all of my long-reach tools. Ever see one of those situations where a guy has one foot in a boat and one foot on the dock, and he’s stretching and stretching? That was me. Except I finally reached a BFS (big freaking screwdriver) and managed to get the block out without contaminating any tank sealant or RTV.

Here's a blurry shot of the bottom RTV glob. Glob is a technical term.

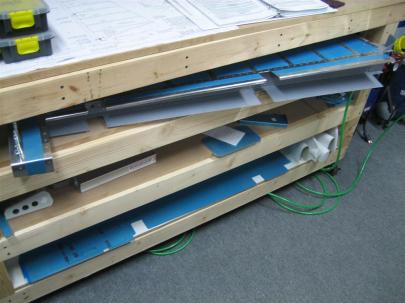
Then, I got the rudder clecoed to the angle, wiped off any excess sealant, and moved the hole thing to the top shelf of my workbench.

Storage, kind of. I'm going to leave this for a whole week while I start on the elevators.

I think it was 11 rivets.  2 hours before the trailing edge, one hour for the trailing edge. The next post is still from today, but I am tracking it in another section and in another column for total time, so it’s getting its own post.

Prev | Next


Trailing Edge Angle Work

March 27, 2010

Prev | Next

I didn’t get in a lot of work today, but an hour on the trailing edge isn’t too shabby.

First thing, unpack the Lowes bounty. I picked up a 6′ piece of aluminum angle (for the trailing edge work) a long (36″) backriveting plate, a 36″ 3/4″ diameter steel stake for leading edge rolling, and a smaller backriveting plate that I will be returning (picked that one up before finding the longer one).

Lowes bounty.

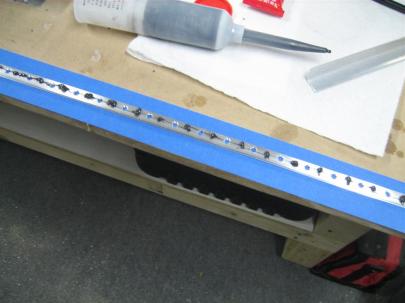
I grabbed the aluminum angle, and drilled both sides to the dirtier side of my MDF toolbench.

The cleco on either end will help it stay put.

Then I used the  trailing edge (pre countersunk) to drill the trailing edge hole pattern in the aluminum angle.

I lined up the trailing edge with the aft edge of the angle so I could ensure things were straight both left and right and forward and aft.

Here’s the angle after being Matchdrilled.

Let's do it.

Next up, countersinking the trailing edge wedge to accept the dimple of the skins. I grabbed a piece of stiffener (.016″) and used my standard dimple dies as a test piece. First, I measured the very outside diameter of the dimple.

0.2165"

Then, I conservatively deepened a countersunk hole in the trailing edge until it reached 0.2165″

Here's .187.

A little deeper...there we go.

After finishing both sides with this depth, I clecoed the skin together. Hmm, This doesn’t look that good.

There's a pretty big gap in some places.

I was frustrated this didn’t work out perfectly and I had some socializing to do, so I walked away. I’ll come back to this tomorrow.

Prev | Next