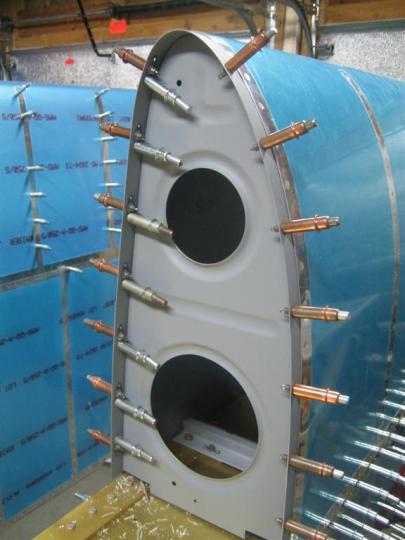
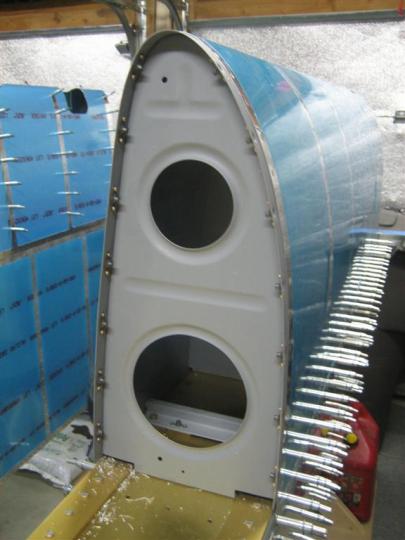
Wuhoo! Got my latest Van’s order. Below, you can see my two T-411 tank access plates, two tiedown rings, a tenth of a pound of AN470AD6-10 rivets, and the left inboard leading edge rib.
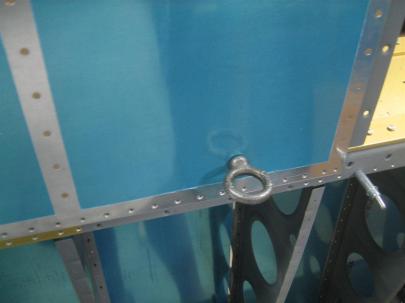
First thing, I ran over and screwed in the tiedown ring.
Uh Oh.
It was way loose. Hmm. I know I did the 1/2 turn in, 1/4 turn out with the tap.
After some thought (and a trip to work), some of the guys were convinced that 1) I didn’t ruin the part, especially since I had only tapped the 1″ shown on the plans (and the rings are like 1 1/2″ long), and 2) it must be the tap quality.
They lent me a really nice tap (as opposed to the $7.99 tap and die set from Harbor Freight.)
I screwed in the nice new tap, and once I got past the first inch, I immediately felt a difference. When I turned 1/2″ in, the tap felt like it was cutting, instead of just pushing material out of the way. There was significant resistance at the end of the 1/2″ turn. Once you start the 1/4″ back out, there is some more resistance, then a “release.” I could tell immediately that the release was the cutting of little chips from the material.
It was like I heard angels. This is what tapping is supposed to feel like.
(The old one was just steady increase in resistance in, then decreasing resistance out.)
Just one more reason why I should have bought the $80 tap and die set, instead of the $8 tap and die set.
Lesson learned.
From the following picture, you should be able to tell that the thread cutters on the left are nice and sharp, and the apex of each blade comes to a point. The one on the right is not sharp, and the apex is kind of rounded.
So now, I have about 1″ of loose threads, and 1/2″ of perfect threads. I am okay with at least four threads perfectly engaged, and 16 threads mostly engaged. If I’m worried about 10,000 lbs of holding power versus 5,000 lbs of holding power, I have more to worry about than my tiedowns pulling out.
Let’s build on.
It was subsequently removed, and will be stored in my storage box until, I don’t know, a few years from now.
Next up, I needed a nice little project.
How does the leading edge joint plate nutplates sound. Good?
Good. I’ll work on those. A quick check on the plans showed some hardware needs.
First, let’s cleco some nutplates to the previously dimpled holes. This worked great, and perfectly centered the dimpled nutplates over the dimples.
After drilling both ears, I deburred, then started countersinking for NAS flush rivets.
Here’s one of the oops rivets, just holding it in place.
Then, some riveting.
1 hour, including the tiedown re-tapping, and 28 rivets in the leading edge joint plate.
Not much more in the way of sealing up that right tank.


