I’m writing this on Monday for Friday night’s work, so we’ll see how much I can remember.
After a couple minutes of clecoing on the right side of the VS skin, I got started riveting. First, I set every other rivet along the VS-702 front spar and the VS-707 middle rib.

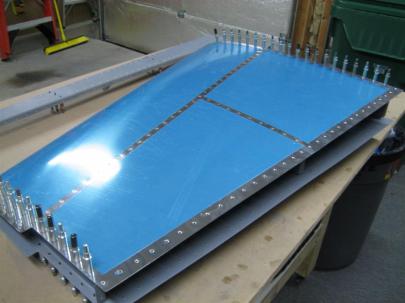
Left skin on the bottom, right skin on the top. That crazy long cleco keeps sneaking into the pictures.
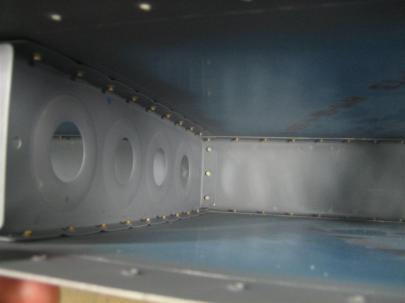
After rivting the front spar and ribs to the skin, here’s an interior picture.
Here’s a picture of my “every-other-rivet” style. It works well.
There are 39 rivets (not counting the tip and root ribs) for the front spar and middle ribs. After setting these 39, I’m ready to pull off the blue vinyl from the interior.
Another rivet picture. (I’m not sure I got these in the correct order…Hmm.)
More rivets.
<sigh>
Had enough yet?
Alright, now I get to start removing the blue vinyl. This is where the gravy is. After all that prep work and riveting, you get to remove the vinyl to reveal a beautiful shine on the inside. I can’t wait to do this on the exterior skin (just before polishing). Flash on for visibility.
I left the flash on for this one so you could see inside.
And the upper bay.
After removing all of the vinyl, I moved on to riveting the tip (VS-706) and root ribs (VS-704 and VS-705) to the skin. All was going well, until I got the front of the root rib.
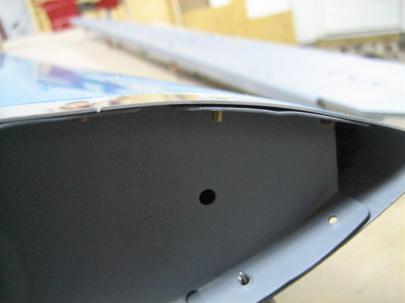
Anyway, for some reason the skin wasn’t sitting well on the rib. I later determined it wasn’t interference, just the natural curve of the rib.
My solution? Use a tape-covered clamp to squeeze them together.
That did the trick. Who’s next?
Here I am riveting some of the rest of the root rib. I was very careful to not rivet the 6 holes on each side the instructions tell you to leave open for the empennage fairing. I probably won’t use all 6, but I can always squeeze these later, so why close any metaphorical doors?
Here’s the VS (except the rear spar) all riveted together. Notice the 6 clecos in the holes to leave open.
I inserted the rear spar and started setting rivets. All was going perfectly, until I realized that most of the rivets couldn’t be set because of conflicting shop heads on the rear spar. I had tried two rivets that were close to having enough clearance, and I messed both of the shop heads up. Here’s one.
And here’s the other.

Another bad shop head there on the left. See the cleco in the middle of the picture. The rivet that will go in that hole doesn't have a lot of room to be bucked.
I gave up on any other rivets that would be close with the squeezer. I’ve been doing so well recently with the gun and bucking bar, that I’ll just wait till I can make loud noises and set them with the gun.

Where I left off for today. I'll figure out how to set the remaining rear spar to skin rivets sometime next week.
One and a half hours today. 135 rivets set; some shot, some squeezed. Only a few will have to be drilled out later. Good night tonight. Hopefully next week, the dogs will get some directional stability.


