Well, happy September 11th. (And by happy, you know what I mean.) Many thanks to those who pledge their lives to keeping the American Dream alive. I get to build an airplane in my garage because of many courageous Americans- past, present, and future.
Thank you.
Now, let’s get back to living the dream. Time to bend some aileron skins.
I knew when I made the homemade bending brake for the elevators that they wouldn’t suffice, but I pulled that puppy out, mainly to steal the hinges.
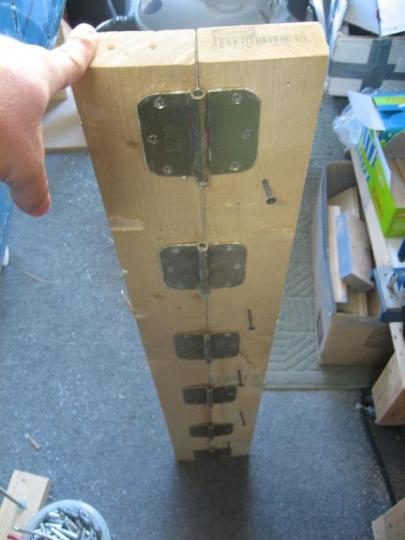
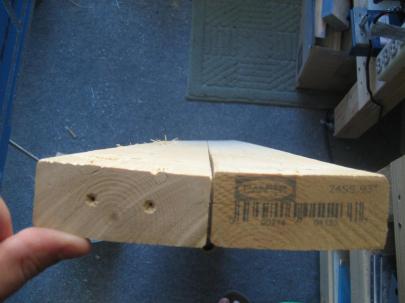
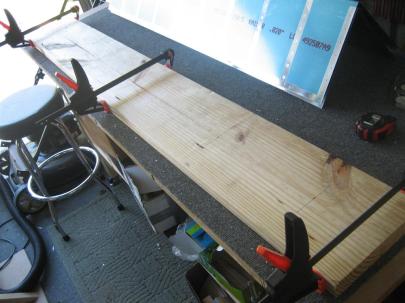
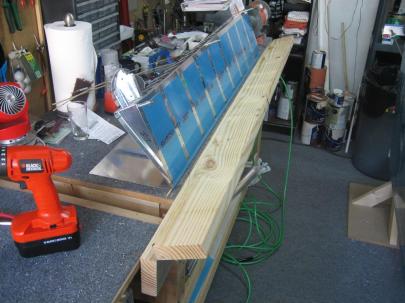
Anyway, this week I ran by the aviation big box store and picked up an 8-foot 2×8. I had the guy at the store cut 2 feet off, then rip it down the middle to make two 2x4s, both 6′ long.
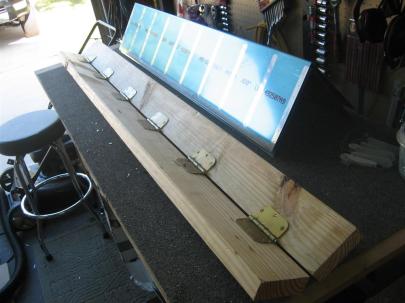
Back at home, I clamped them together and screwed some hinges to them.
I made sure to measure out and draw some perpendicular lines to ensure the hinge axis lines were all in the same line. (The empennage ones were not well aligned. They worked, but it was hard to actuate.)
Just like last time, I screwed the brake into the side of the workbench so one skin was flat against the workbench surface. This worked really well for me.
I had purchased a few different sizes of dowel to go in the trailing edge, and after a couple attempts (with the girlfriend’s help), I just couldn’t get things to bend.
I switched to the smaller (1/8″, after first trying the 3/32″) dowel, and I got it a little better, but not all the way.
Finally, I pulled out the dowel, and gave it a shot.
Much better.
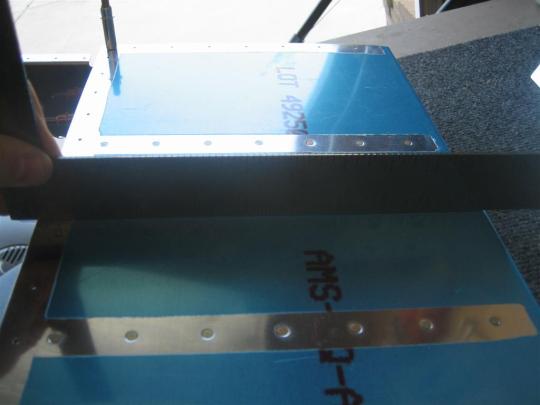
Except, I got a little bit of a bow. I guess since I was grabbing the brake at the ends, I was getting more “Squish” on each end.
Anyway, I set the spar into the skin and here’s where I was.
After one more effort, I had it perfect.
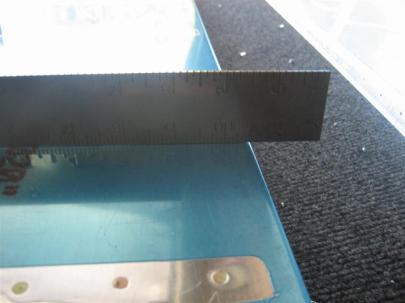
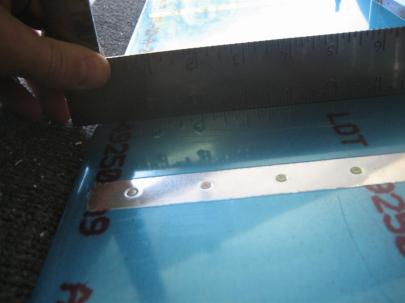
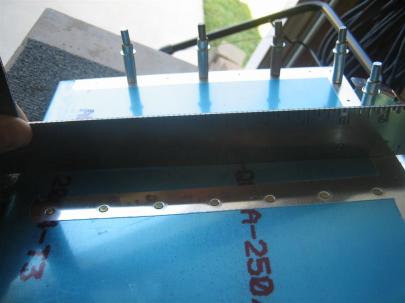
I pulled out the straight-edge to make sure the flat surface lasted all the way to the trailing edge radius.
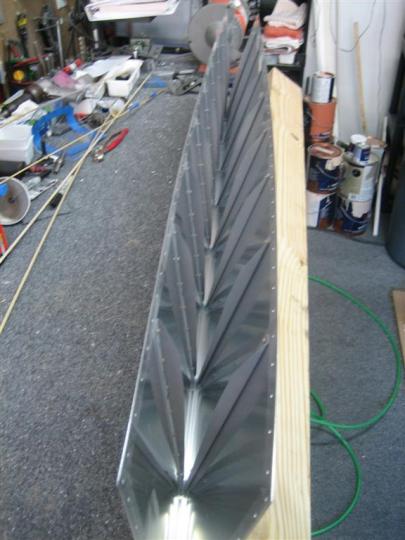
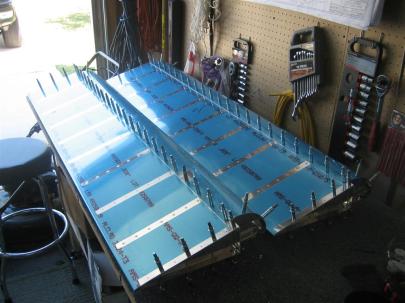
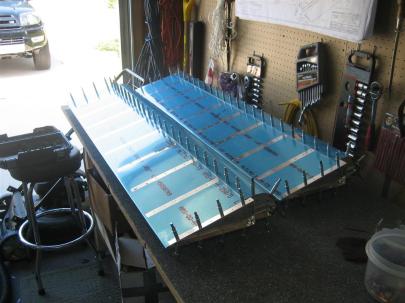
After another bend and a whole bunch of clecoing…I had two assembled ailerons!
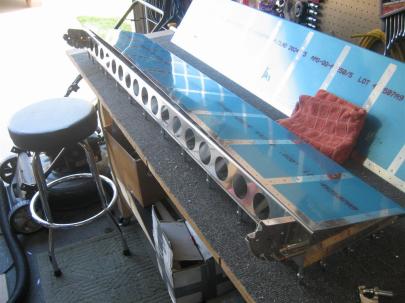
After some matchdrilling of the top surface, I flipped over, and drilled every other whole of the lower skin to spar holes to #30 (pilot holes are prepunched to just under #40, hence the alternating cleco sizes).
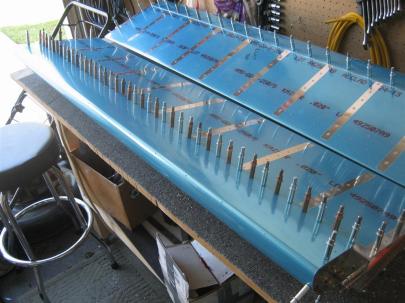
Bronze, silver, bronze, silver, bronze, silver, bronze, silver, bronze, silver, bronze, silver, bronze, silver, bronze, silver, bronze, silver, bronze, silver, bronze, silver, bronze, silver, bronze, silver, bronze, silver, bronze, silver bronze, silver bronze, silver, bronze, silver, bronze, silver bronze, silver bronze, silver.
Next up was drilling the steel water pipe- excuse me…”counterbalance pipe” to #30 through the predrilled holes in the skin.
This was much easier than I thought it was going to be. No big deal.
Then, even though this picture looks just like the one above, I have two matchdrilled ailerons.
I have a few holes I need to get to (forgot to flute the nose ribs, so I didn’t drill those holes, and there’s one counterbalance pipe hole you have to wait on), but I’ll finish those tomorrow and start the long process of prep for priming and final assembly!
2.5 Hours.
