Well, I got a few more things done on the tab tonight.
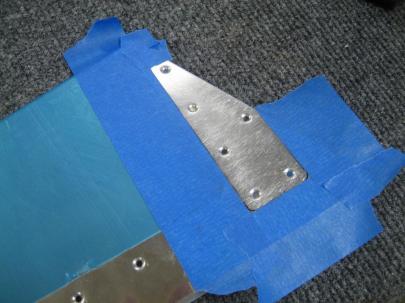
First thing was to prime the outside of the elevator tab where the surface mates with the tab horns.
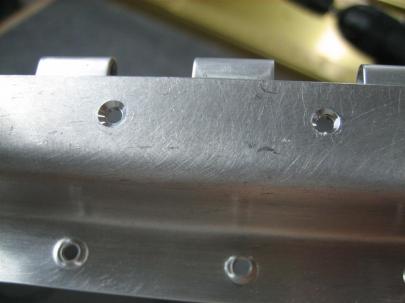
After reexamining my countersinks in the trim tab spar, I decided to re-countersink them. This time (after reading the guidance in the construction manual about how to do this on the flap), I used the trim hinge as a countersink guide. This worked much better than the piece of wood.
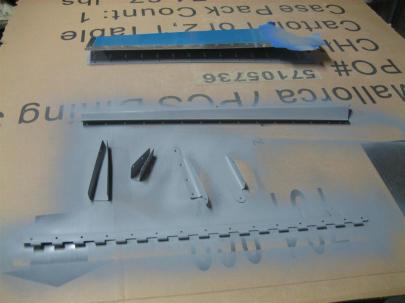
Then, everything was put up on the cardboard piece for priming.
After the parts dried, I started in on riveting per the plans.
Everything was fine after 7 rivets, until I paused to re-fit the tab on the elevator.
I was getting a little bowing (top skin concave, bottom skin convex) in the tab skin due to what appeared to be distortion of the tab spar. I drilled out the 7 rivets I had set and spent a little time re-tweaking the spar.
After re-tweaking (adjusting the spar flanges on the tab) and refitting a few times, I had things lined up much better. It’s not perfect yet (maybe more work on this tomorrow will get it right), but it is definitely improvable.
1 hour today.


