Well, this morning, the girlfriend ran some errands, and I got my house chores done early, so I headed out to the garage to make some loud noises. Recently, I’ve been taking one component at a time from drilled through primed. It make my work sessions less boring (not a full day of deburring lots of parts, but rather one day of drilling, deburring, scuffing, dimpling, cleaning, and priming one part).
Anyway, today, it was the right elevator spar’s turn.
Then I put a nice scuff on all sides and edges.
Then, I broke out the tank dies to do some dimpling.
I know you guys have seen tons of dimples from me, but I still take pictures.
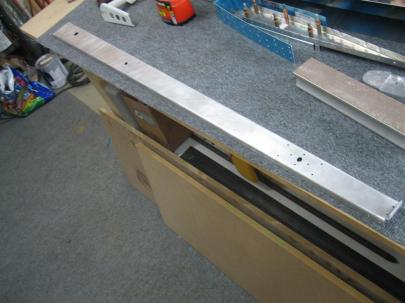
After finished dimpling, I grabbed this shot down the length of the spar.
I forgot to take a picture of the countersinking I had to do on the front (flanged) side of the spar. The spar needs to be countersunk to hold the flush rivets attaching the E-709 Root Rib Right. The elevator control horn fits over them.
Then, inside for cleaning and back outside to the paint booth.
While I was waiting for the back side of the spar to dry, I went ahead and pulled the vinyl off both sides of the E-713 counterbalance skin.
Then, I got the other side of the spar primed, and prepped for some riveting. I had already prepped and primed the two reinforcement plates that get riveted to the back of the spar.
Here’s my setup for spar riveting.
After 8 rivets, all I can say is…WOW. I love this tungsten bucking bar. 8 perfect rivets. With the older, and smaller, bar I was using before, things were always bouncing around, and my hand was vibrating, etc. With this bar, it is so easy to rivet. I should have bought this at the beginning of the project.
I spent about 2 minutes just staring at the bar. Amazing.
8 more, also perfect.
I wanted to buck these, but I thought it would be better to squeeze them.
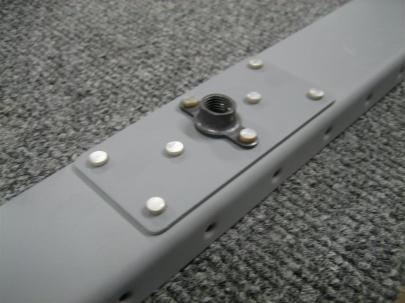
These are the flush rivets I was talking about earlier. Of course, when the primer is only 30 minutes old, and you try to clean up some smudges with MEK, the primer will rub off. Duh.
What a great day. I got to make loud noises, and I’m in love (sorry girlfriend) with my new tungsten bucking bar.
20 rivets in 1.5 hours. Good day.


