WUHOO, tool order arrived!
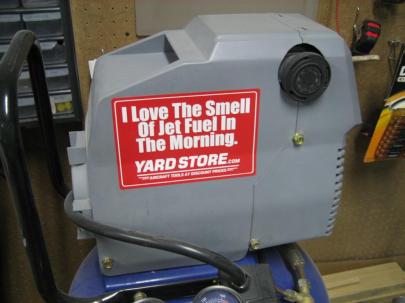
Also included was this AWESOME sticker.
Finally, the air compressor won.
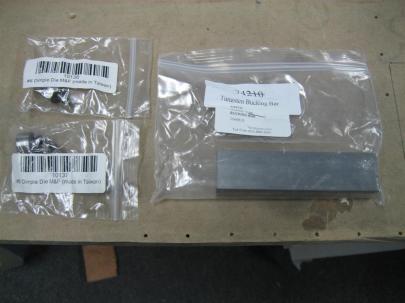
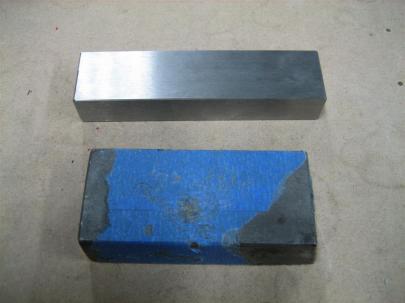
Look at that beautiful tungsten bucking bar.
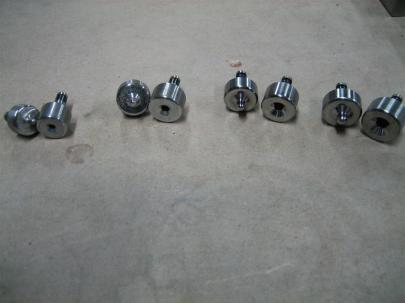
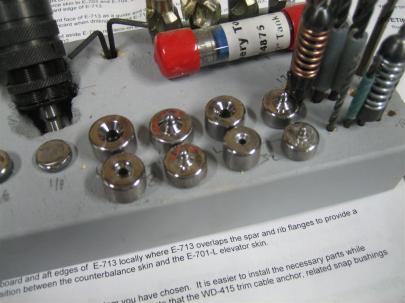
Also, I got two more dimple die sets. #6 and #8, on the right.
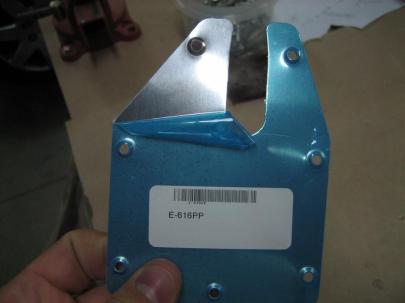
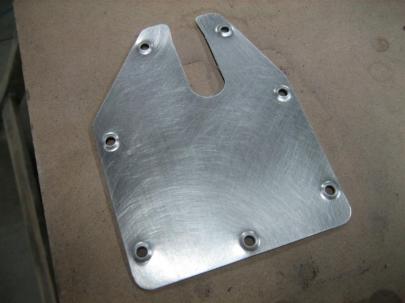
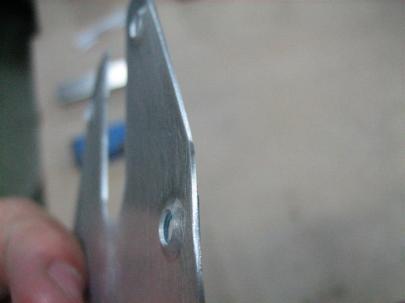
Alright, back to work. First up, using the #6 dimple dies on the E-616PP Trim Cover Plate.
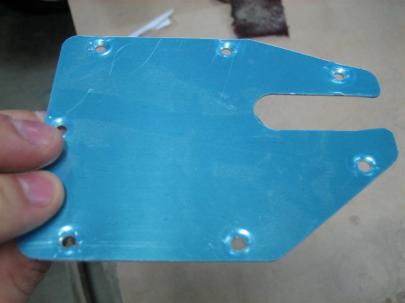
Nicely dimpled. I don't think it matters that you take off the blue vinyl. Maybe that was a bad idea.
Here’s the bottom side (top side when mounted on the bottom of the elevator on the airplane).
Then, edge finished and scuffed for priming. I’m going to wait to prime this until I can actually by the electric trim motor since you have to drill more holes. Just thinking ahead: can I countersink and use NAS rivets for the trim motor mounting brackets? Nope. These are pretty structural (hold the motor, and therefore the trim tab, in place.) I’m sure those directions will confirm the need to dimple. I’ll need to dimple E-616PP and the brackets that are used to attach the trim motor.
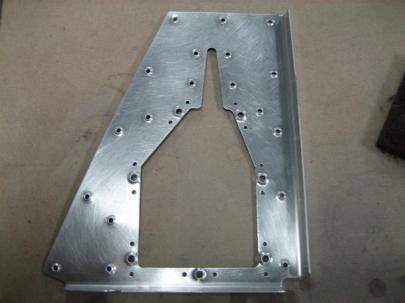
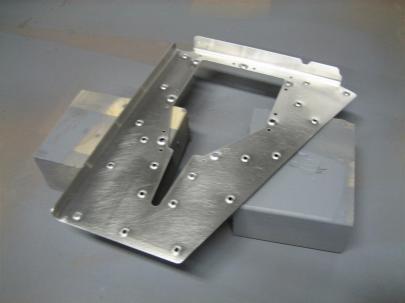
Same deal on E-615PP.
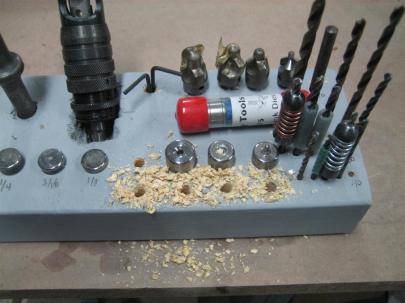
After shooting primer to one side of E-615PP, I decided to add 4 holes for each of my new dimple die halves.
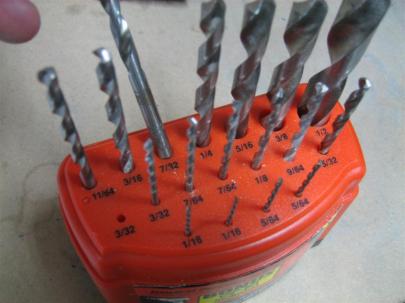
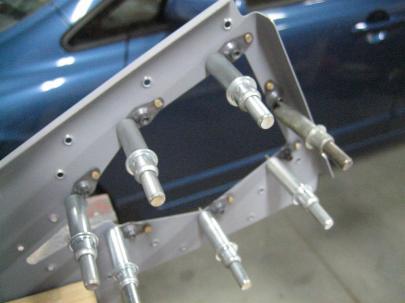
7/32″ seems to work well for holes in a home-made dimple die holder stand.
Then, I shot primer on the other side of E-615PP. While I waited for that side to dry, I edge finished E-616PP.
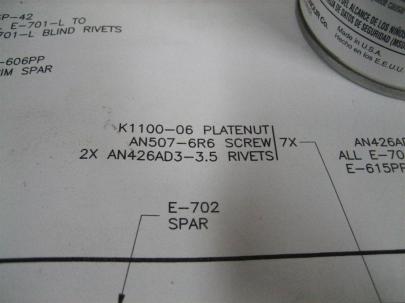
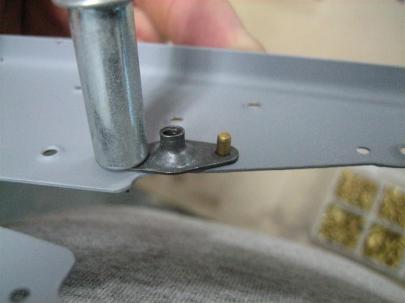
Now that E-615PP is dry, let’s do some riveting! I grabbed the K1100-06 nutplates (or platenuts as Van calls them) and the 14 required rivets. Remember from March 28th, I am using NAS1097 rivets here.
I am going to be using NAS1097 rivets here (smaller head than AN426 rivets) so I can countersink (instead of dimple) the holes here. That saves me from having to dimple the nutplate ears, which will save me a lot of hassle.
I thought that because I countersank (verb tense?) the reinforcement plate that the 3.5 would be way too long, but the -3 was definitely too short. I grabbed 14 NAS1097AD3-3.5 rivets.
I put all of the nutplates in with a single cleco and a single rivet, taped into place before starting to squeeze them. I hindsight, I should have backriveted these. So dumb.
Then I did the other half.
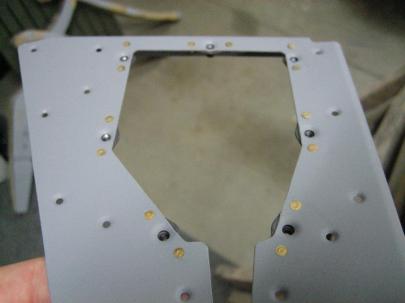
Nice and flush. There is one that is almost proud, but doesn't affect the cover plate, so I may not try to muck it up further by drilling it out. We'll see if I can sleep tonight.
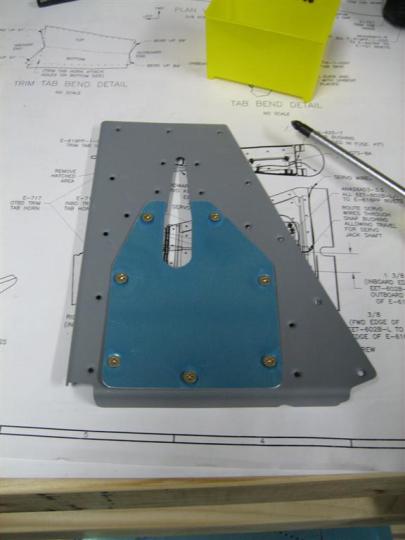
Once I got those 14 set, I grabbed the An507-6R6 screws and got the cover plate screwed on.
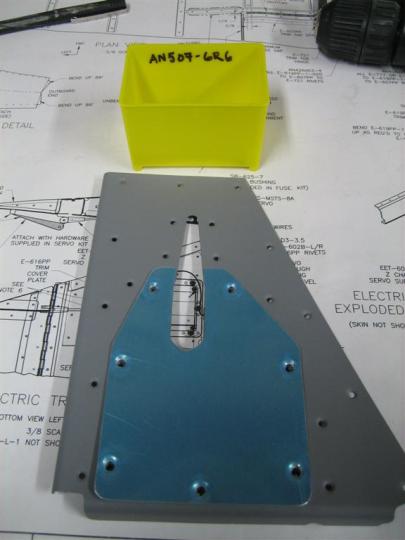
Ready to screw down. see in the lower left where the shadow under E-616PP is a little bigger? The dimpling kind of warped the plate. I'll have to try to coax this flat again.
Anyway, 14 rivets set in just under an hour. I’m going to mark an hour today (a little long), then short myself on a post in the near future.



hi buddy, just found your blog on the net. great work your doing there. those tungsten rivet blocks are the dogs balls. i have a load of them if you need any more. also have alsorts of air tools, rivet snaps if your interested.
cheers