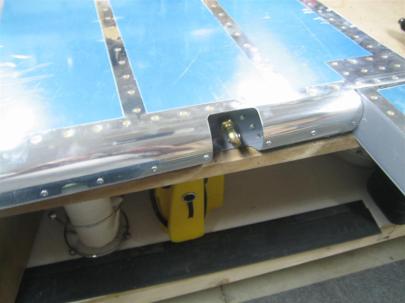
All I came out to the shop today for was to roll the leading edge and set the 25 measly little blind rivets. This should be simple, right?
WRONG.
This was by far my worst building night so far in the project (although any night building is better than a night not building). So frustrating. There was a point where I thought I had mangled the skins so badly that I was going to have to build a new rudder. Read on.
First thing, I’ve read to go ahead and drill all of the holes to #30 and deburr now, because if you wait until after rolling, you may enlarge the holes and/or have a very hard time deburring the holes you’ve matchdrilled.
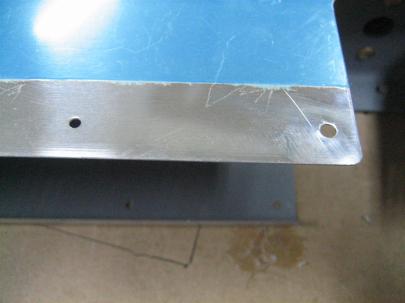
More holes after drilling.
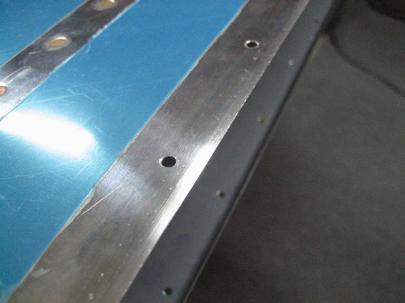
I had to play with the angle a little here to capture the edge rolling. You can see the bright section of the skin just right of the hole. The reflection is catching the overhead light above me and to the right. I used hand-seamers here with great success.
Then, I decided to try a method I found somewhere (although I can’t find it again today) to bend the skins. Here, I’ve got my steel rod ready to be taped to the left skin’s lower leading.You basically clamp around the steel pole to the table so that as you roll, the whole rudder slides toward you, but the steel rod stays close to the table and you don’t end up with a crease.
This would have worked, but my clamps were too big, and I only got to roll a half inch or so before they caught on the skin and prevented further rolling.
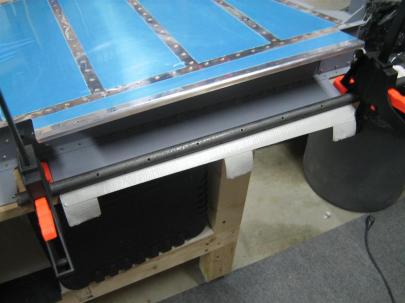
My setup. Later, I added longer pieces of tape along the whole length of the spar to minimize different tensions on the very edge of the leading edge.
Then, I put my camera down for almost an hour. I was so frustrated. Apparently, the 3/4″ pipe works great for the areas where the spar flanges is closer together, but not down here.
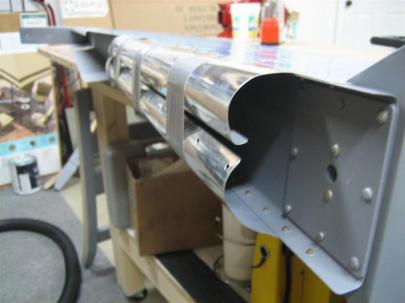
OMG OMG OMG OMG. I thought at this point that I was going to be building a new rudder. The bends aren’t really that good, and there is no way I’m going to be able to salvage this. You can see the skin rolled nicely near the tip, and then not as much near the spar. It should be the other way around.
After extensive (read: time consuming, careful, dirty-sailor-mouth-filled) working with my hand and duct tape, I finally got it clecoed together.
With the duct tape, I had a piece from the right to left side in between each hole. I would squeeze the skins together, and then use the other hand to go down the line and tighten all of the duct tape straps. back and forth about 10 times, and it finally started to look okay. Phew.

Here’s the first rivet (AD-41-ABS) going in. Once you set the rivet, you can see that it squeezed the area around it a little. I’m okay with that. notice, though, that the edge rolling made the seam look really good. I am happy with that part.
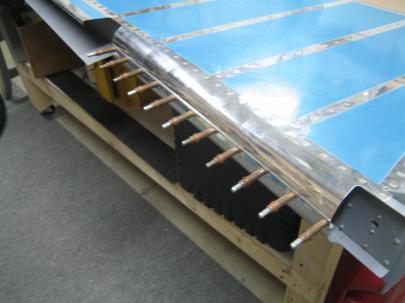
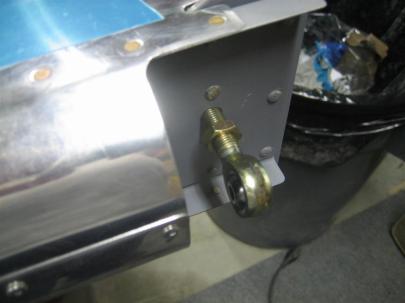
After more blind riveting, I temporarily stuck the lower rod-end bearing in the lower hole. It’s starting to look like a rudder.
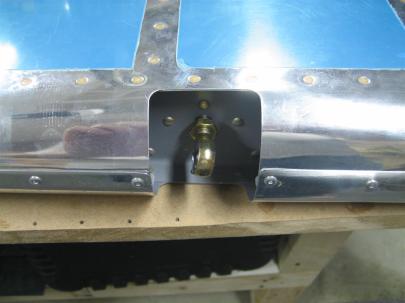
Then I finished up the other two sections of the rudder (with equal frustration) and got the rod end bearing in the middle hole.
Finally, I got the whole leading edge rolled and riveted.
It actually doesn’t look that bad.
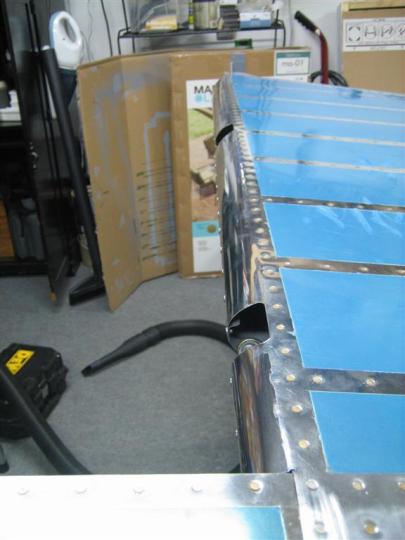
Not too bad. There is some slight creasing just forward of the spar rivets in a couple places, but it’s nothing I can’t live with.
Be warned about this part. It sucks, and I don’t want to have to do it again. (Can’t wait for the elevators!)
1.5 hours. 25 of the most difficult rivets I’ve set on the project. I’m looking forward to finishing off the last few missing rivets on the rudder and moving on to the elevators. Not before I bring down the VS and mock them up together. I’m thinking of even upgrading the site to accept videos and putting videos of the mock-up on here. We’ll see.
