Wuhoo, the new squeezer showed up!
After a few minutes of messing around with it, I grabbed the two K1000-4 nutplates and studied the plans carefully on which side of the spar they go. A quick hint (other than just reading the plans) is that the nutplates go on the side that couldn’t possibly need to be flush (in between the spar cap bars).
Anyway, here, I’ve countersunk for AN426AD3-6 rivets.
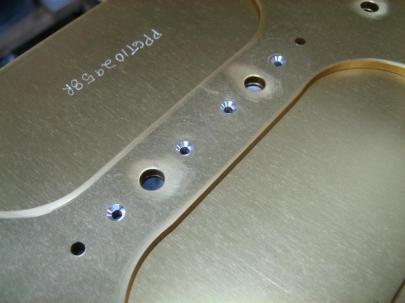
The two larger holes are examples of where Van's (or Phlogiston) buffed out some spar scratches with some scotchbrite.
Oh yeah, I also flipped the spar over and deburred (you can hardly see the deburring) the backside of the holes I drilled to #40.
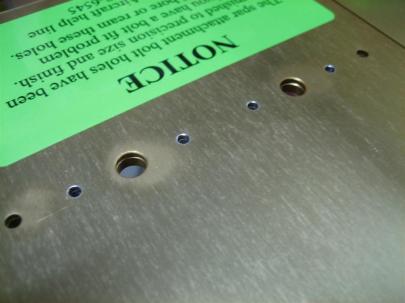
The little silver rings are where I deburred. Because these will be totally covered by the nutplate and the shop head, I'm going to refrain from spot priming them.
I used the new squeezer to set my only 4 rivets today.
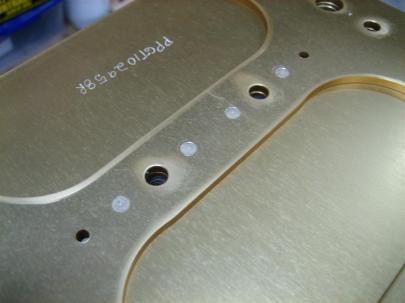
Don't these look pretty? (There are small rings around the rivet heads. That is from the cleco I used to hold the nutplate on while riveting the other side.) It seems weird the cleco made that little mark.
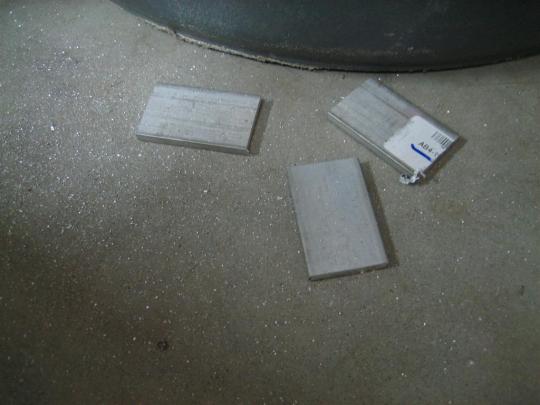
Moving on to the tie-down bracket. First thing, I need to fabricate the W-726 spacers from this 1.25″ wide angle stock. I’m supposed to cut 4 of them, 2 for each wing/tie-down).
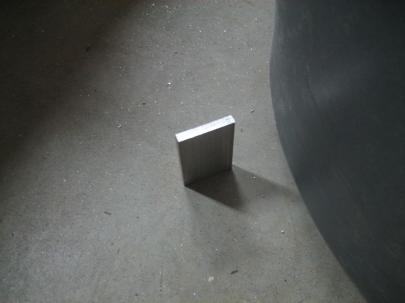
Why is this one on the ground? Is it because the light is good for the camera? NO. It's because it is @&*!@ hot after cutting. Ask me how I know.
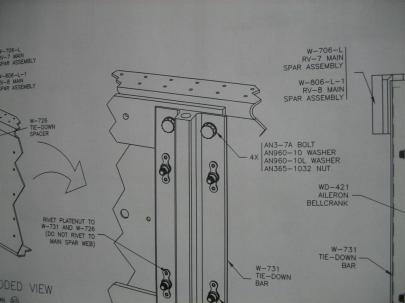
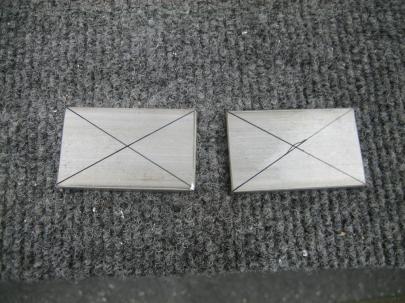
Each of these spacers should have a 1″ hole cut in the center for lightening (not lightning). Since all of my hole saws are in sizes other than 1″, I decided to grab the W-731 tie-down bracket and get to work on that.
Okay, the manual says to cut the tie-down bar to length from the AEX stock.
Okay (…searching plans…), looks like 7 15/32″. Of course, I measured 7 7/32″ marked, and almost cut before my gut told me something was wrong.
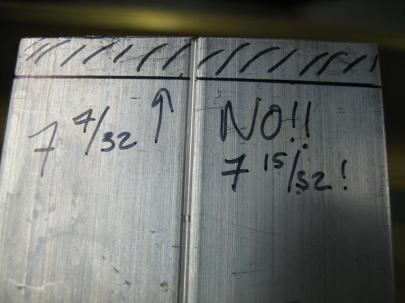
The bar is actually 7 16/32" ( or 7.5"), so I'm not going to cut them 1/32" when I'm sure the edge finishing on the scotchbrite wheel will be more than enough. (Also, it doesn't appear the extra 1/32" will interfere with the top or bottom skin at all.
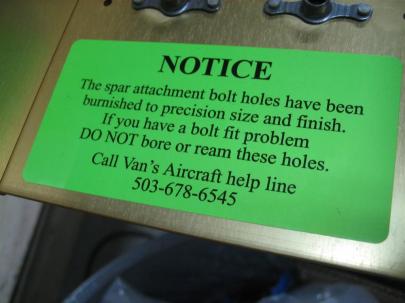
I keep walking by this sticker and laughing. I thought I would share.
Okay, back to the tie-down. After marking and drilling the one (of four) holes for the spar in the bracket to 3/16″, I stuck an AN3-7A bolt in there and just eyeballed the alignment.
(You are supposed to drill just one, then fit the bolt through the whole assembly. Then, you flip the entire assembly over and matchdrill the tie-down bracket from the back.)

I was a little concerned that there was some overhang on the right side of the bracket. (I measured and drilled very, very carefully).
Anyway, I stopped there because I can’t really matchdrill everything until I get the spacers placed behind the tie-down bracket, and I can’t really do that until I have the lightening holes drilled (the spacers will be riveted to the tie-down brackets in four places, which in turn hold some nutplates on).
1 hour, 4 rivets.
Now, I need to find a good hole saw or fly cutter.
