Well, tonight wasn’t a long night in the shop, but it was a good night.
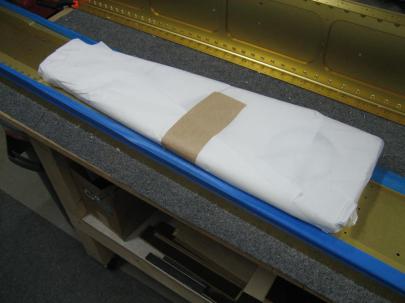
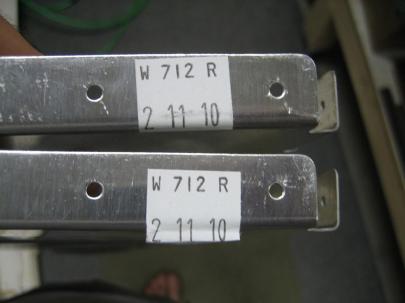
First of all, there was a package sitting on my doorstep when I got home from work. After the excitement for my new Cleveland Main Squeeze died down as I realized the package wasn’t from Cleveland Tools, it quickly came back when I realized it was the missing W-712-R ribs that I had been shorted (what a cruel world!) in my wing kit.
Who knew I could get so excited about wing ribs.
Okay, Andrew. Time to settle down.
Let’s finish up this right spar flange countersinking.
From the first issue of the 2005 RVator (thanks to Brad Oliver, for the link) and to A VAF Post (again, thanks Brad), I was able to make this cute little HTML table for you.
From the first 2005 issue of the RVator (page 10):
We countersink until the top of the screw is level with the surface, then go 2 clicks deeper on the microstop. The actual outside diameter of the countersink measures .365″ to .375″.
|
||||||||
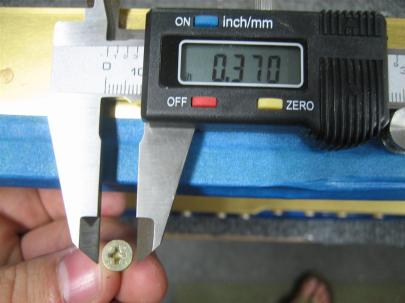
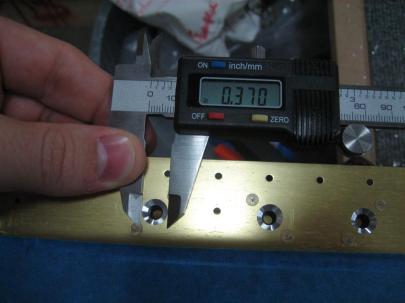
So, I broke out my trusty digital calipers, zeroed them out, and dialed in .370″ (right in the middle of 0.365″ and 0.375″).
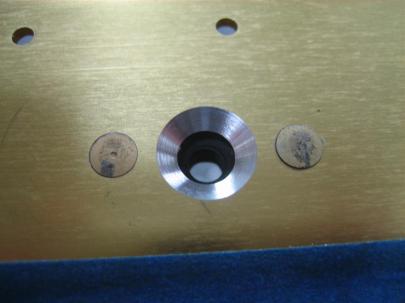
Just for kicks, I thought I would show you how much bigger that is than a #8 screw. The larger size allows the dimpled skin to nest nicely in the countersink.
SOMEBODY’S TOES KEEP GETTING IN MY PICTURES!
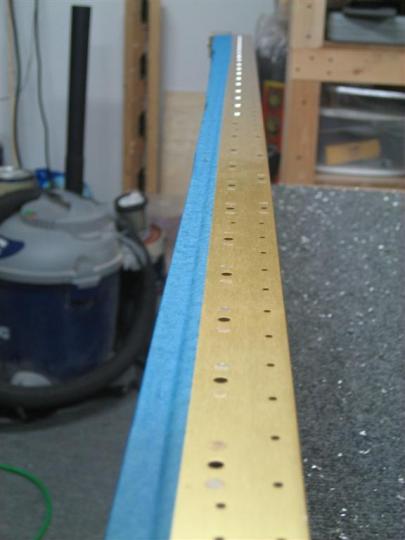
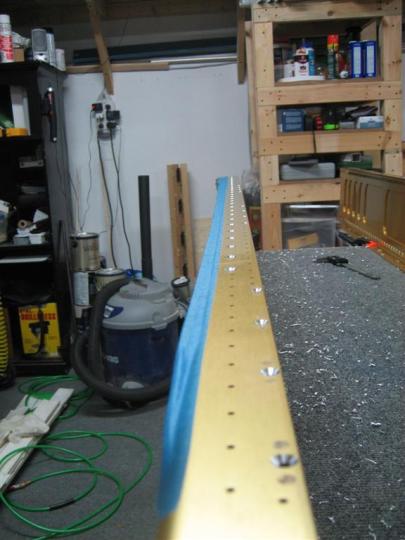
Anyway, I proceeded with countersinking the tank skin attach holes only (the access plate attach holes are smaller.) I am following the directions here exactly, using a #30 piloted countersink (which nestles nicely in the #8 nutplate) as my guide.
Here’s a countersink for your viewing pleasure.
Finally, I finished with the bottom flange. (Notice the three sets of four countersinks on the right side of the picture. Those are for the access plates. They use a #40 piloted countersink and are countersunk to a width of 0.312″ (which is less than 0.3125″)).
Oh yeah, now I have to do the other side.
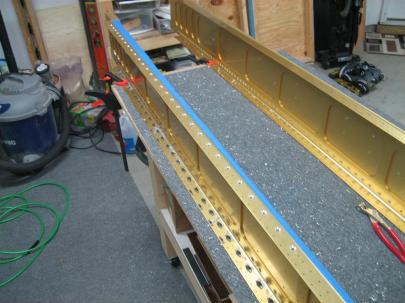
With a noticeable lack of in-process pictures, I finished the top flange also.
1.0 Countersinking-filled hour tonight.
And, I’ve finished the first three paragraphs of the wing section of the manual. Score!
