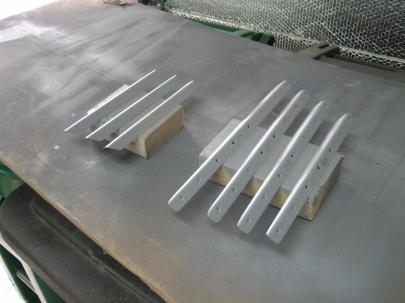
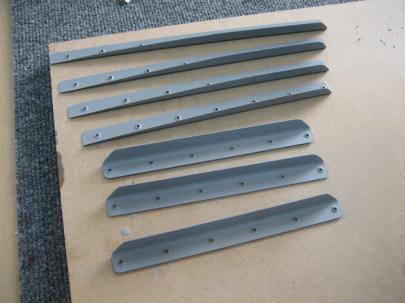
Not too much today. I got the lower left elevator stiffeners deburred, dimpled and primed.
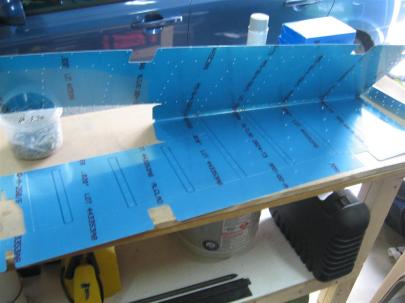
Then, I turned my attention back to the skin to start devinyling.
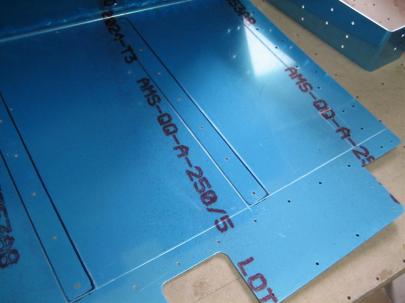
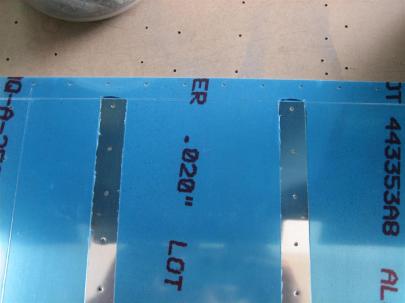
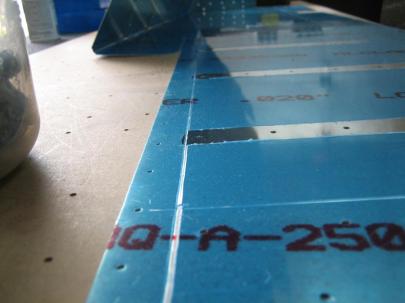
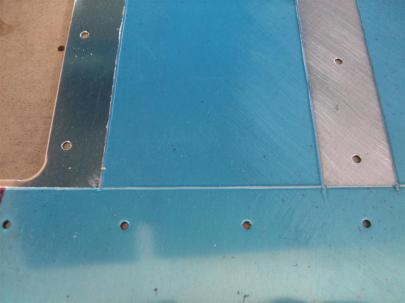
Here are a couple lines showing my devinlying process. These are made with a soldering gun held against a wooden straight-edge.
Oh yeah, almost forgot. I stumbled across another Harbor Freight coupon. I bought this ~$10 storage container for wing hardware.
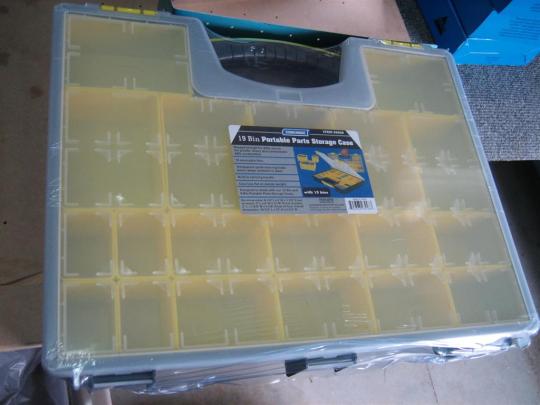
I have two already, one for rivets, and one for Empennage hardware. I assume I'll need a third for wing hardware (I'll combine the rivets from wing and emp if need be).
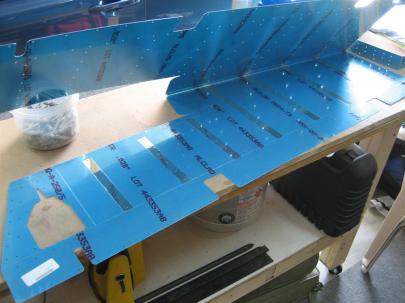
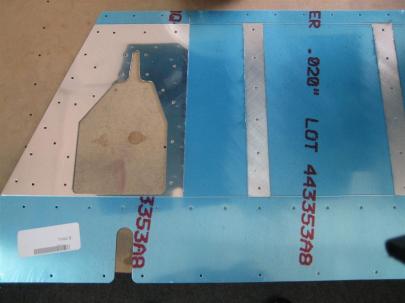
Okay, back to the project. I’ve pulled off some of the vinly strips.
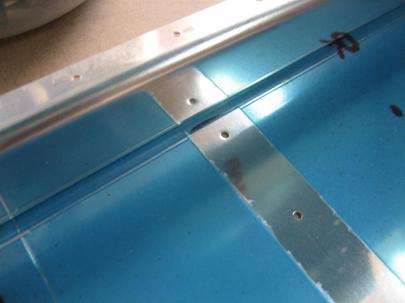
So I put the trim spar in position, and realized I could move the line back a little, so that's what I did.
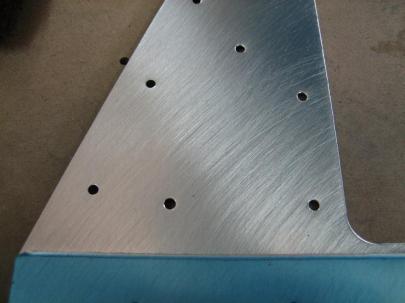
Next, I deburred and scuffed the skin in preparation for dimpling. (It’s easier to scuff before dimpling.)
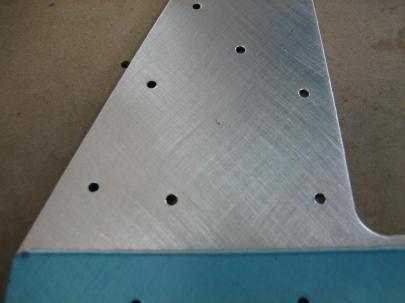
To scuff an area (in preparation for priming), I scuff in one 45° direction…
Then, 90° from that.
Finally, some dry stiffeners, ready to be backriveted to the skins.
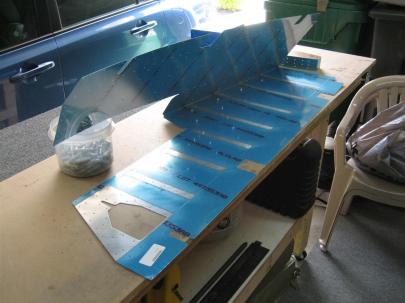
I always like to take a big picture shot at the end of the day.
Tomorrow, maybe a little skin dimpling, priming, and backriveting stiffeners.
One hour.
