I’ve been lacking in motivation recently due to some badly dimpled holes along the trailing edge of the right elevator. All last week, my error had been hanging over my head, and I was having trouble even motivating myself to fix them.
Saturday afternoon (writing this later) I mustered up some courage and drilled out 13 of the 14 trailing edge rivets on the right elevator. They are really not trailing edge rivets, but the aft-most rivets of each of the 14 stiffeners (7 on the upper skin, and 7 on the lower skin).
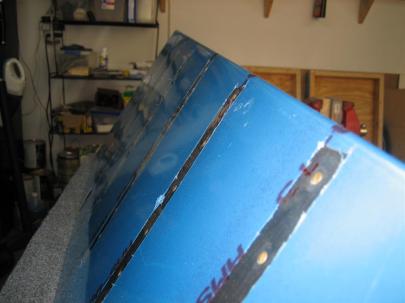
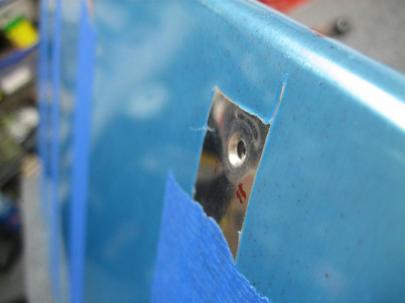
Here’s a couple pictures of the damage.
The above pictures was the worst one. This one was more typical.
After getting them all drilled out (13 of them, one of them was good enough to leave alone), I set up the skin with a long backriveting plate underneath the offending holes and used a 2×4 laid spanwise on the stiffeners with some clamps to keep the skin surface flat. Then, I used 4 or 5 long pieces of tape to pull the upper skin back to allow plenty of room to work.

You can still see where the very trailing edge is starting to bend down. This is why I had the problem in the first place.
With no rivets in the holes, I used a small flush set (about 3/8″ diameter) and my rivet gun turned way down to flatten the dents (I’ll call them dents for dramatic purposes, but they were really just small impressions) and ridges (again, really just small high spots) flat. I put the flush set on either side of the existing dimple (which was okay, it was the area just outside of the dimple, where the edges of the dimple die set had tweaked the skin a little, where I was having my problem) and gave it a few taps.
After finishing one side, I took off the protective tape I was using and inspected. It ended up okay. I think if I were going to polish the empennage, it would bug me, but my latest paint scheme idea has me painting the elevators.
I did the other side, and then cleaned everything up, put some rivets back in the holes, and set up each side again with my fancy setup to actually backrivet the last hole of the stiffeners in place. It went perfectly, and I was really careful to hold everything very flat against the backriveting plate.
(By “perfectly,” I really mean “I messed up one of the holes, had to drill it out to #30 and use an oops rivet.” ) I’ll point it out.
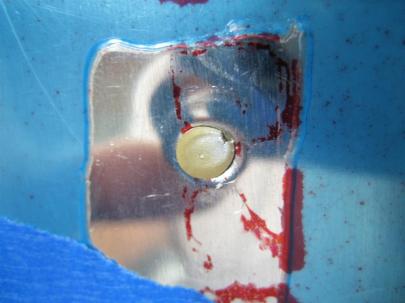
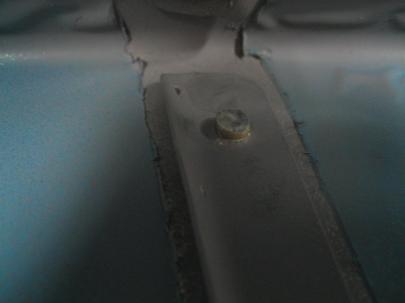
Here are some examples of the replaced finished rivets.

Whoa, who scratched my skin? It was probably the male part of the dimple die. That will hopefully polish out, (or it will get cleaned up and painted).
It looks the same as all the rest, of course, so you’ll never know, and I’ve already forgotten which side (top or bottom) it’s on.
Anyway, I drilled out 13 of the 14 original rivets, then had to redo one of those, so 14 rivets drilled out and reset successfully in an hour today. Not bad. I’ll add pictures when I can get them uploaded. Sorry for the lack of work recently.


