Another fairly boring night with right elevator stiffeners, but the end is near (end of right elevator stiffeners, not the whole airplane), so I’ll keep plugging away.
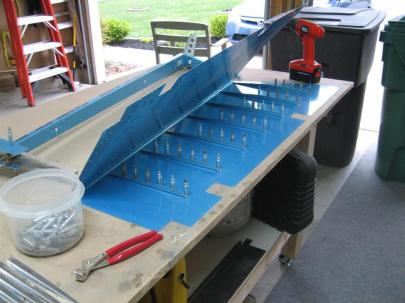
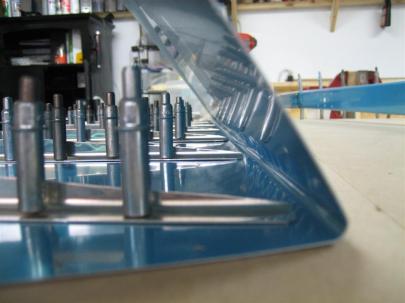
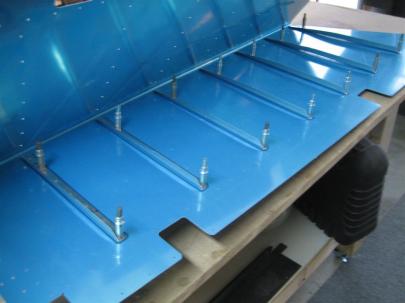
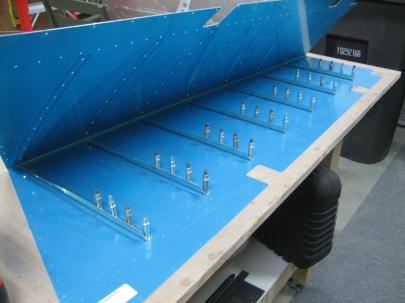
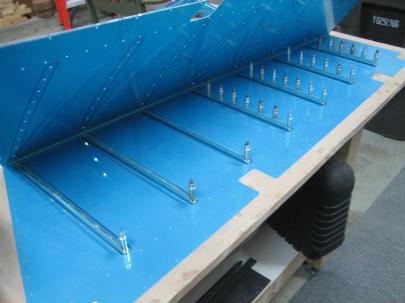
My setup for drilling stiffeners. I used the cordless today so I wasn't making too much noise. I'm almost done with this side.
I matchdrilled every hole except for the last hole (closest to the trailing edge.) Some of these last holes are both pre-punched, and just need to be matchdrilled to final size, and some are missing the holes in the stiffeners. You have to use the skin to matchdrill the stiffener.
I unclecoed most of the stiffeners and then re-clecoed the stiffeners (just at the ends) with the elevator off of the table so I can roll it over to drill.
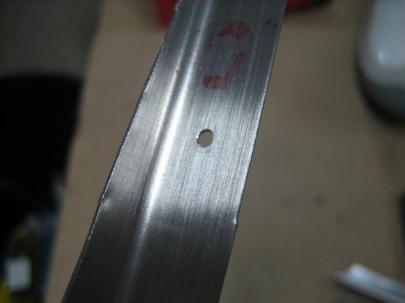
One picture of the last hole.
After that, I used a thick sharpie to trace the stiffeners to help with future devinyling. Then, I flipped the whole thing over to start on the other side. Same process, though.
Then, uncleco from the table to flip over and get the last hole.
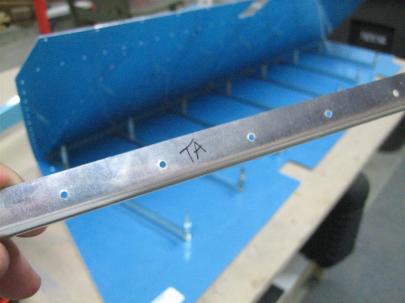
No big deal for you, but I marked all of the stiffeners correctly. The right elevator in the background is sitting upside-down (I just typed right-side-up, and had to change it. See, I’m still confused). Anyway, the ones on the table are on the top surface of the elevator, but the one in the foreground is marked the top (“Top, A”), but is actually the longest bottom stiffener.
After finishing all of the stiffener drilling, I took them inside to deburr. After all of the deburring, I grabbed this shot of the placemat on the kitchen table. (Don’t tell the girlfriend. I got it cleaned up.)
Aluminum shavings galore after deburring. This is kind of a stupid picture, but I already uploaded it, so I'm not going to hold back.
After deburring, I rubbed down the surface that needed to be dimpled, (not the perpendicular surface, and I definitely didn’t do any edge-finishing).
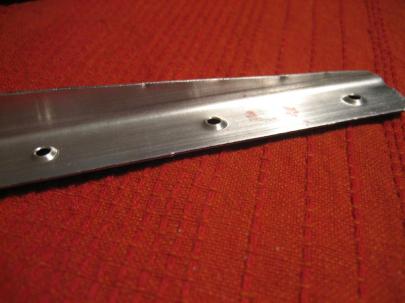
And I would like to draw your attention to the following three dimples. Don’t they look lovely?
It was the girlfriend!
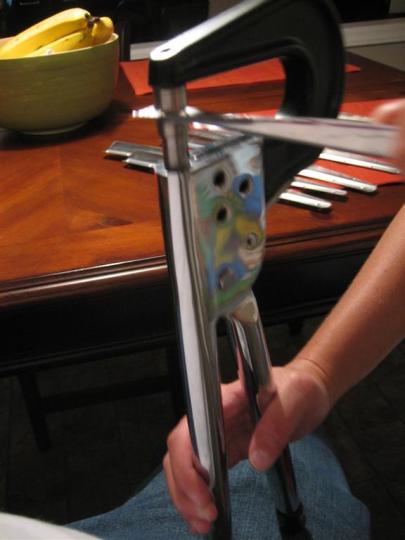
Girlfriend dimpling. (She kept giggling after each one. And after each time I said "dimple." There may or may not have been red wine involved.)
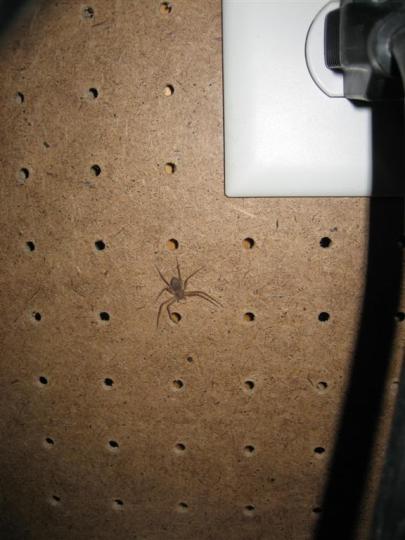
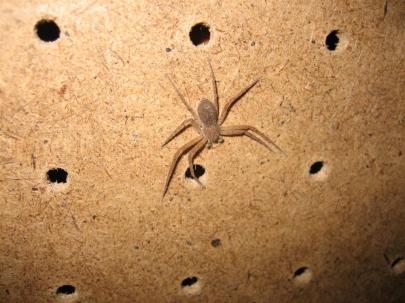
Anyway, she made it about 8 dimples before getting “bored” (I think her hands hurt, too). Back outside, I found this little guy.
No real identifying marks, but I’m sure someone will be able to help out.
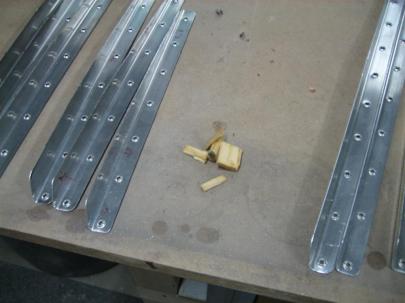
As if I hadn’t had enough drama for the night, Ginger came out, grabbed some wood, and took it inside to chew up all over our staircase landing. Here are some of the remnants.
Anyway, I spent a few more minutes with the Permagrit block rounding the edges of the stiffeners. Next up, edge-finishing with the scotchbrite wheel, scuffing, cleaning, and priming. Then, same dance with the skin and the backriveting!
An hour and a half. Boom shakalaka.
