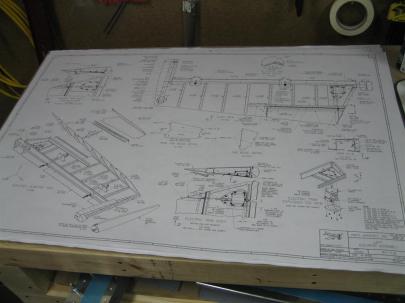
With the Pro-sealed rudder trailing edge on my top workbench shelf drying, I decided to tackle the elevator. Of course, the obligatory plans page change (although there are two elevator pages, and I’m going to have to come back to the rudder page soon, so I was all confused).
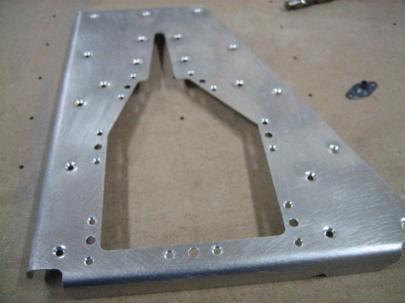
The only thing I felt up to tackling today was the E-615PP Trim Reinforcement Plate. I received my Oops rivets from Avery, so I thought I could get started on this small project.

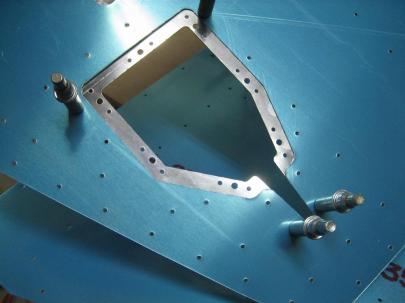
I devinyled the plate, and clecoed it in place. The holes are a little confusing, so double check it is in correctly before putting drill to metal.
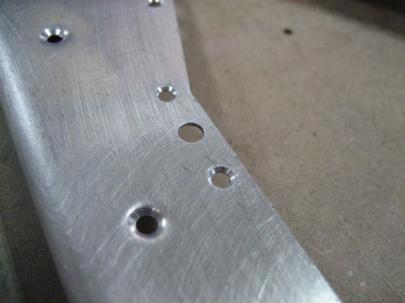
After match-drilling, I deburred and dimpled the #40 holes that attach the plate to the elevator skin. Then, I started on the nutplate holes. I am going to be using NAS1097 rivets here (smaller head than AN426 rivets) so I can countersink (instead of dimple) the holes here. That saves me from having to dimple the nutplate ears, which will save me a lot of hassle.

Here are the countersunk holes for the nutplate ears. You can see I am just shy of having a knife-edge hole. Perfect.
I need to order some more dimple dies this week (#6, #8, #10), so I am going to just take a big picture and call it a night.
This is so fun.
Half hour on the elevator today.


