A quick night in the shop tonight. The next step on the rudder is to get the counterbalance rib and counterbalance skin installed on the skeleton.
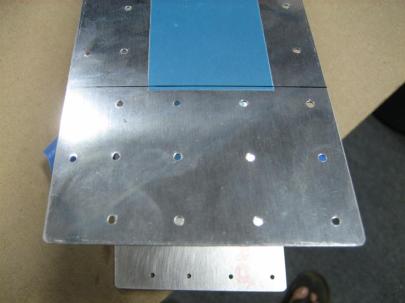
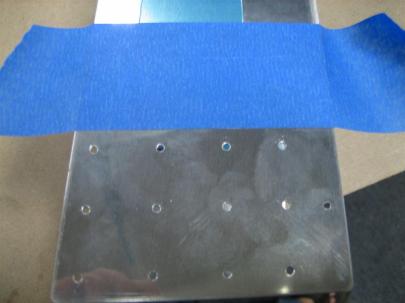
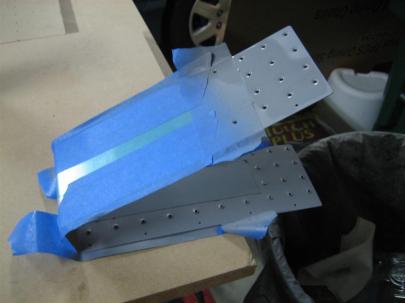
First thing, I need to bevel the outside edge of the counterbalance skin to allow less of a bump as the leading edge of the rudder skin jumps from the spar to the counterbalance skin. I clecoed the rudder skins and counterbalance skin together and drew a line on the counterbalance skin, forward of which I don’t want any beveling or scuffing or primer.
I repeated these steps for the other side, then beveled in the indicated places (over the spar and tip rib locations along the edge) and scuffed with a scotchbrite pad.
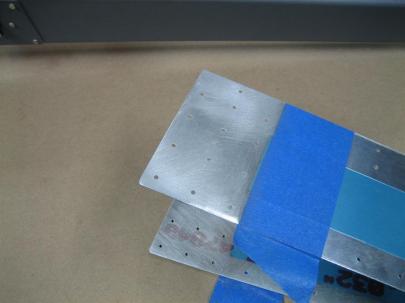
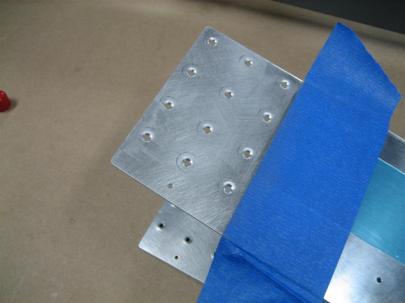
Then, I dimpled with the tank dies (because the rudder skin’s normal dimples will sit in these “tank” or larger dimples.)
Then, I prepped the inside of the skins and primed the whole thing.
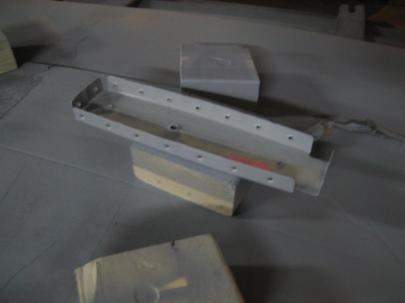
While I was priming, I decided to edge prep, scuff, dimple, clean, and prime the R-912 counterbalance rib, also. Here it is drying.
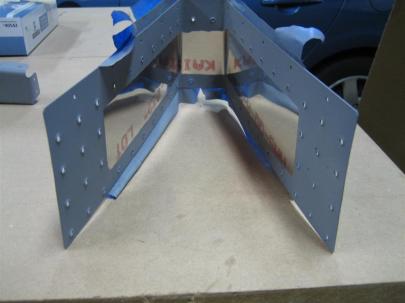
Then, I pulled the vinyl off the inside of the counterbalance skin.
And that was all for the night. 30 minutes of airplane working glory.
