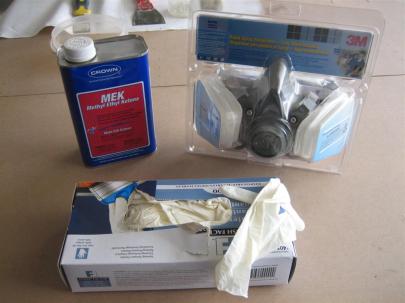
Not a huge day today, but I did go shopping. Recently, the self-etching primer has been getting to me unless I am completely outside the garage while priming. Sometimes, I can always be completely outside, so this might make it bearable in the garage.
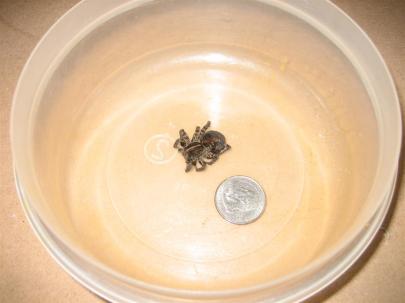
When I started looking around the shop, I found this monstrosity just laying there, dead, out in the open. He must have crawled through the spider spray I laid down around the perimeter. He’s huge.
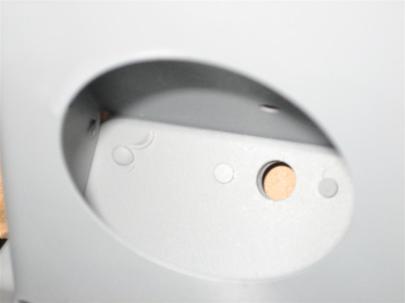
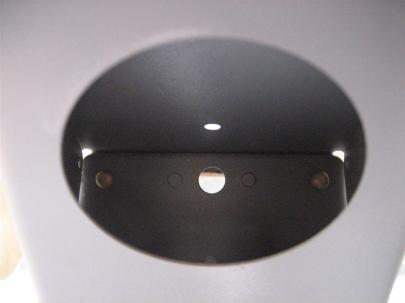
Anyway, I am not too happy with the outside rivet I installed yesterday. I ended up using a double offset set as the bucking bar, and I just don’t like the shop heads.
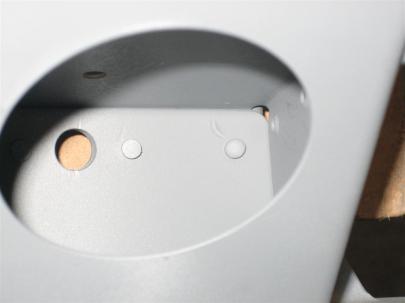
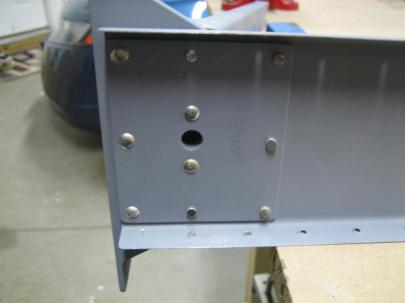
I got them drilled out, and figured that the materials on both sides were thick enough to ignore the “shop head on the side with the thinnest material” rule. I put the machined heads in here, and bucked from the front.
Here they are from the other side.
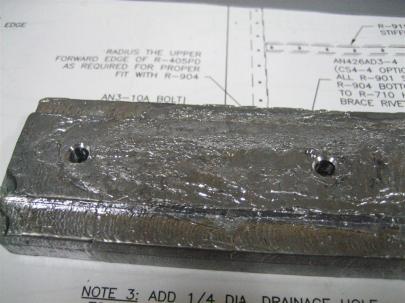
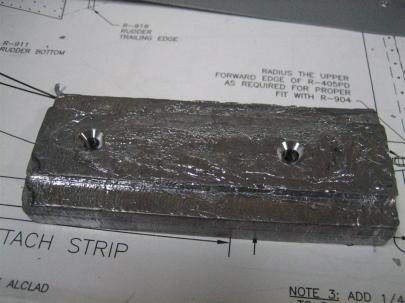
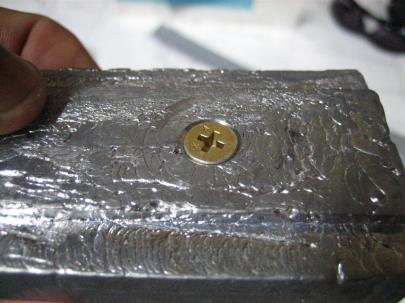
Then, on to the counterbalance. Because I don’t have a #10 dimple die, I decided to countersink these, and use them as the female die.
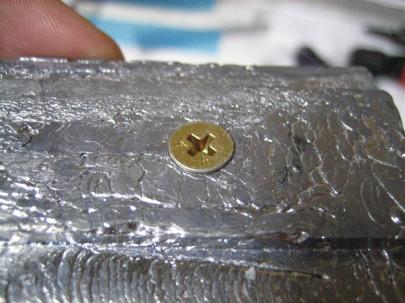
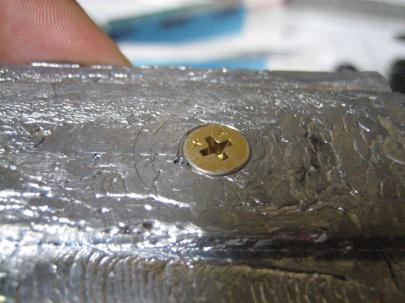
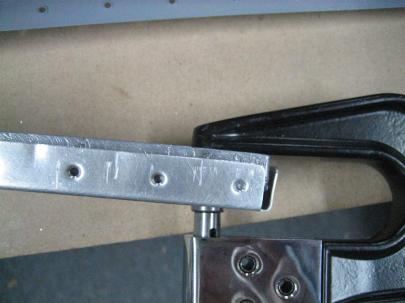
Then, after trying a few things to see how to dimple the rib, I ended up putting the screw in the hole and using my squeezer (with no “upper” set so the screw goes through the hole in the yoke) as the dimple die.
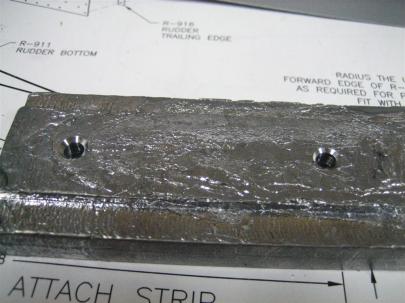
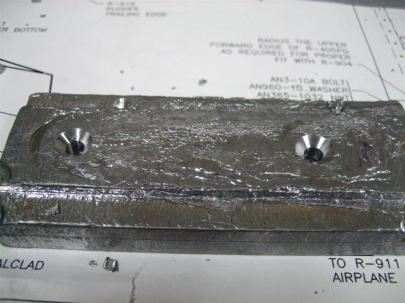
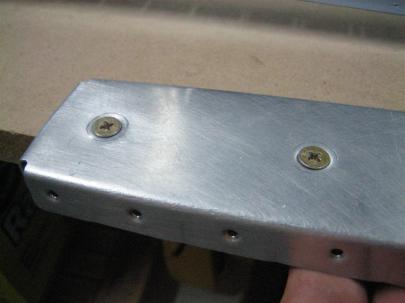
Here are the final dimples. If I had it to do over again, I would spring for the #10 dies. I’m sure I”ll have to use them throughout the project. I’m going to put them on the list.
2 rivets drilled out. Half an hour. Not bad for a busy Sunday.
