After a whole 10 days on vacation, a few flight delays, cancelled flights, rebooking to a city 6 hours away from home, lost bags, malfunctioning 737s, and a broken down rental car, I finally made it into the shop.
I know I wasn’t going to be able to put in hours and hours of work, but in the words of Bob, “baby steps.”
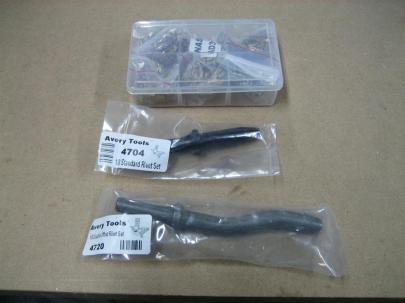
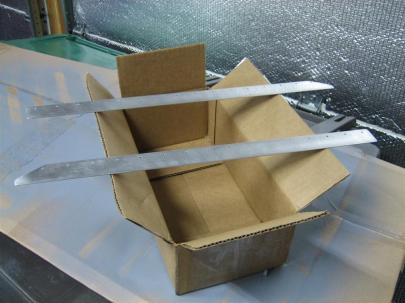
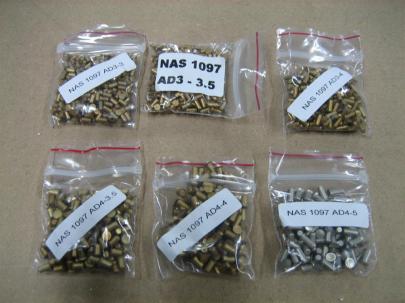
First of all, while I was gone, I got an order in from Avery. It contained the NAS 1097 “Oops” rivet kit, and two sets, both 1/8″, one straight, and one double offset. These were relatively cheap ($8 and $20, respectively) and I believe they will come in very handy. Here’s the merchandise.
After unpacking the new tools, I finished deburring and edge finishing the R-918s.
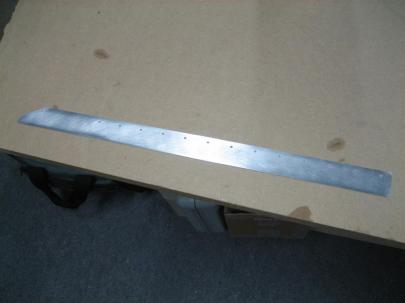
A deburred and edge-finished R-918. I'm not sure which side this due to the glare in the picture. But you don't really care, though, do you? They are identical parts (although, make sure to keep them separate, because they've been matchdrilled to the rudder skins).
I shot a little primer on one side of those two pieces and started deburring and edge finishing R-608PP, which is the uppermost spar reinforcement plate. I shot a coat on one side of that, and the other side of the R-918s.
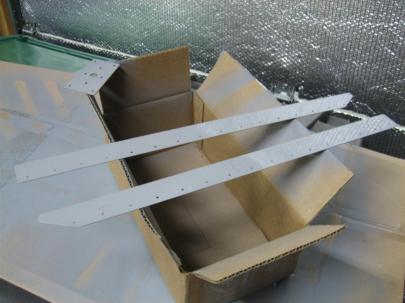
R-918s and R-608PP primed. They are still wet, which is why you can see the reflection of the garage insulation on the R-918s.
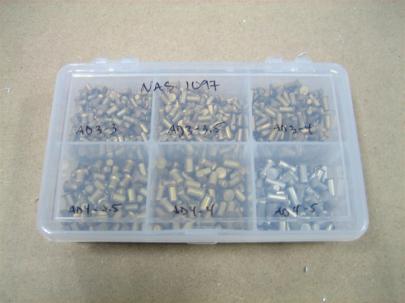
While waiting for those coats to dry, I unpacked my Oops rivet kit.
All done and labeled.
Then, in a similar manner to Brad Oliver’s explanation page (another shot here), here’s my shot of some NAS 1097 rivets next to their AN426 counterparts.
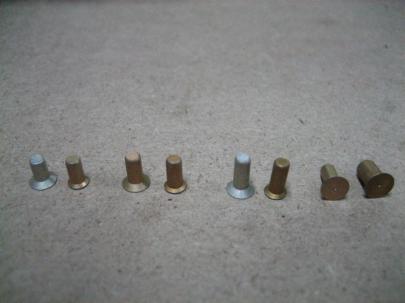
AD3-3, 3.5, and 4 (AN426 and NAS 1097 of each to compare smaller heads for the same size rivet) and on the far right, an AN426AD3-3.5 and a NAS1097 AD4-3.5. Same size head.
From my understanding the AD3 (smaller) sizes are used when a smaller rivet head allows you to countersink thinner material (instead of having to dimple) in non-structural areas (dimples aid in the strength of the riveted pieces). Mostly, they are used where flush rivets are required to attach nutplates (so you don’t have to dimple the nutplates, which is apparently difficult).
The larger size (AD4) rivets are used primarily when you have messed up an exterior hole during riveting or drilling out a badly set rivet that you have to enlarge the hole. The smaller heads on the larger rivets match the regular sized rivet heads.
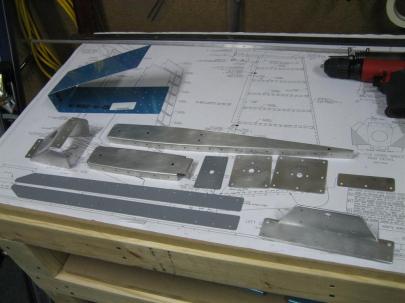
Once I got primer on those three parts, I put them back on the “table o’ small rudder parts”, to give you a good understanding of how much more tedious prep work I have to do before I can start riveting parts together. I can’t really complain. I love this stuff.
A short half an hour today. Felt good.
NEXT DAY UPDATE:
CRAP!
Because the R-918 (rudder bottom fairing attach strips) go under the rudder skin and bottom rib, they need to be dimpled, and I forgot to do that last night.
Let’s see, rudder skin = regular #40 dimple dies, bottom rib = #40 tank dies, which means I’ll have to use the #40 tank dies on the R-918s, too. I wonder what the dies will do to a part that is already primed. I’ll give it a shot, take some pictures of the results, and re-prime if necessary. Boo.


I’ve just started my empenage kit and working on the rudder. I don’t understand the difference between dimple dies and tank dies. Love your web site. Thanks for any help you might have.
Mike
Hi mike.
Congrats on starting the kit.
I have a decent explanation on tank dies at https://n999za.wordpress.com/2009/12/25/first-avery-tool-order/.
Basically, they are for making dimples that are slightly larger than dimples that will sit inside of them. I use tank dies whenever I will have any (usually skin) dimples sitting in the understructure dimples. They are called tank dies because they were made for dimpling the fuel tanks, where the pro-seal required to seal the tanks prevents the rivet head from sitting flush in normal sized dies…they are just a little deeper). I’ve been using them since reading Brad Oliver’s post on the tank dies.