We got a ton of work done on the house this weekend (paint, patio furniture), and a little work done on the airplane.
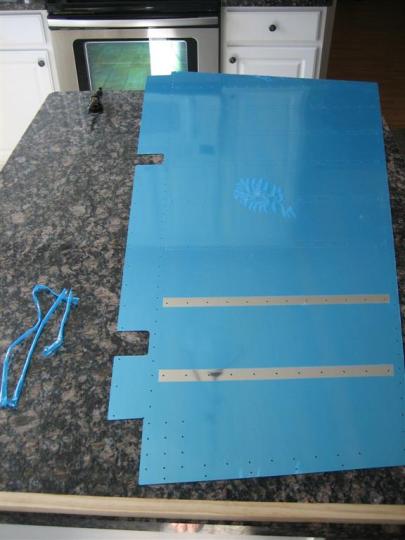
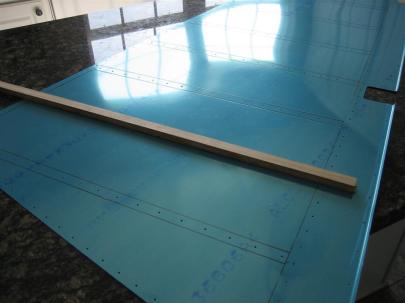
Yesterday morning over coffee, I brought the right rudder skin into the kitchen and started devinyling. After giving it a lot of thought, I am only going to remove the vinyl (and then scuff and prime) the rudder stiffener locations right now. Later, after matchrilling the skins to the skeletons, I’ll devinyl, scuff, and prime those mating surfaces.
After finishing up the exterior side of the skin, I flipped that bad boy over and started on the interior side. I was more careful about tracing lines here, because this is where the primer will go. (Although no one will ever see the inside of the rudder skin once I have it assembled.)
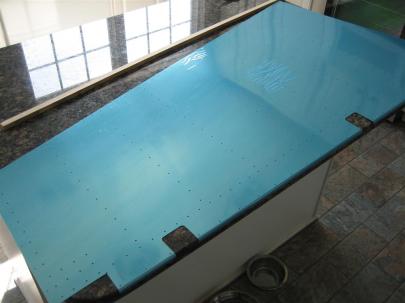
After finishing the right skin, I brought in the left.
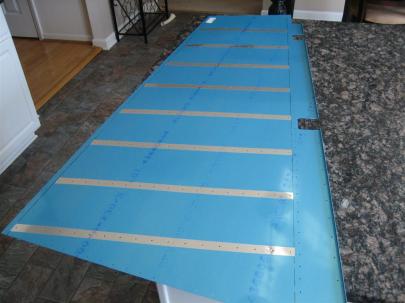
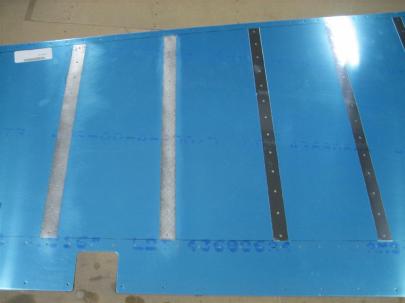
Here is the interior side of the left rudder skin.
Then it was off to do some errands, one of which was a stop by Harbor Freight. I got a mailing the other day, and they had some fantastic deals on some things I wanted.
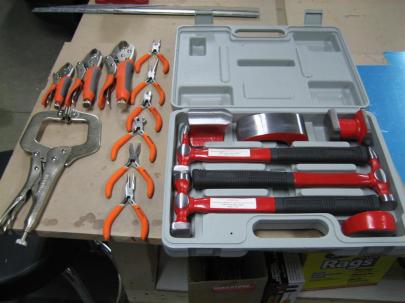
7-Piece Body Repair Kit. First, the “body repair kit” was $19.99. Look at the 4 bucking bars in there! I don’t really care about the hammers, but my small bucking bar was not really cutting it for some of the rivets I needed to buck. The best improvement with these new bars…hand holds. They have little cutouts in the side for your fingers so you can get a great hold on the bar. I’m happy.
11″ Locking C-clamp. These come in handy for clamping things around flanges. I needed one of these, and ended up walking away from Harbor Freight for about $6.
3-piece locking pliers. I have a small set of needle-nose locking pliers and love them, I figured for $4.99 for 3, I couldn’t go wrong. The quality isn’t the best (the screw mechanism is a little sticky), but they should work.
6-piece presicion pliers. I have a couple of these from various places and I love them. 4 pliers, and 2 cutters. I’m most looking forward to the extra long pliers second from the top. Those will help me overcome my huge sausage fingers.
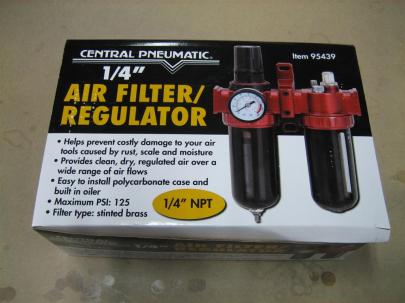
Also, I grabbed this $19.99 air filter/regulator. I wanted a better regulator/filter/oiler, and this one looks like it will fit the bill. I hope the quality is high enough to not disappoint me.
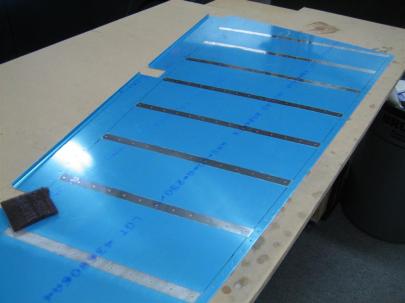
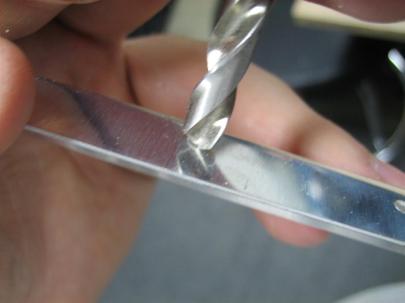
Next, I spent a ton of time deburring the skins. I think it is something like 119 holes per skin, times two sides, times two skins. Yes, my fingers hurt. Here I am scuffing the inside of the skins after deburring.
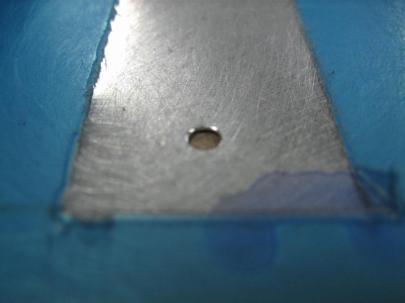
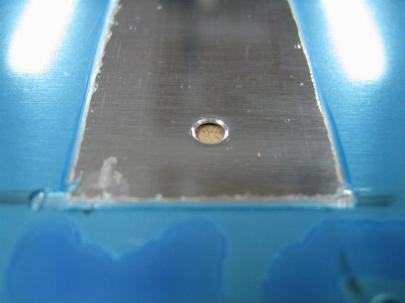
I was getting fancy with the camera, so here’s a closeup of one of the strips after deburring and scuffing.
And another picture of a strip before scuffing. This hole has been deburred, though. i should have taken a picture of an un-deburred hole for you. Sorry.
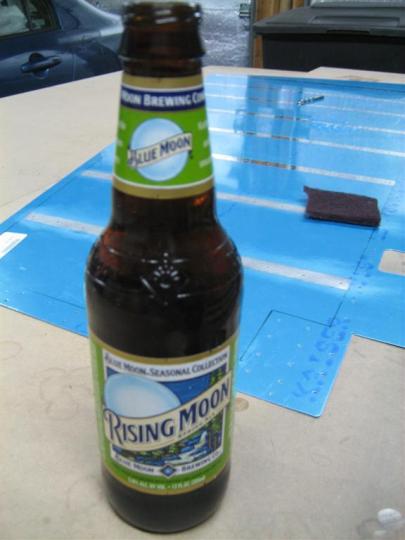
While Mike Bullock has his Natty Boh, I have my Blue Moon (well, Rising Moon, their seasonal).
Scuffing the left skin.
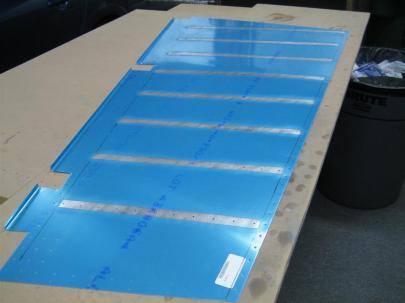
All done!Finally, I finished scuffing the interior of the skins. After I get these all cleaned up (it will be harder to clean after dimpling) , I can get these dimpled and primed.
Here’s a nice closeup of me deburring the stiffeners.
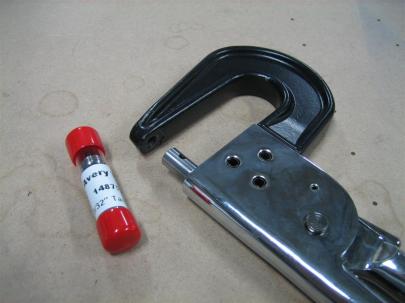
After finishing deburring all of the stiffeners (which is two more deburr operations for each of the holes from the skins), I pulled out the squeezer and tank dies (for the skeletons, which I’m considering understructure).
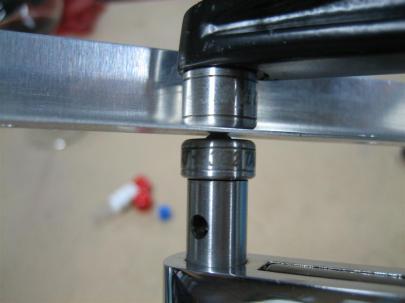
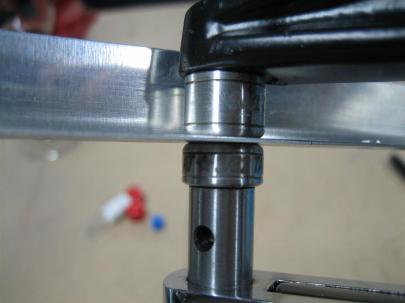
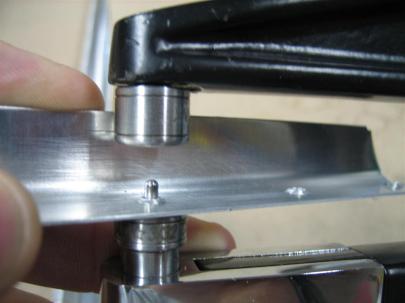
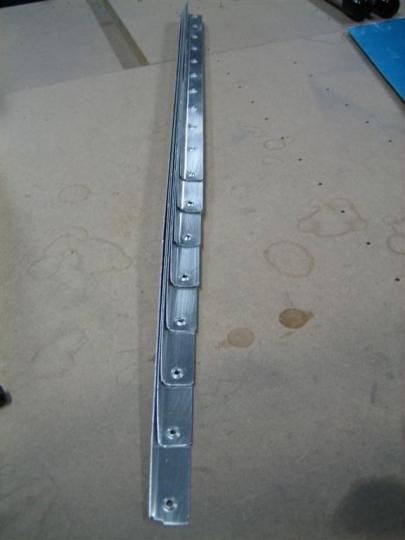
I decided to go ahead and scuff and dimple the stiffeners now, while I can’t make any loud noises (post 10pm). I should have edge finished the stiffeners first, but I’ll still be able to use the scotchbrite wheel on them after they are dimpled. To save time, I’ll edge finish these while I am priming the interior of the skins later this week. Anyway, here are some dimpling shots.
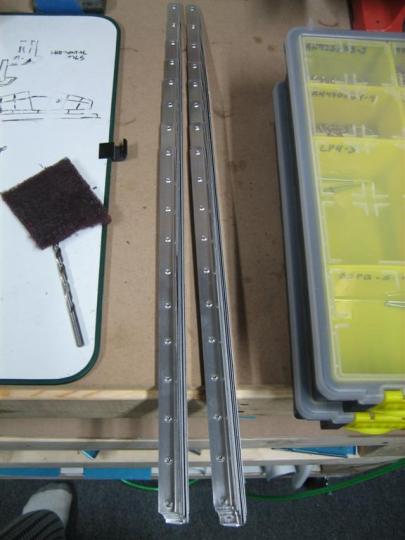
A few minutes of this, and the right stiffeners are done (still not edge finished, though).
Wash, rinse, repeat for the left side.
2.5 hours today. Boring, tedious work, but still the most fun a man can have with his clothes on.
